So Happy New Year to all of our amazing followers, readers and friends!
We can’t wait to grow and enjoy Truly Lovely in 2011!!!


'An All Things Lovely Blog'


 A few of my favorites:
 |
| SOURCE |


 Cute, right?!


We would so appreciate if you would stop by the blogs of the sweet ladies that were featured and leave them some bloggie love!
Tell them Truly Lovely sent you!

Alright so it’s almost Christmas- you bought your friend an awesome (but incredibly tiny) gift and you’re so excited to give it to them. BUT you have a few problems…. ONE! Sure the gift wasn’t cheap but it isn’t HUGE either and the last time you checked- they didn’t make bags and tissue paper this tiny… TWO! Now you’re panicking because you don’t know how you’re going to wrap it and you’re suddenly wishing you would have bought something bigger…
TAKE TWO DEEP BREATHS and chill- Kayli’s got you covered  Use a paper box! Here’s a tutorial-
1. Get your materials together- two pieces of scrapbook paper (tissue paper and ribbon later for pretty wrapping) and some type of folding mechanism- I used my hands 😉 Yeah- that’s it. That will be all you need.
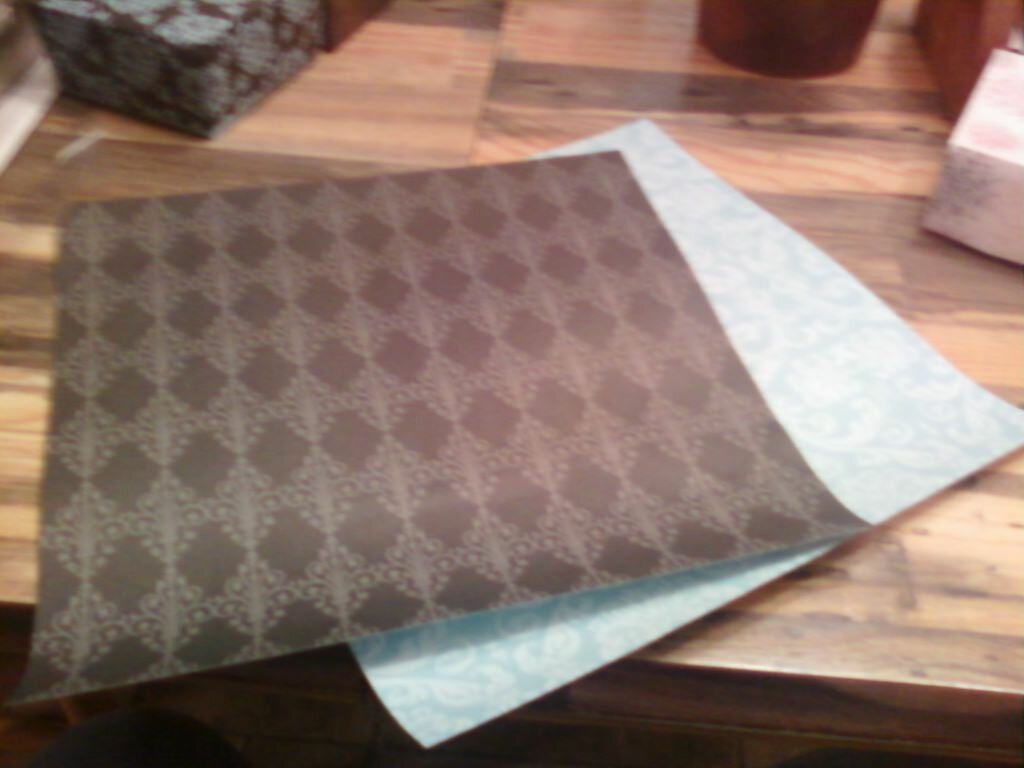
2. Take one sheet of paper (this sheet will be the bottom half of your box) and fold it pattern-in hot dog style one way- then unfold it and fold it hot dog style THE OTHER way.
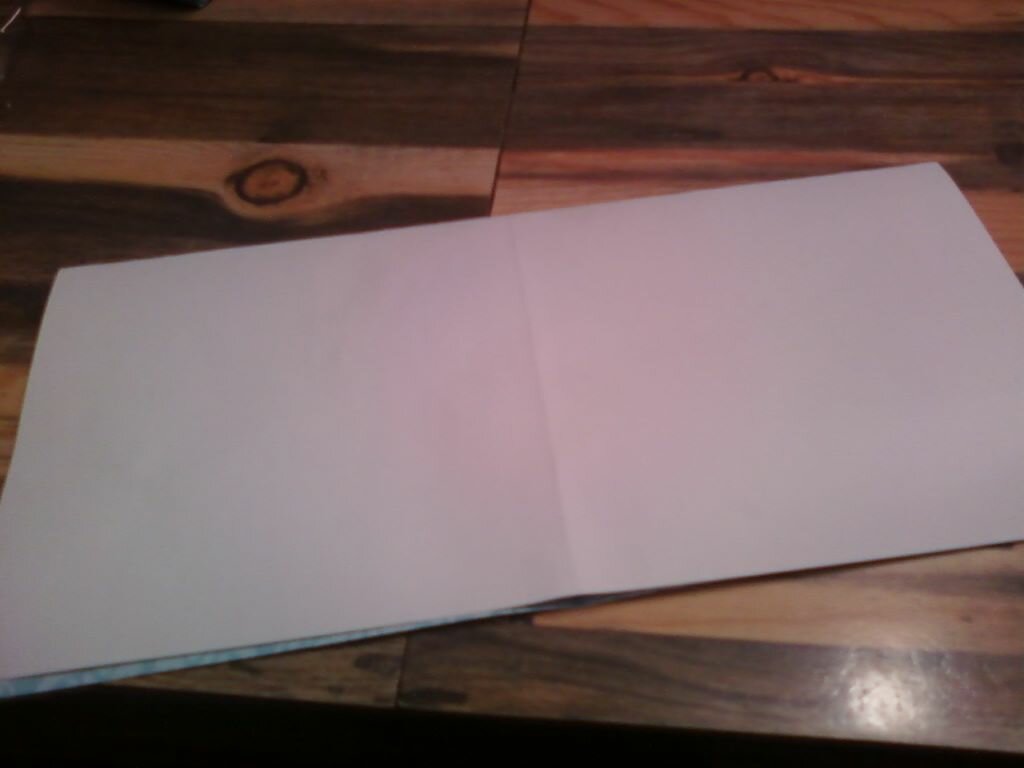
3. Alright now unfold again so it’s flat- and lay it pattern down. Now take each corner and fold it into the center of the paper so it looks like this…
4. Now take the bottom of your paper and fold it into the center and do the same with the other side, like this…

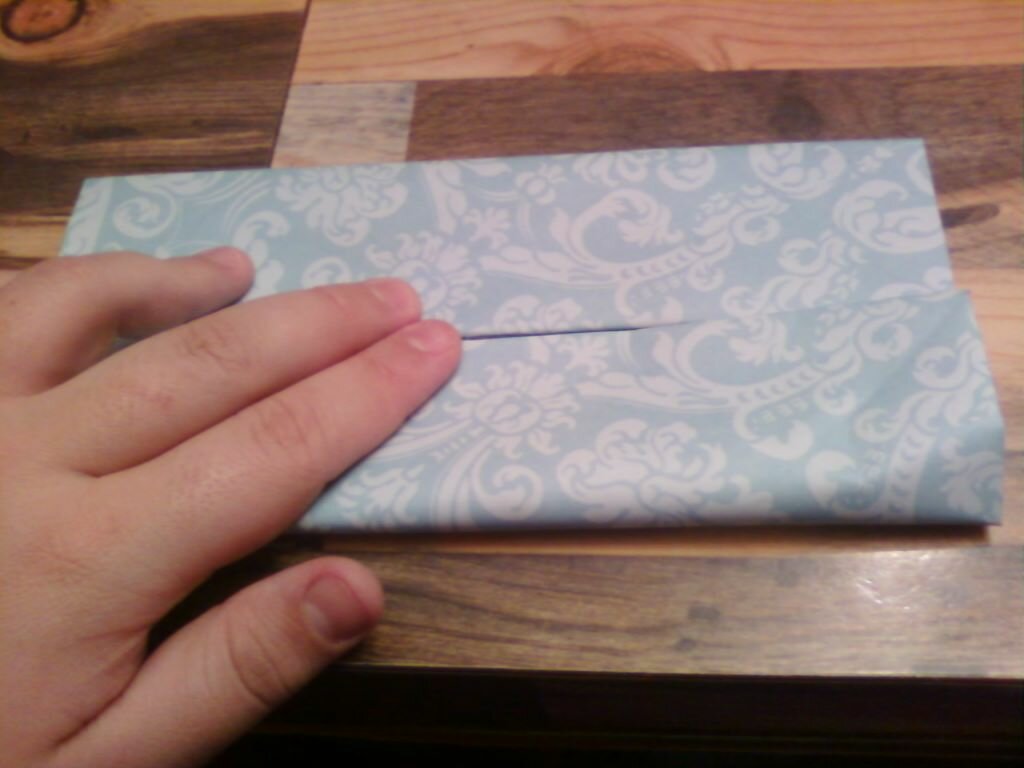
**When you make the top of your box, you’ll want it to be bigger- so at this step just make sure you don’t fold ALL the way into the middle- leave a space in between, nothing drastic- but if you make them touch like above- then the top won’t fit over the bottom..**
5. Unfold it so it looks like this-
6. Now push both sides of your paper in like so-

7. Then fold the top over on one side so it looks like this-

8. Then do the same to the other side and TADA!!! You have the bottom of your box! Confused look?? Where did I lose you?? haha
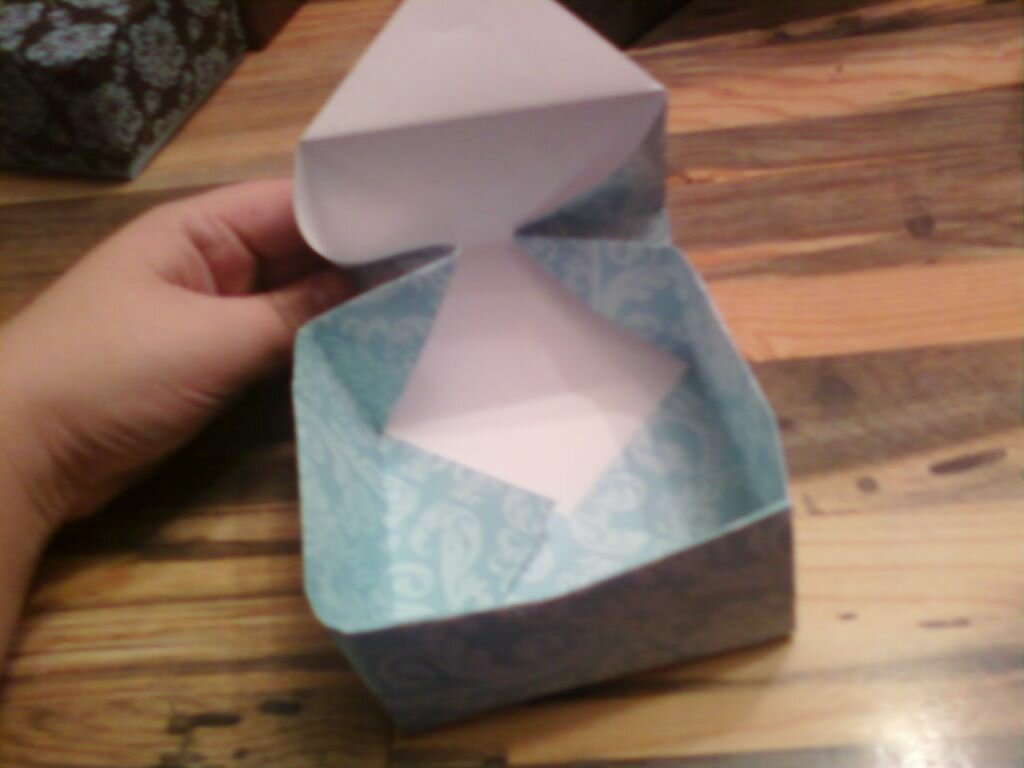
So I completely love these- I use them to hold notes and keepsakes, and for wrapping gifts! It might seem crazy complicated- but it’s really not- and once you’ve started, just keep one to use for future reference! Here are some others I’ve made- as well as the one I made for this post. Anyone else have clever ways to wrap gifts?? We’d love to hear your ideas!

Happy Folding and Merry Christmas!


The inspiration for this project came from , at Tatertots & Jello.
My fave blogger!
And from here at the Soladay Family Blog.
Thanks ladies for the inpiration!! Hope I did the idea well!! 


|
Me, in my new Scentsy Shirt! I sell Scentsy FYI!  |
 I still have one of the letters and pictures he sent to me, btw.


|
| AliLilly Christmas Bracelet |

|
| AliLilly Christmas Earrings |
 I think everything turned out very nice!


![[DSC02753.JPG]](/wp-content/uploads/2012/03/dsc02753.jpg?w=300)
Close preview
Close preview
Close preview
Close preview