Hello lovelies!!!
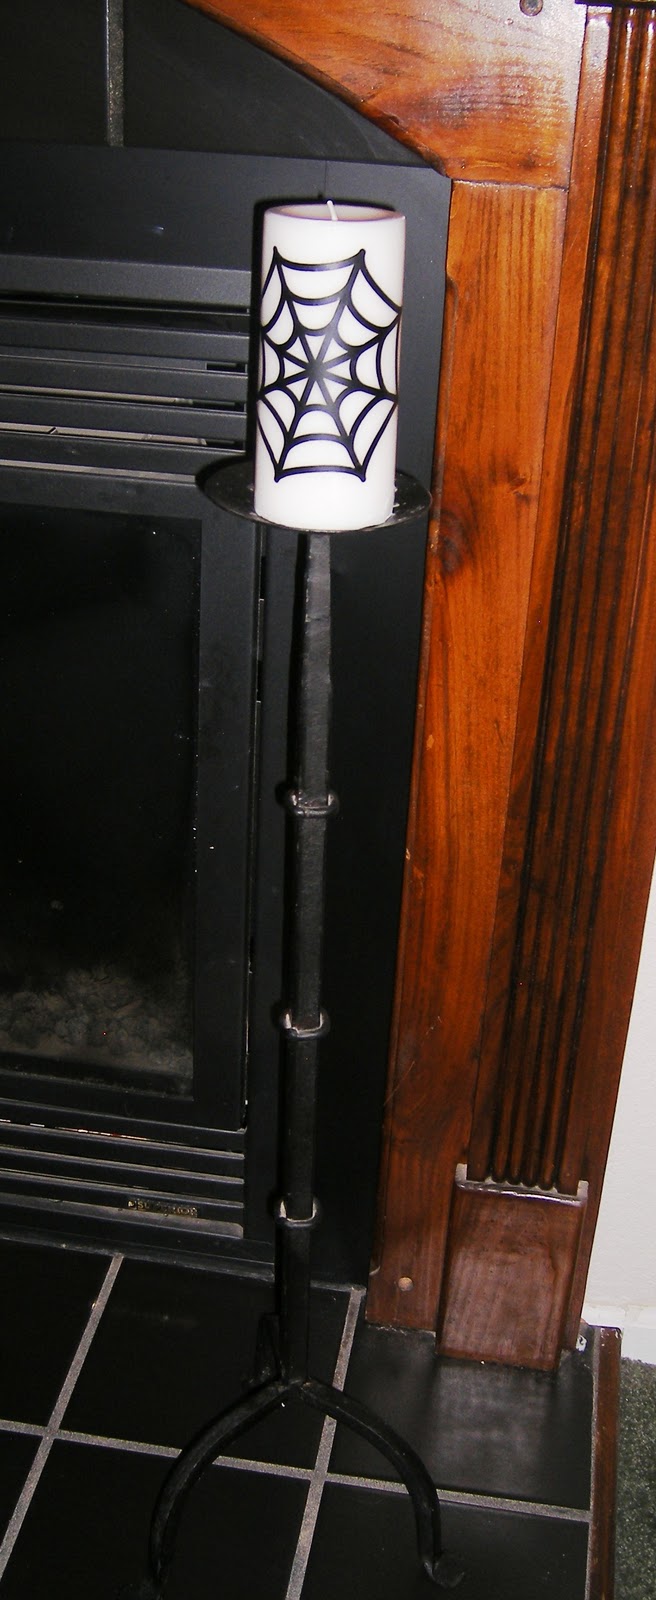
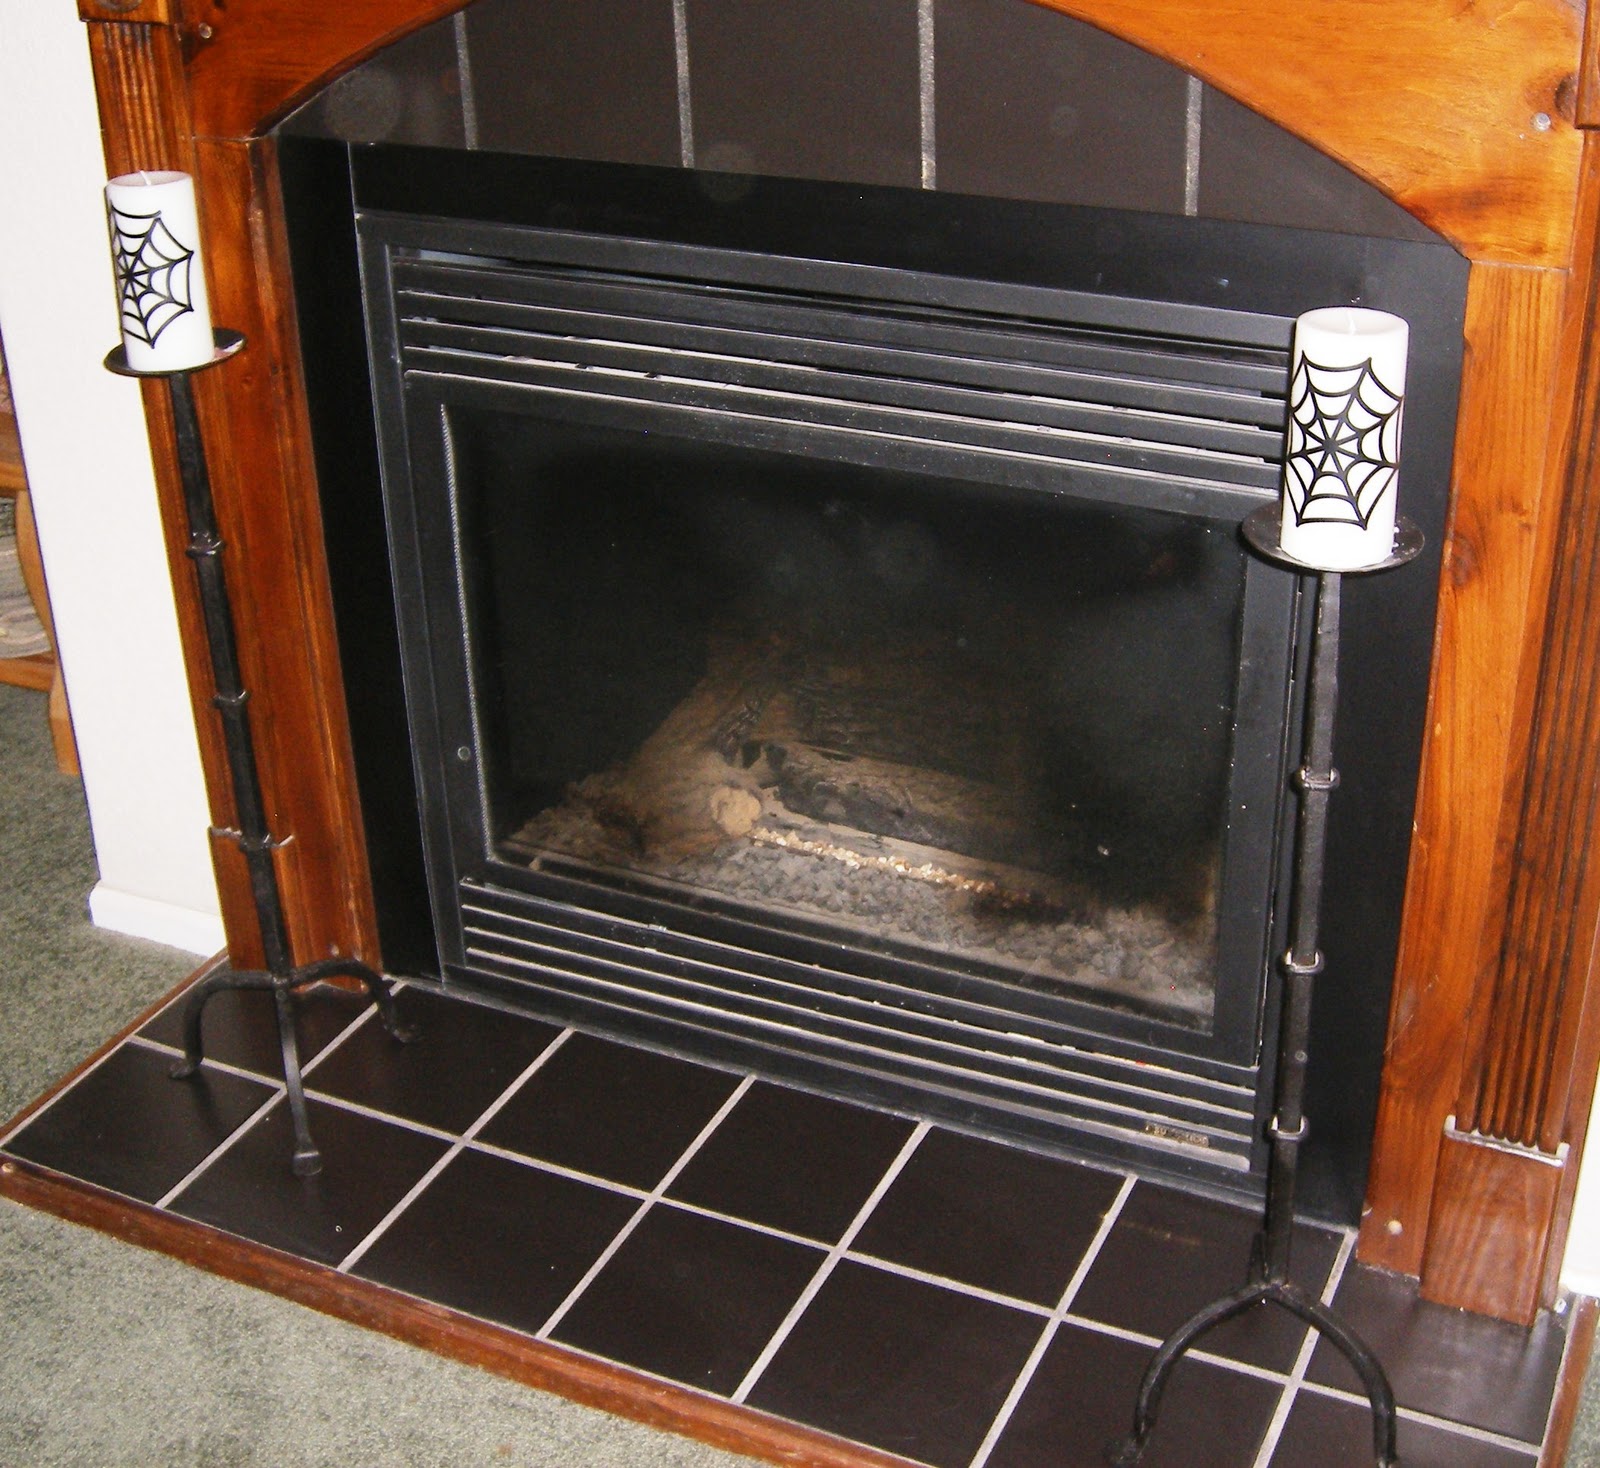
I am really enjoying fancying up these pillar candles for my two candles stands!!!
It’s fun to take something you use year round and adjust it for each holiday/season, don’t you think?!?
You can see my here and my Thanksgiving Candles here.
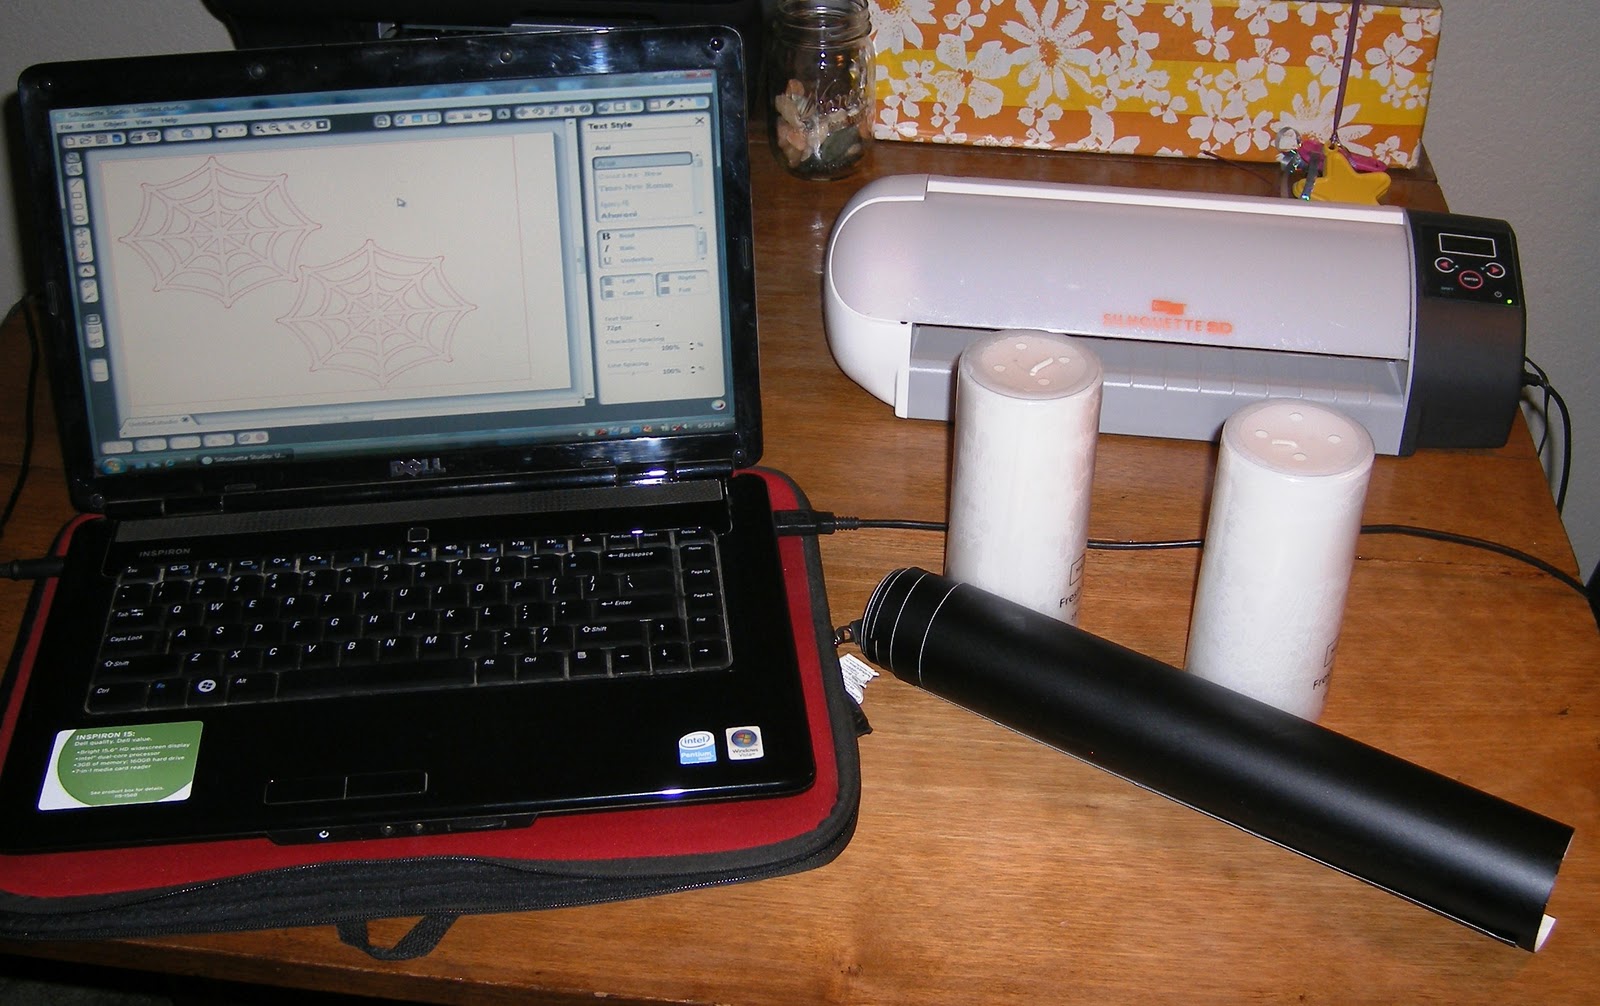
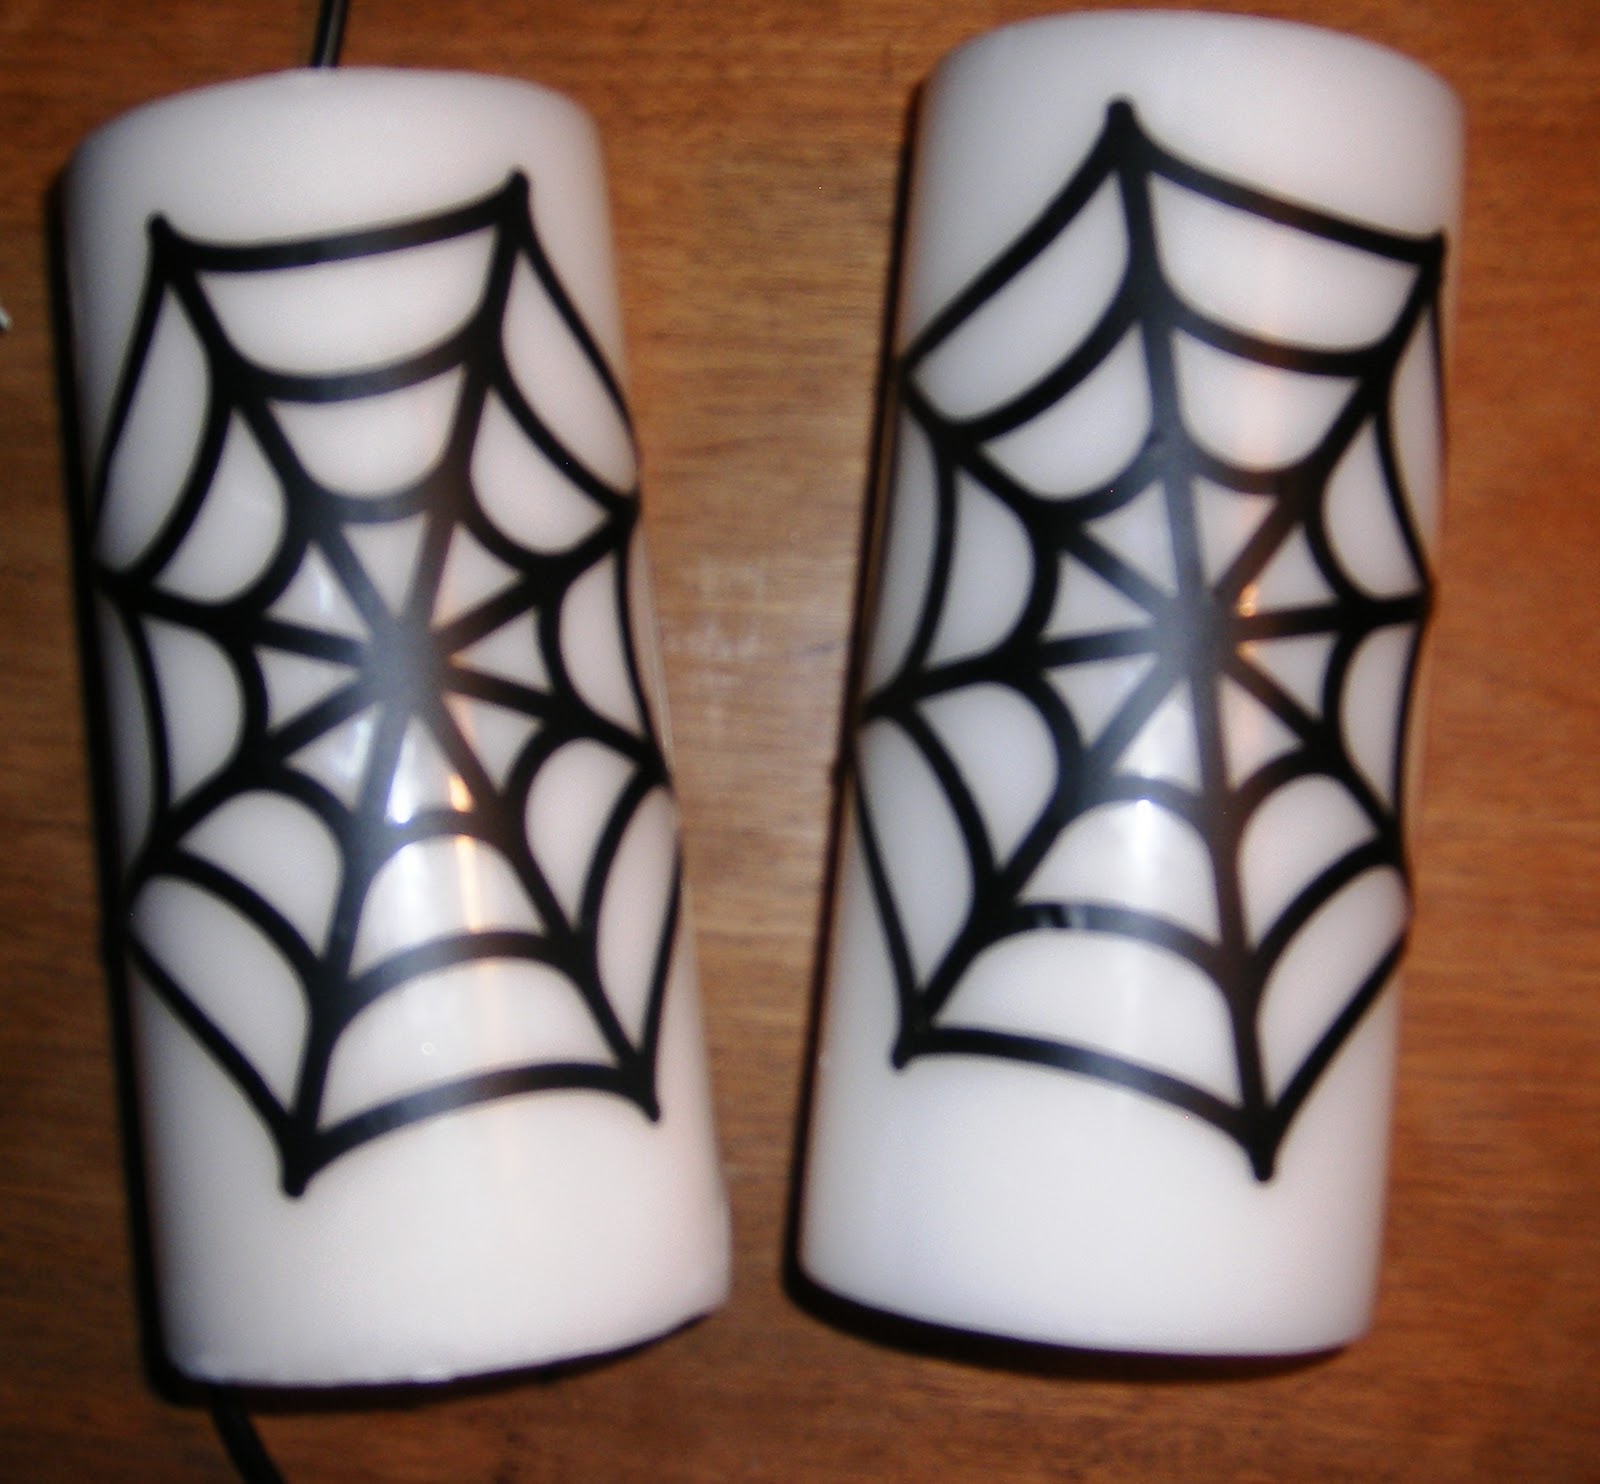
For Christmas here’s another (EASY and CHEAP) candle decorating idea!!!
First seen on An Irish Italian Blessing! Thanks Katherine!!!
I am really enjoying fancying up these pillar candles for my two candles stands!!!
It’s fun to take something you use year round and adjust it for each holiday/season, don’t you think?!?
You can see my here and my Thanksgiving Candles here.
For Christmas here’s another (EASY and CHEAP) candle decorating idea!!!
First seen on An Irish Italian Blessing! Thanks Katherine!!!
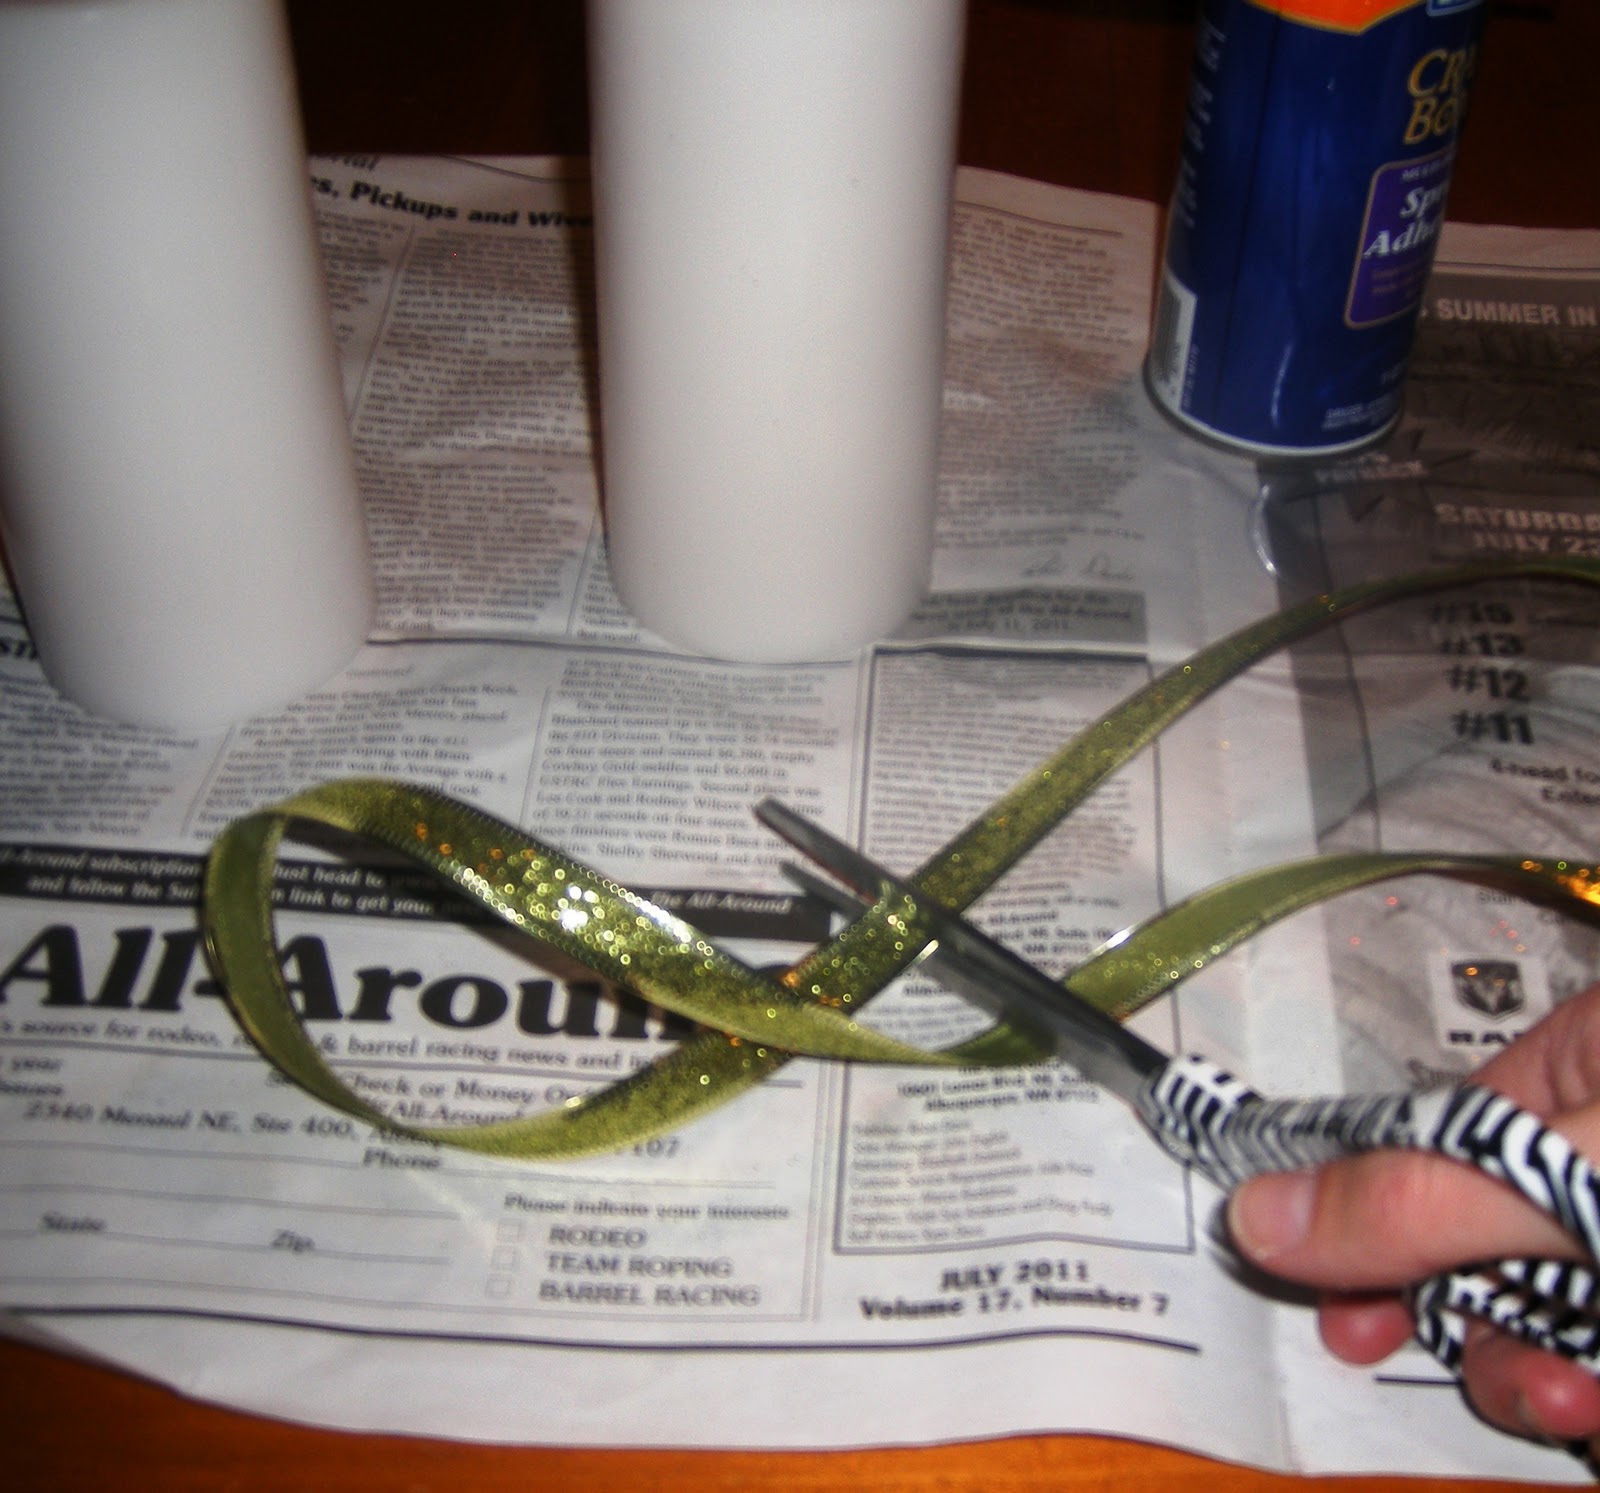
Christmas Ribbon Candles
Materials needed:
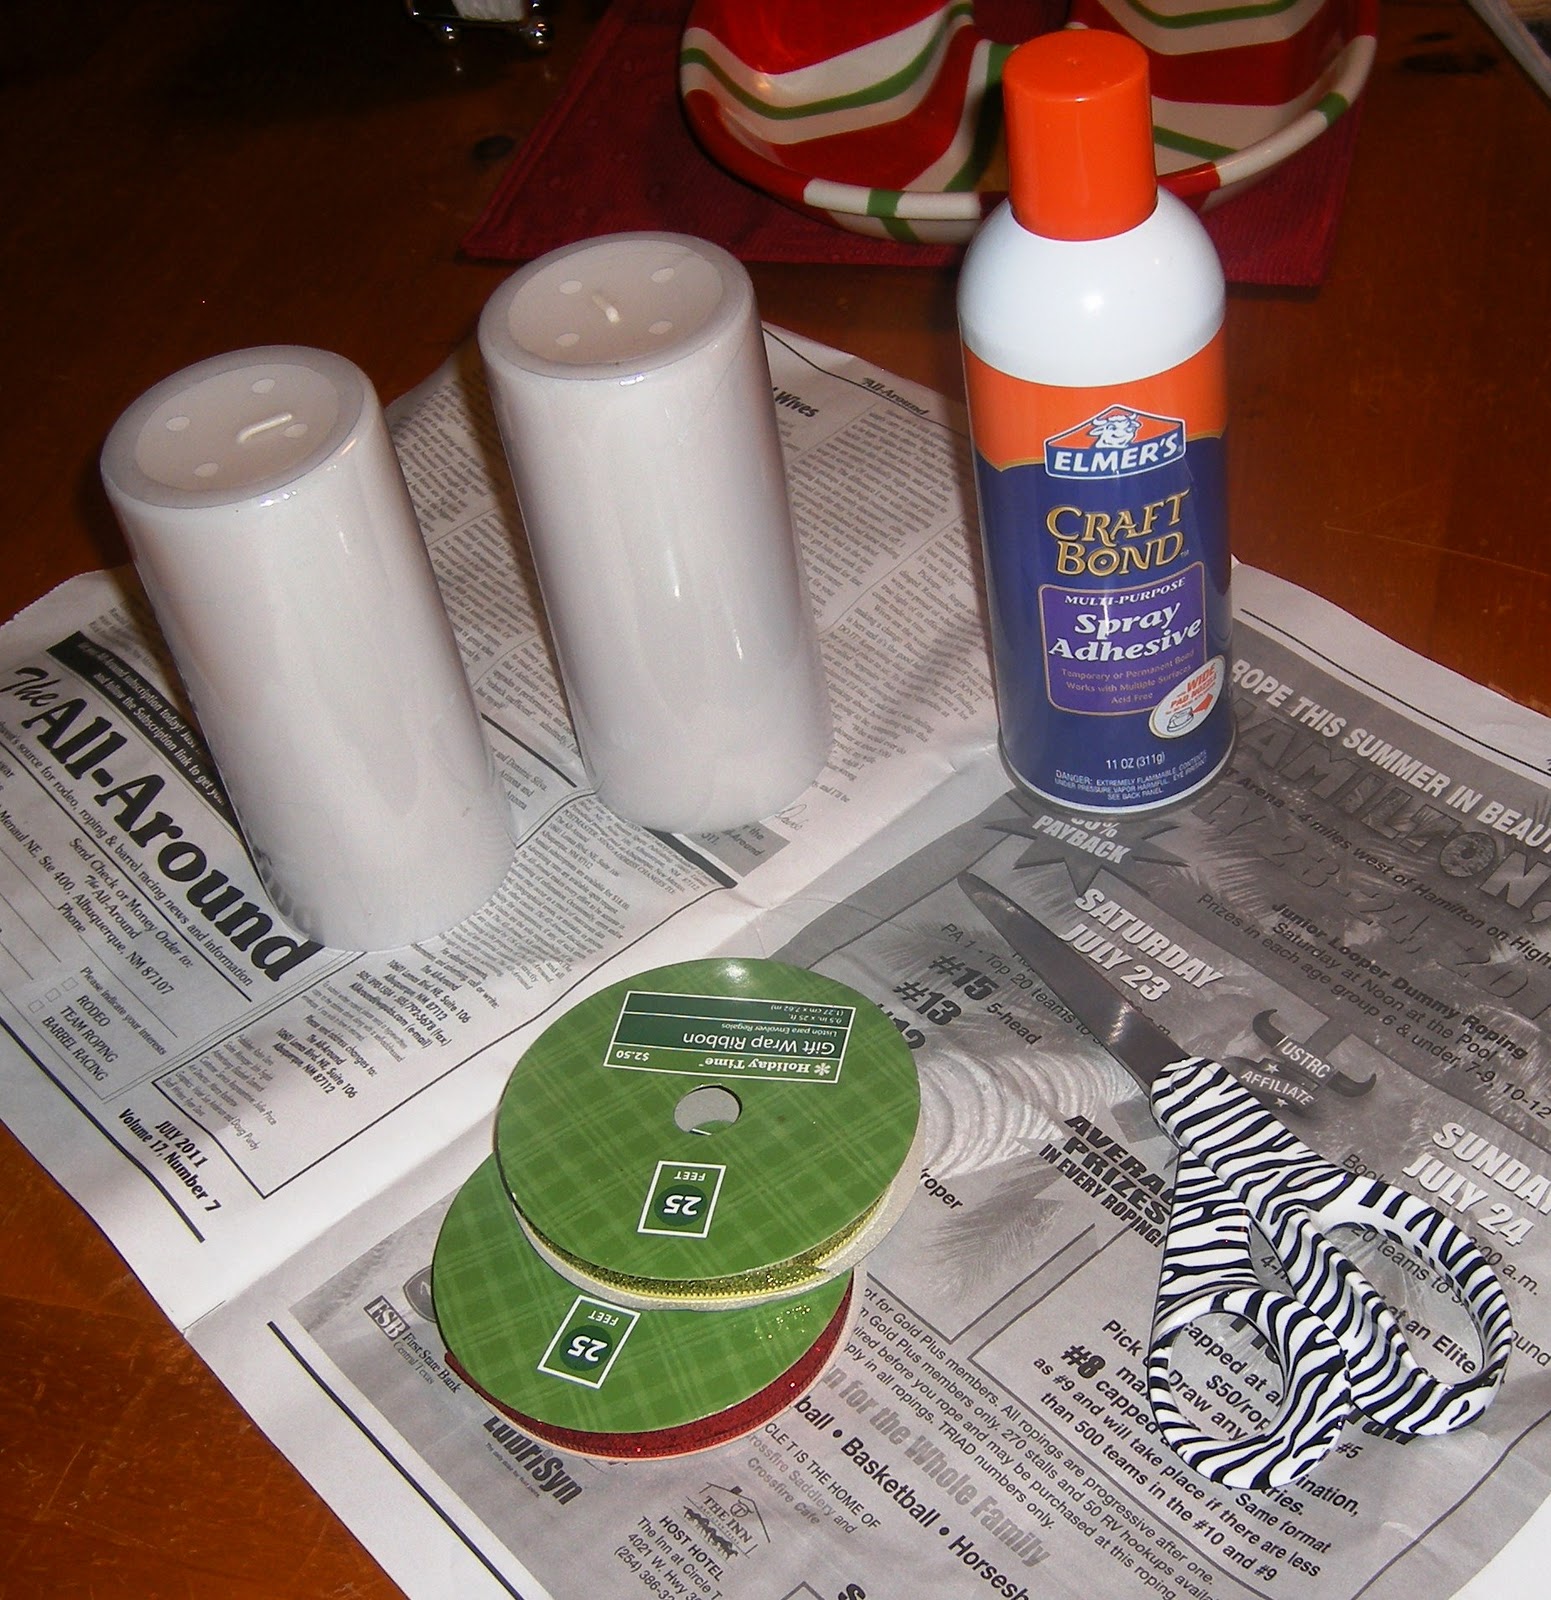
1-2 (or more) pillar candles
Ribbon of your choice
(You could make these for anytime of year depending on the candles and ribbon you choose, by the way!)
Scissors
Spray Adhesive
Glue gun
I cut three ribbons for each candle for a total of six ribbons, alternating the colors.
Spray the adhesive around the inside of the ribbon then attach to your candle, pressing down so it adheres.

Then to make sure it stays put…
I just dabbed a little hot glue on the outside end of the ribbon.
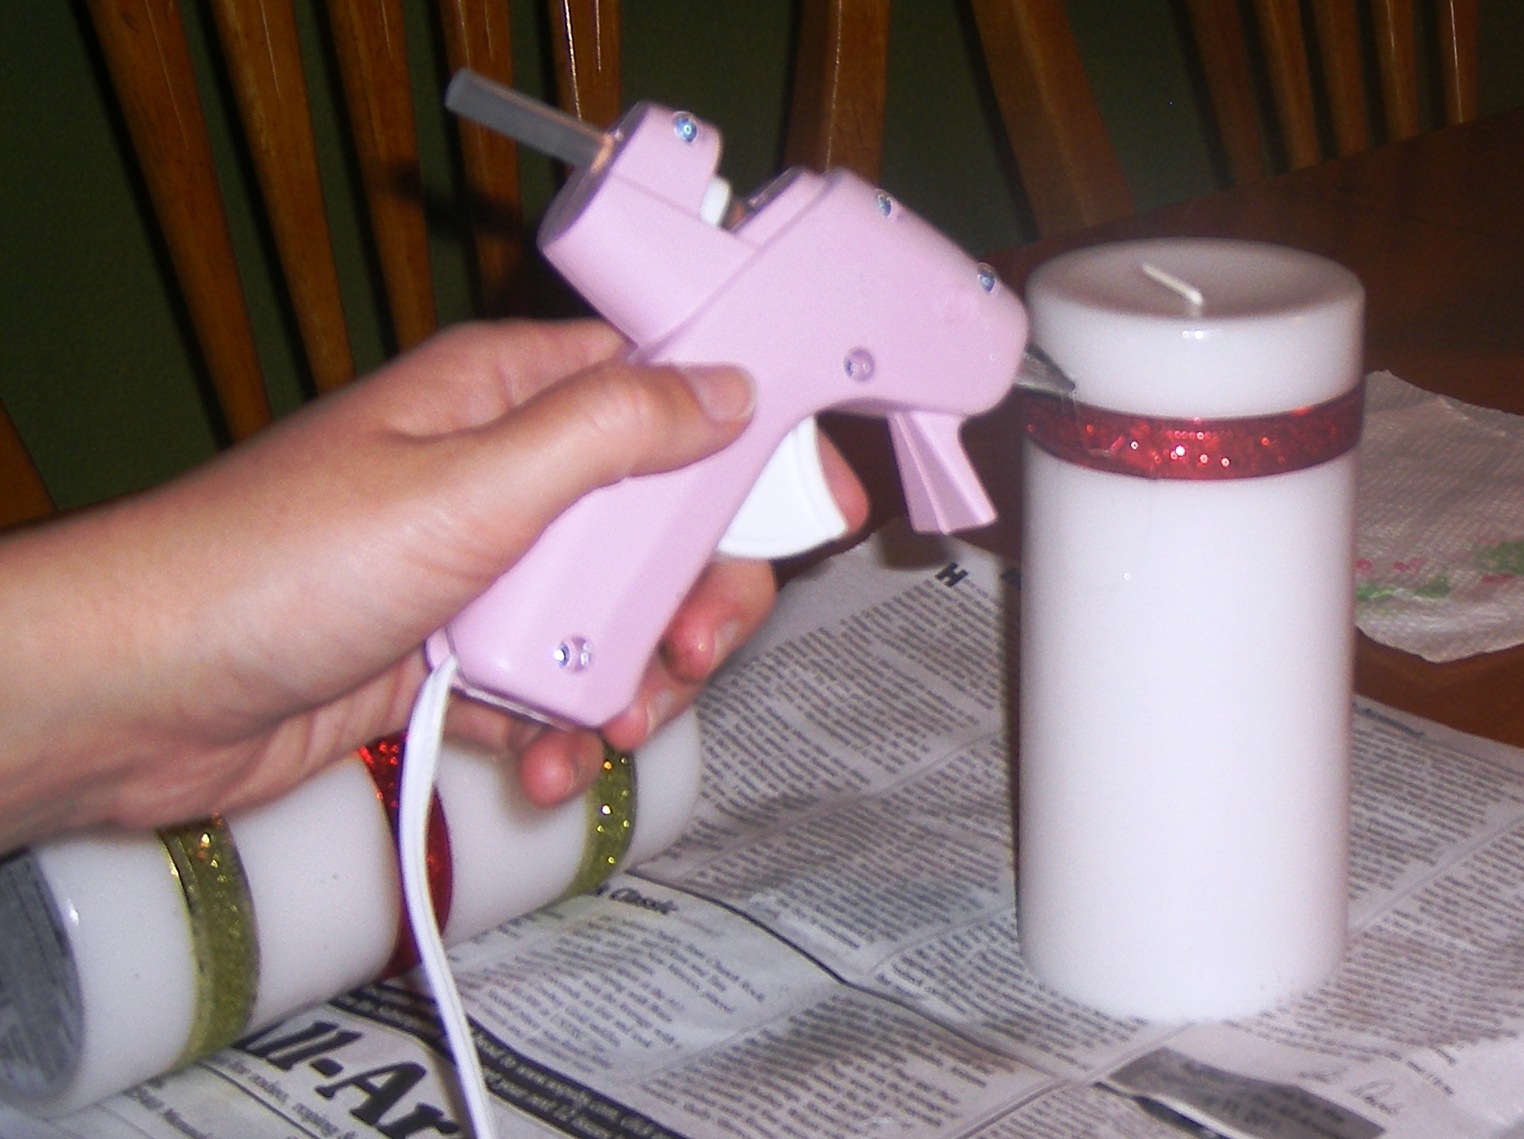
Match your ribbons on both candles if you want a cohesive look.
If not, you can alternate ribbon placement.
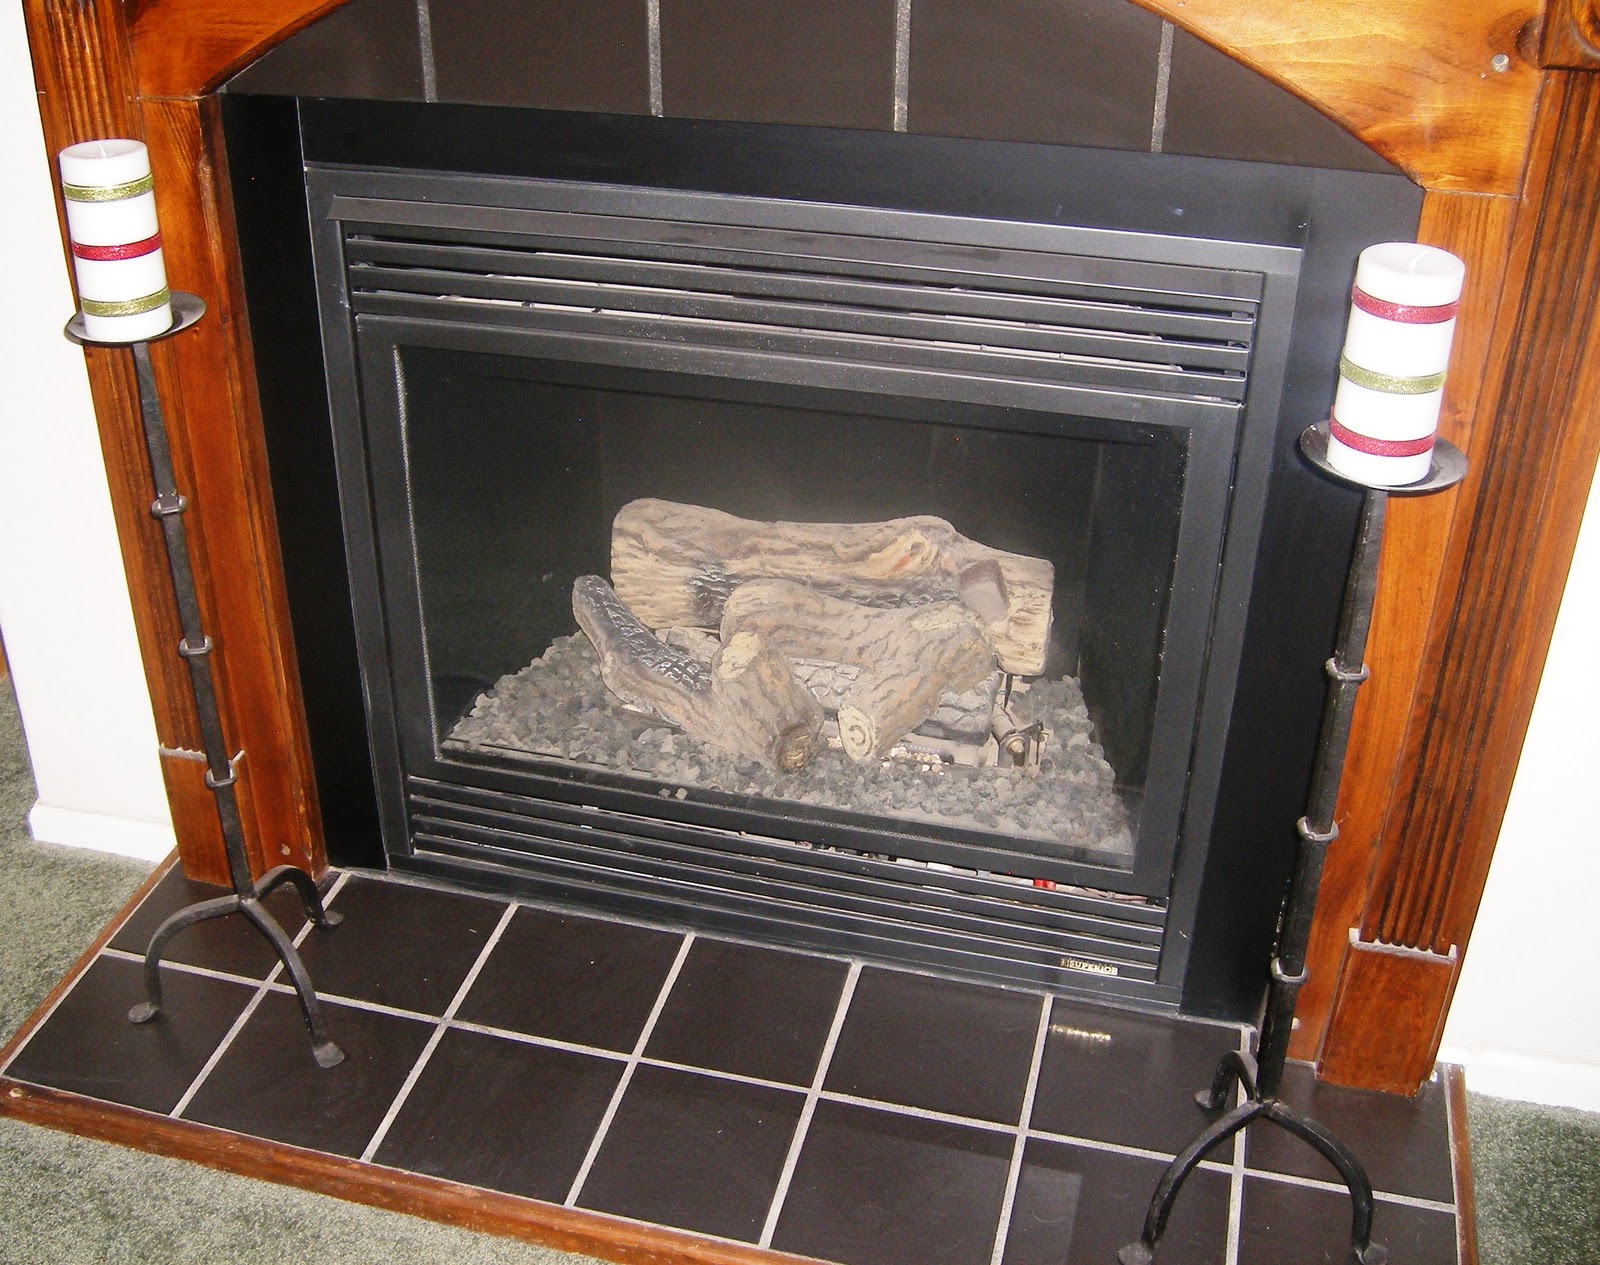
And viola! 😉

Really, this whole tutorial is a glorified set of instructions for glueing ribbon onto some pillar candles to spice them up! Easy peasy, right?!? Haha.
We like easy and inexpensive projects here in case you haven’t noticed… 😉
What easy Christmas decorations are you/have you been working on?
Or not so easy… We’d love to hear about those too!