Archives for December 2011

Fancy This Fridays #56 and a Farewell to 2011!

The last Fancy This of 2011!!! 

I thought it would be fun to look back at the most popular posts here at Truly Lovely over this last year!
You know, celebrate where we’ve been and look forward to where we’re going!

So… here we go!

The MOST viewed post of 2011 wasn’t even our post… It was a post from the lovely Ami of AliLilly, a Bloggie Bestie post! 
Crazy, right!?! Just goes to show how AWESOME blog swapping can be!


In her post Ami shared the pom pom banner she made for her little Miss Alie’s birthday cake. It was also the same time that we were having to change our wedding date because of the Wallow Fire… I’m pretty sure that might’ve helped send viewers over from Ami’s blog… 
But regardless, she sends viewers over here all the time! Seriously, searching my name on her blog brings up several posts. Now THAT is an AWESOME Bloggie Bestie! 
LOVE ya AMI!!!!! :)

Post number two from 2011 is actually one of our posts… heehee. 
Kayli’s ! We thought it was cute and fun too! 😉
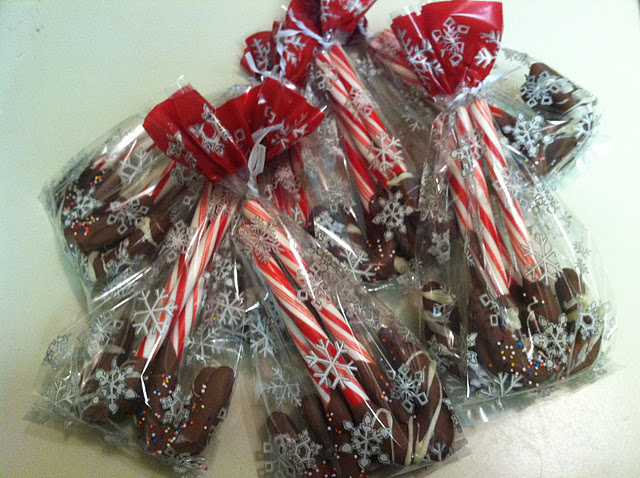
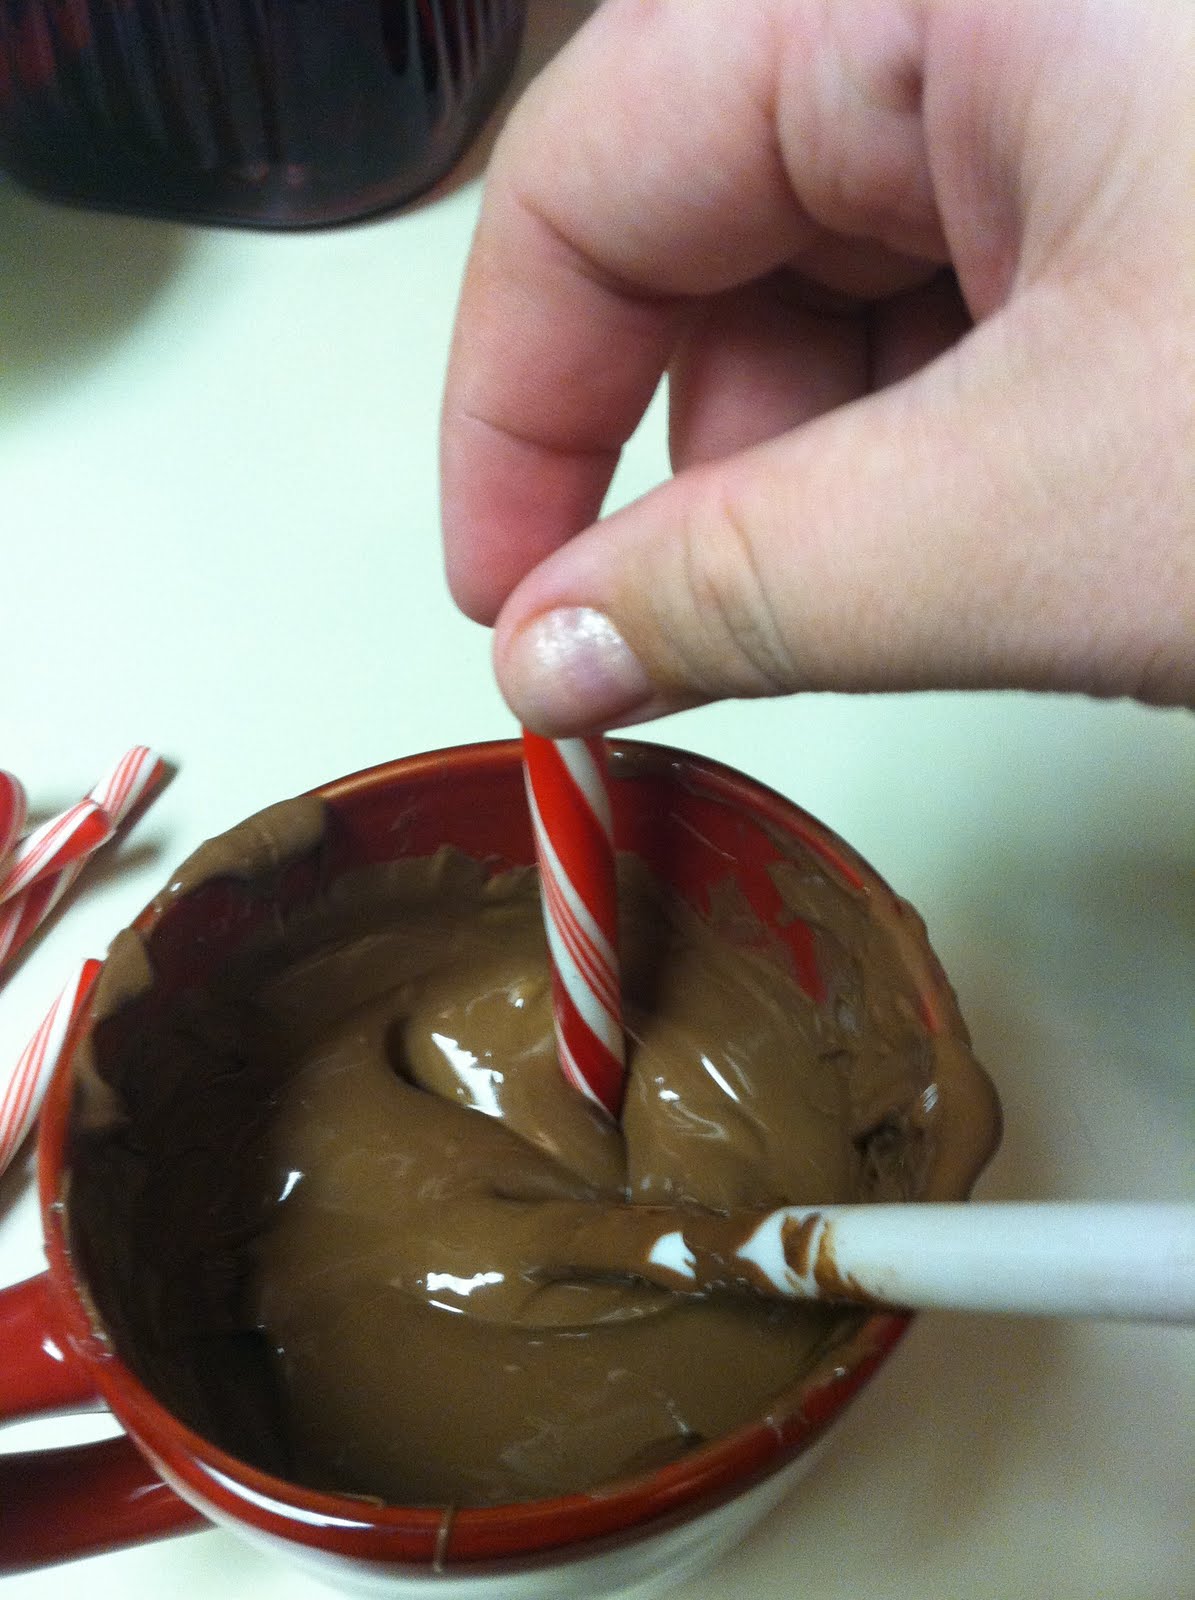

Up next was my . 
It was very useful the months before our wedding (and after actually)!


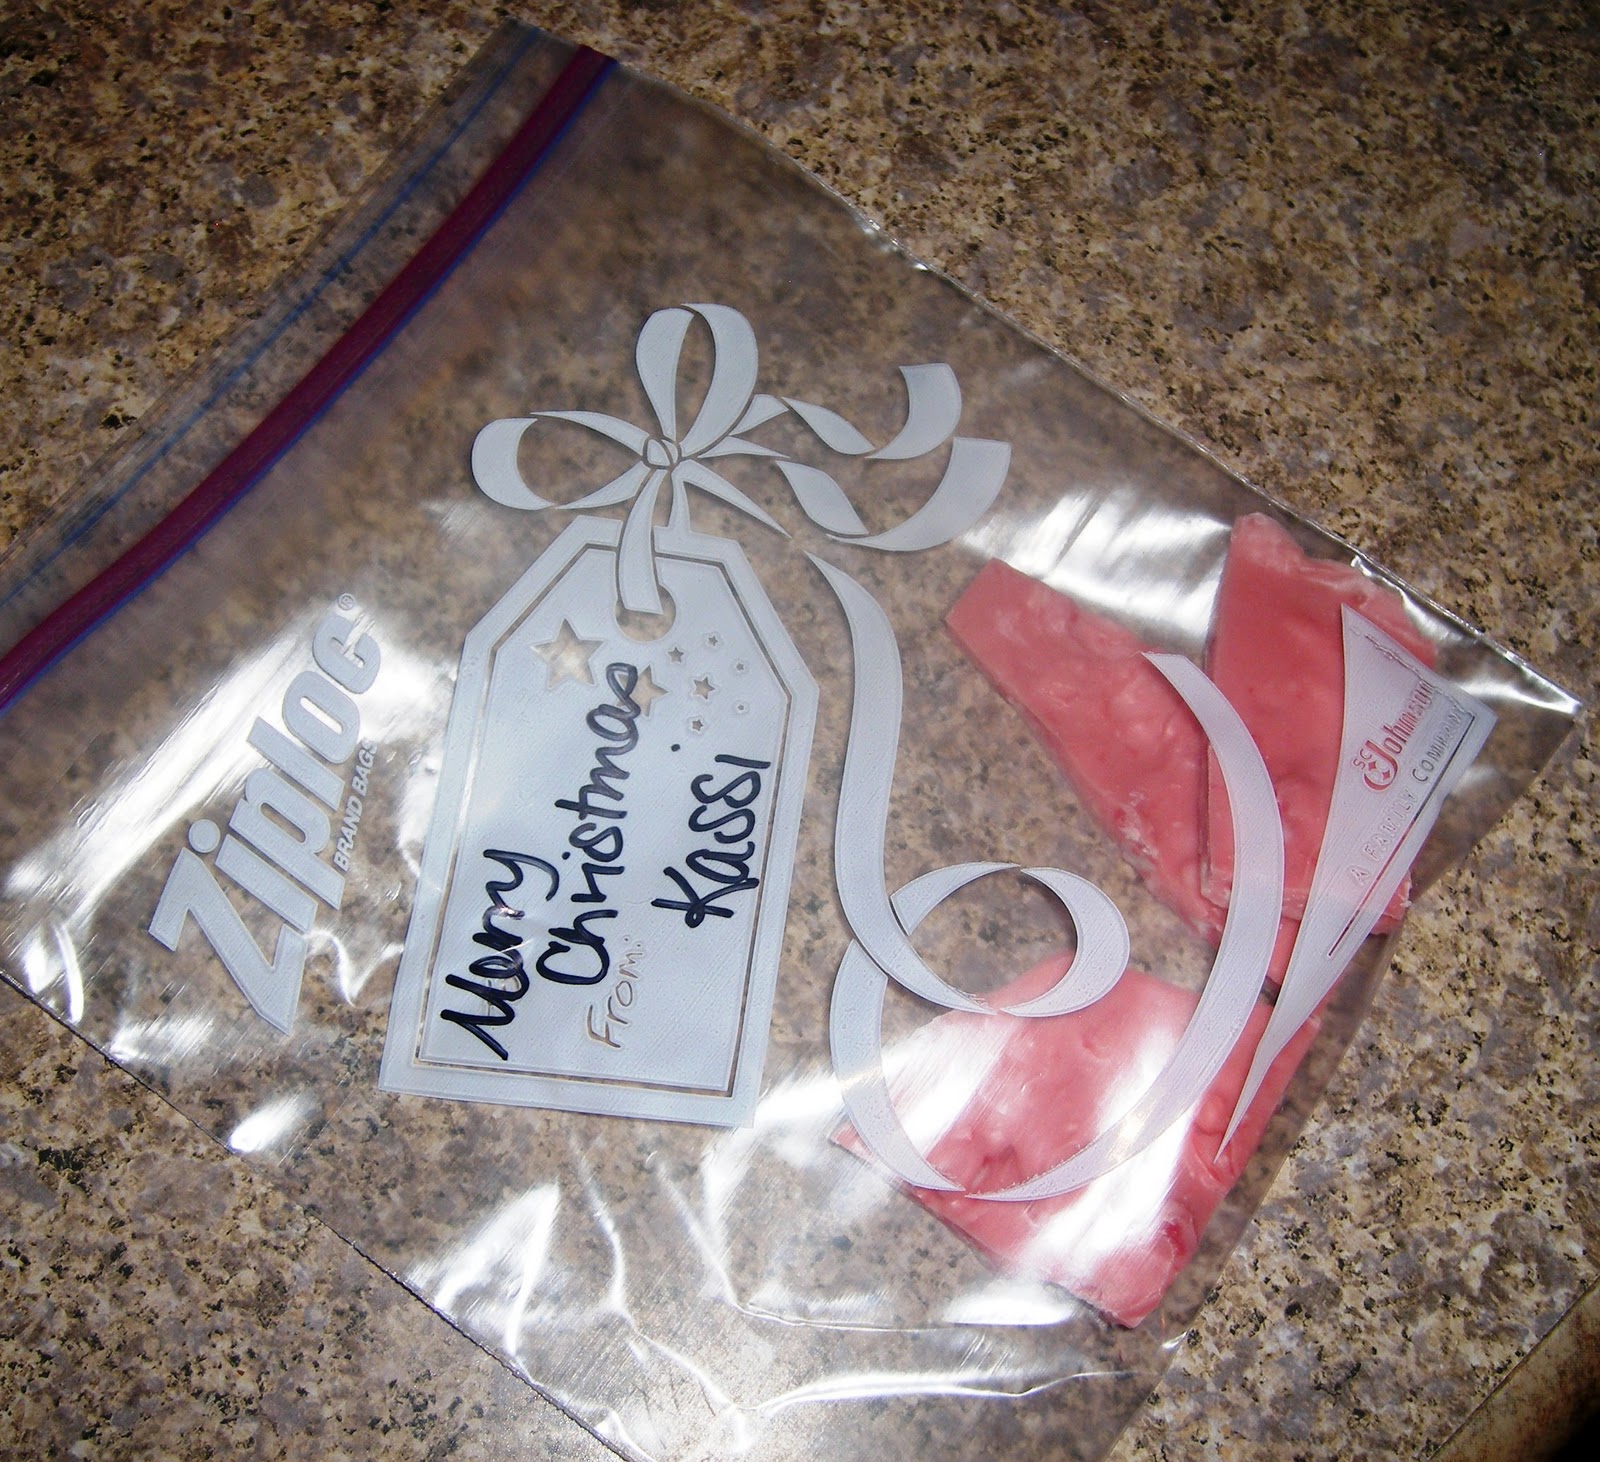
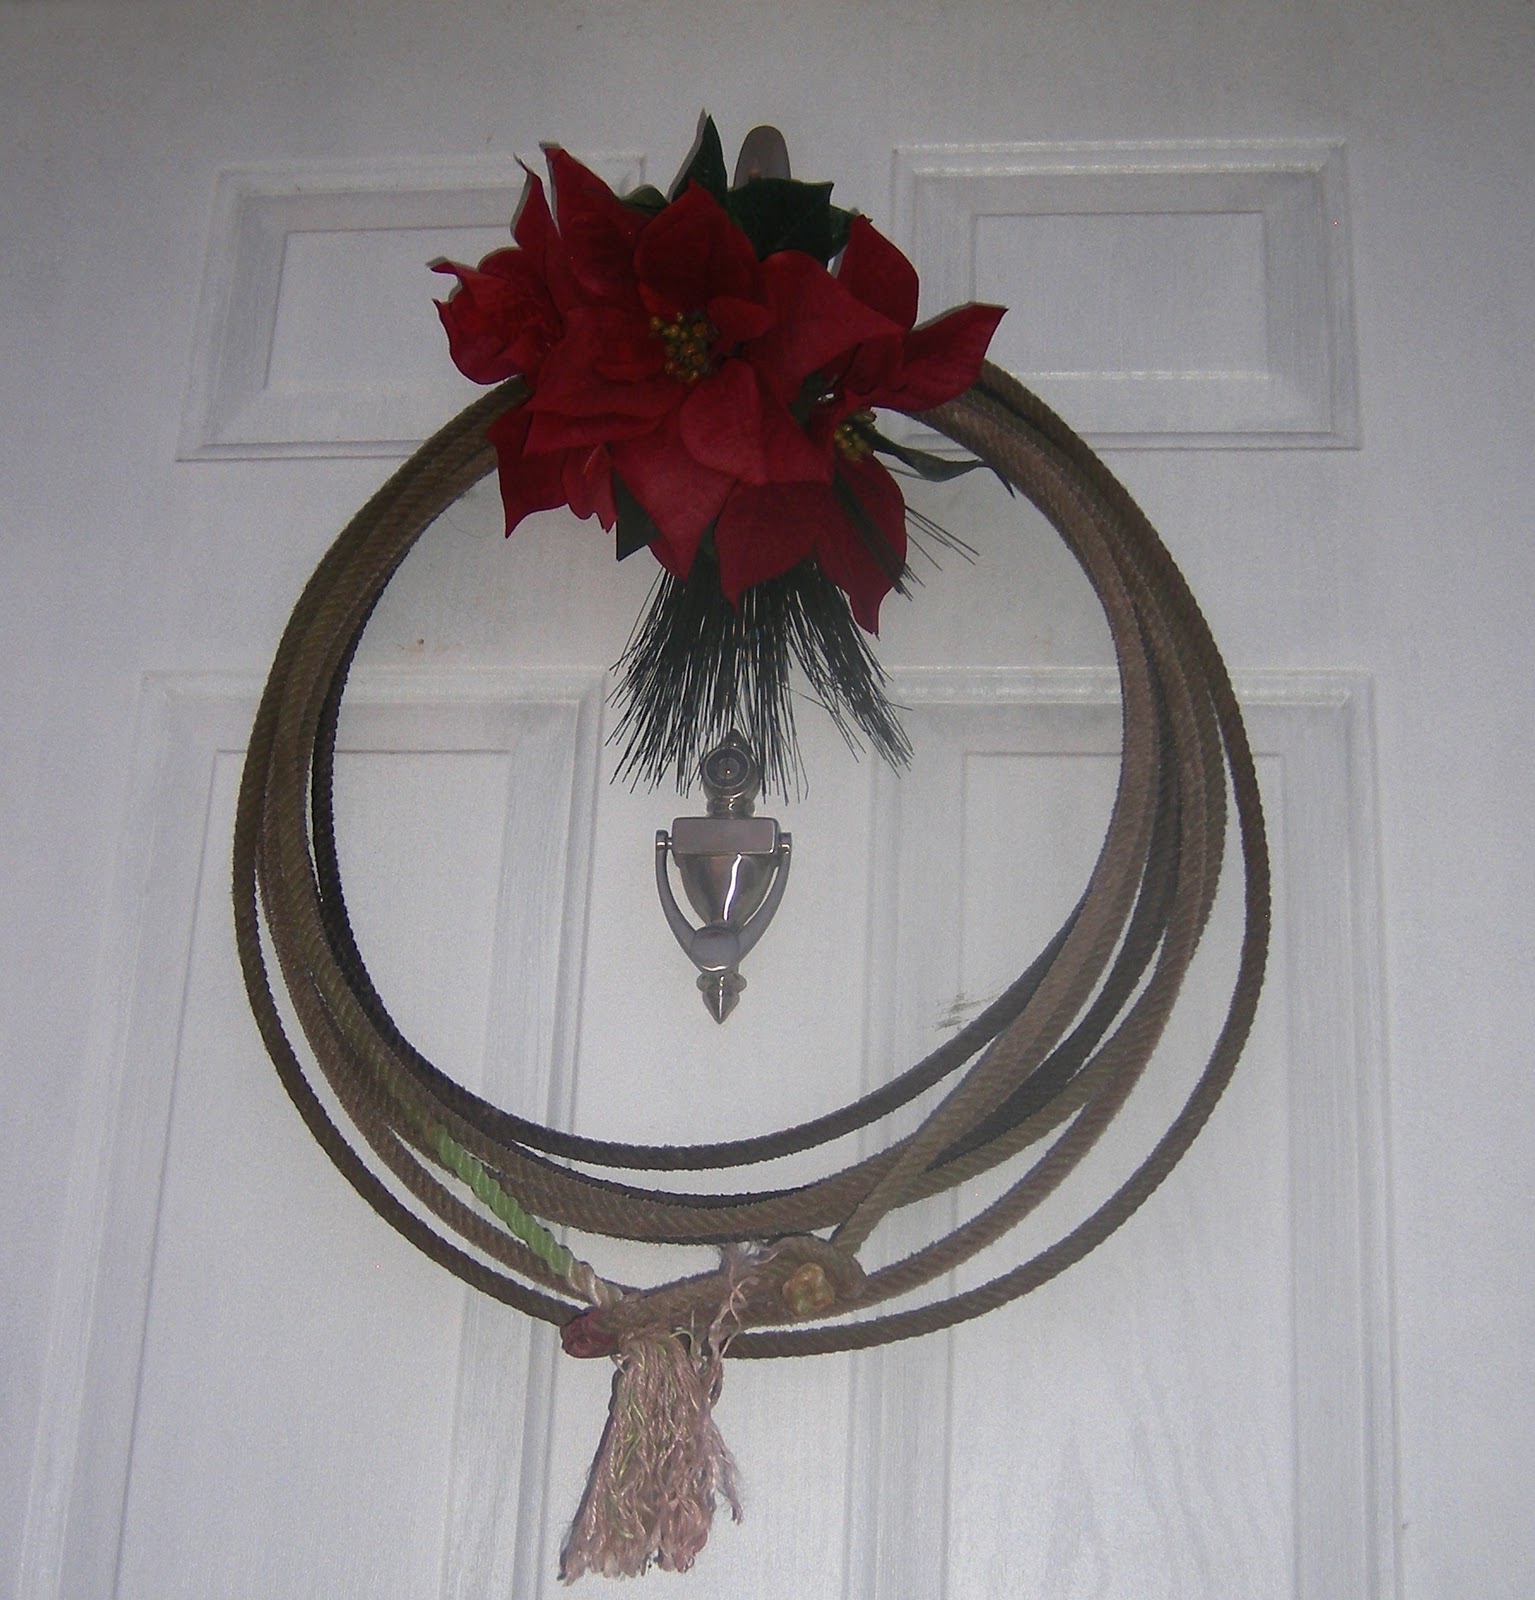
Then to round out the top four… My post for the Make it Merry series on !


We’d like to take just a second and say
THANK YOU to YOU
Thanks for reading Truly Lovely in 2011!
Thanks for commenting!
Thanks for sharing!
Thanks for sponsoring!!!
Thanks for the fun emails and conversations through Twitter and Facebook!
This blog is a much loved and enjoyed part of mine and Kayli’s lives. 
Thank you for that!! It wouldn’t be without you all!!!

We wish you and yours a healthy, happy and prosperous 2012!!! 

Hope to see you back here on the other side… 😉

Until then, let’s wrap this last Fancy This Fridays of 2011 with a BANG!!!! And go!

 AND

Our first family Christmas party

A few days before Christmas last week we had our local family members over for a Christmas party of sorts. I don’t think I’ve mentioned it before, but my husband’s older brother and his wife bought a home directly behind, catty corner to ours. 
They just moved in over this last month. 
This was our first real, of many I’m sure, get together as neighbors!! 

We had ham and mashed potatoes that my SIL Brianne made and brought over.
I whipped up my friend Meg’s recipe for a yummy chile/corn side dish, and we had for dessert! 
We actually took these post opening presents, thus the reason the presents are shown in the pictures haha.
Guess you know you did well when they don’t want to put them down… 😉
While we were getting dinner finished up the kiddos, (Corryn and Chancey) made some ice cream cone Christmas trees. They decorated their trees with M&Ms after their momma iced them. 

Chancey and his tree. 
Corryn and her tree. 
Once we’d finished eating it was time to open presents!
Chancey got some little trucks and Corryn, a Barbie doll and doll clothes. 

Brianne, Chancey, Corryn (Hubs and BIL in the background)

My FIL and his wife, Tammy. 

Like Uncle like Nephew… 😉

Opening their bigger presents. 
A game for Chancey. 

And a Piggy Scentsy Buddy for Corryn. 

It was really fun to have our first Christmas get together with our nearest family. 
I’m sure they’ll grow through the years, but as our first married Christmas, it was nice to have a small get together and enjoy the ones we love in our new home. 

We spent Christmas Eve and Christmas Day with my parents and family in my hometown. 
For one reason or another I didn’t take any pictures! BAH!!  :) I still have a few things I’ll share about that later as well as how AWESOME the hubs did for his first Christmas as a married man. 😉 

We hope your Christmas was MERRY and BRIGHT and spent with the ones YOU love. 

P.S. We’re looking to schedule some FUN NEW Bloggie Besties!!! Interested??
Leave a comment with your email address or email us at trulylovely.laney @ gmail.com (no spaces). 

WIWW – A Touch of Grey

Or is it gray…? I can never decide!
In my quest to mix things up… 
I purchased this fun ruffly grey shirt when the hubs took me birthday clothes shopping. 
I just love it. It’s so girly and ruffly! 
Then there’s my grey dress pants from Old Navy. 
When I started my job last October I bought a few nice work outfits that included these pants… Turns out I don’t really have to dress up for work. 
(I work mostly from a computer, so only my boss and coworkers ever see me…)
But it’s still nice to once in awhile… The loose white top (also from Old Navy) dresses it down a little I think. 
And since we’re talking grey/gray, check out my NEW grey ! 
I won the lovely Sarah’s (of The Fontenot Four) Big Birthday Giveaway
One of the prizes was an item from her shop, and this is what I chose! I’ve already worn it several times to keep my ears toasty warm! Thank you again Sarah!!!
Haha! Does this picture remind anyone of this…. 

I think so! haha. No worries! I was just headed out to feed horses in the cold… :)
Linking this to these FUN parties! Click the pics to check them out and link up your posts!

pleated poppy    

Peppermint Bark

This year I made Peppermint Bark to share with my coworkers for the holidays!
 Last year I made , which were AMAZING… But I like to mix things up! 😉


I had planned on using that I pinned awhile back, but when I went to the grocery store, I discovered  a whole lot of awesome-ness in these Andes Peppermint Crunch Baking Chips!!!


Ingredients needed for each batch of peppermint bark:
1 – 12 oz bag of white chocolate chips
1- 12 oz bag peppermint crunch baking chips
Cookie sheet
Parchment paper
(I had planned to use the mint flavoring but with the peppermint chips, you won’t need it!)

Long story short, you melt a bag of white chocolate chips with about half a bag of the peppermint chips in the microwave. This was my first try at melting white chocolate and at using the microwave to melt chocolate, but it worked out lovely!
Then stir in what was left of the peppermint chips (to add a little extra crunch). 
Lay out some parchment paper on your baking sheet, then pour and spread the mixture onto the sheet. 


Pop into the fridge for 45 minutes to an hour. 
The chocolate will harden and even start peeling up from the parchment paper.


Break into pieces, package and share! :) Or not… again, we don’t judge in the sharing of treats department! 
I used those handy little Ziploc Christmas bags and just wrote Merry Christmas or Happy Holidays from Kassi on the tag in black marker. 


I stuck them in a bowl and took them to work to pass out! :)
If you need a quick treat for anything, it really didn’t take much time at all. 
Just the wait while in the fridge! :)


Happy Tasty Tuesday lovelies!!!

Christmas Cards 2011

Scroll down to see our 2011 Christmas Card! :)

Since this is our first married Christmas, I thought the ‘Our Family Name’ cards from Shutterfly would be perfect to share us as a married couple. It highlights my new last name and features several of our wedding photos. 
Let’s be honest, the year you get married is really the only time you can get away with using wedding photos, so I did. :)


This is the second year I’ve sent cards from myself and the hubs. 
I stamped each one in red ink with our return address stamped courtesy of the fun stamp I purchased from 
They did a great job on my stamp!! 
Highly recommend them!!!


I really love how they turned out. 
How about you? Do you send holiday cards?
Do you do a handmade card? Photo card? 
I’d love to see if you have a link!


I mentioned it yesterday, but we’ll be on holiday vacay through Monday! 
SO see you back here next week!!!


Merry Christmas 2011 from 
Truly Lovely!!!

Our Family Name Christmas Card
Send Christmas cards personalized with your family photos.
View the entire collection of cards.

Christmas at Kassi’s

So I had mentioned awhile back that I had a post planned to show you the Christmas decor at my house… Let’s just say it’s been tough getting things I HAD to have done, done… much less take good pictures of the decor and what not… haha. It’s just that time of the year!! :)

But here’s a few pictures I did get before the craziness set in…

Our little Christmas tree.
It’s a pre-lit tree with colored lights. My parents got it for me several Christmases ago. 
I love it!
The star was also a gift from my mom. I got the gold tinsel string on sale a few post-Christmases ago for $0.50! 
Thought I needed some gold to match the star. 
The red tree skirt belonged to my mother-in-law. 
It was a perfect addition with its gold glitter!

The angel in the gold dress (on the right) has a twin that belongs to Kayli. :)

The top left ornament is for our first married Christmas (). 
The top right is two little stockings I made for our doggies a few years ago. Just wrote their names in puff paint. 
And the bottom pic is a hand beaded ornament from a sweet lady at work. She has given me one or two every year so far. 

Funny story…. Our four year old nephew found a Cars gift bag and filled it with odds and ends for his “girlfriend’s” Christmas present, then put it under the tree. 
It has a plant holder, some rolley wheels, a State Farm stuffed dog, some fake flowers and a plant food stake in it. 
Hubs said at least he did good with the stuffed dog and fake flowers. 😉

This little tree was my very first Christmas tree when I went off to college.
I had a teeny tiny apartment and it was all I could fit (and afford). I have a set of pink ornaments for it too, but sometimes I interchange the red and chile pepper ornaments (a gift from my Nana) for a different look.  
It even has it’s own string of clear lights. 

The snow globe came from ! :)

You saw the mantel in the post where I shared our , but here it is again. I fancied up those
The little wooden Santa is an advent that you slide the beads from one side to the other to countdown the days until Christmas. I’ve had that since I was a kiddo.
The nativity is a Precious Moments set that I’ve had since I was little as well. 
LOVE IT!!!
FYI – I collect Precious Moments pretties. 😉
The card display that is overflowing with cards! We’ve received several from friends over the last few weeks! I LOVE getting them in the mail and hanging them on our card holder. 

(Don’t mind the filled in nail holes… We have yet to paint in the living room….)
Kayli and our brother’s (Brent’s) girlfriend, Jessie helped me hang multi-colored icicle lights around the top edge of our house outside a few weekends ago. 
Luckily the people that had lived there before had hung lights at some point so there were already nails… We just had to climb the ladder and hang the lights. 😉
There you can also see the I made last year hanging for the first time on our very own front door! :)
Well, that’s pretty much it! 
Thanks for stopping by Kassi’s at Christmas! 😉
We wish you the most AMAZING of holiday seasons! 
And TODAY a Happy Hanukkah!!!

By the way, there won’t be a Fancy This Fridays link up this week, but be sure to come back  next week! 
We’re taking a little holiday vacation through Monday! 
We will be responding to emails and you might see an occasional Facebook/Twitter update… but other than that it’s FAMILY FOCUS time!

I will, however, be back tomorrow to show you our Christmas cards! :) 
Until then have a lovely day dolls!!!


Everything’s Better When It’s Covered in Chocolate

Hey everyone, it’s Kayli! :) 
I love giving gifts. Especially the edible kind, just a little something sweet to let someone know I’m grateful for them. Christmas is the perfect excuse to do just that. 


This is my first year with ACTUAL neighbors, {who are completely fantastic and definitely deserved a little acknowledgement} so I needed a quick, cheap and, cute something to give. 
Since pretty much anything chocolate covered is a good idea, and candy canes are a season staple- I thought I’d give the combination a try. The result? Sweet success. :) 
So here’s a quick tutorial on a treat for the wonderful people in YOUR life.

Things you’ll need:
  • 1 bag of milk chocolate chips
  • 1 bag of white chocolate chips
  • A thermometer to temper your chocolate
  • Candy canes (as many as you want to give away- but keep in mind you only have so much chocolate, so you might need to melt more if you have lots to give!)
  • Parchment or wax paper
  • Extras (sprinkles, bags, etc.)

{I think after everything it cost around 11 dollars for the whole process. (not counting the thermometer) Not bad for seven bags of goodness!}

First things first- you need to get your candy canes unwrapped and your parchment paper down. Once you start your chocolate, things will move pretty fast and you’ll need to be ready. 
Once that’s done, you’ll need temper your chocolate. 
This is SUPER easy and it really does make all the difference in the world when you need to dip something. I started by putting 3/4 of the bag of milk chocolate chips in a coffee mug. (So I would have enough depth to dip.) 
You’re going to microwave the chocolate in 30 second increments, stirring in between, until the chocolate reaches about 120 degrees Fahrenheit. Once it gets good and hot, take it out and let it cool to around 100 degrees. Once it’s cooled, add the rest of the chocolate and reheat to 100.
What you’ll end up with is a cup of shiny chocolate, ready for your candy canes! {Make sure you’ve let it cool to about 100 or your canes will crack in the heat.} I dipped my mine individually, bend down- just for appearance. 
Then I put them on the paper.


You might have to reheat your chocolate if you have a lot of canes- just pop it in the microwave for about 15 seconds, then stir, and check the temperature to make sure you’re back to 100. 


Once I got them all dipped and laid out, I put sprinkles on a few while the chocolate was still wet. Then I left the rest to be drizzled with white chocolate once the milk chocolate had hardened.


Pretty, no?


Let your canes sit until the chocolate is firm. 
Then repeat the tempering process with your white chips. 

Drizzle your white chocolate over the milk chocolate and let set. Once the white chocolate was firm, I pulled the canes from the paper and placed them in fun holiday bags, ends down. 
I put about four in each bag since the families on our street are small and have four or fewer members. At least one cane  for each person in the family would be great.

I need to work on my drizzling skills. 😉


The Final Product


And that’s it! 
The clean up wasn’t bad and I ended up with an inexpensive but very sweet stash of gifts. If you try them, be sure to comment and let us know how it went!


Happy Dipping!

Fancy This Features #55 and a WINNER!

Here we are… the last Monday before Christmas! 
The last Monday before Hanukkah!
It’s now or never… Do you have all of your shopping and decorating finished??
I’ll be honest… I have a few gifts left to get. But all things considered… think I’m on track! :)

So while your browsing online for those last few gifts, check out these features from the Fancy This Fridays link up! 
These are a few of our favorites! 

Megan of Brassy Apple shared a collection of lovely neighbor gift ideas
Printables included!


You’ll have to click over to see the cute embellishments Megan of These are Some Good Times added to this store bought sign! She really snazzed it up! 


And finally, Kara of Happy Go Lucky shared a fun Santa photo display
Love how it looks with all of her other decor!!!


Here’s a featured on Truly Lovely button for you lovelies!


Thanks to all who linked up this last week!


********

Now for the big winner!!! 
And the winner is…
Who is…..

CONGRATS Bethani!!! 
An email is on the way! Please respond within 48 hours or a new winner will be drawn! 


Enjoy your week before Christmas lovelies!!! :)

Our Gift to You!!!

Sign up to sponsor Truly Lovely in 2012 before January 1st…
and take 10% off!!!
Discount includes all ad sizes! Small, Medium and Large!


For size examples and more information . 

Or shoot us an email at trulylovely.laney @ gmail.com 
(minus the spaces of course…)
 AND

Happy Birthday to our Mom!!!

We LOVE you!!

Mom, Kassi, Kayli – Summer 2011


HAPPY BIRTHDAY MOMMA!!!!

Kassi, Kayli, Mom – March 2009

Taylor and her Nana – Summer 2011

Hubs, Kassi, Dad and Mom – July 2011

 AND