A Life Update

Wow… It’s been awhile since I sat down to write a blog post. A month as of yesterday in fact. A lot has happened since then I guess. You know, life tends to go on even if the blog posts stop for awhile. 😉

Packing

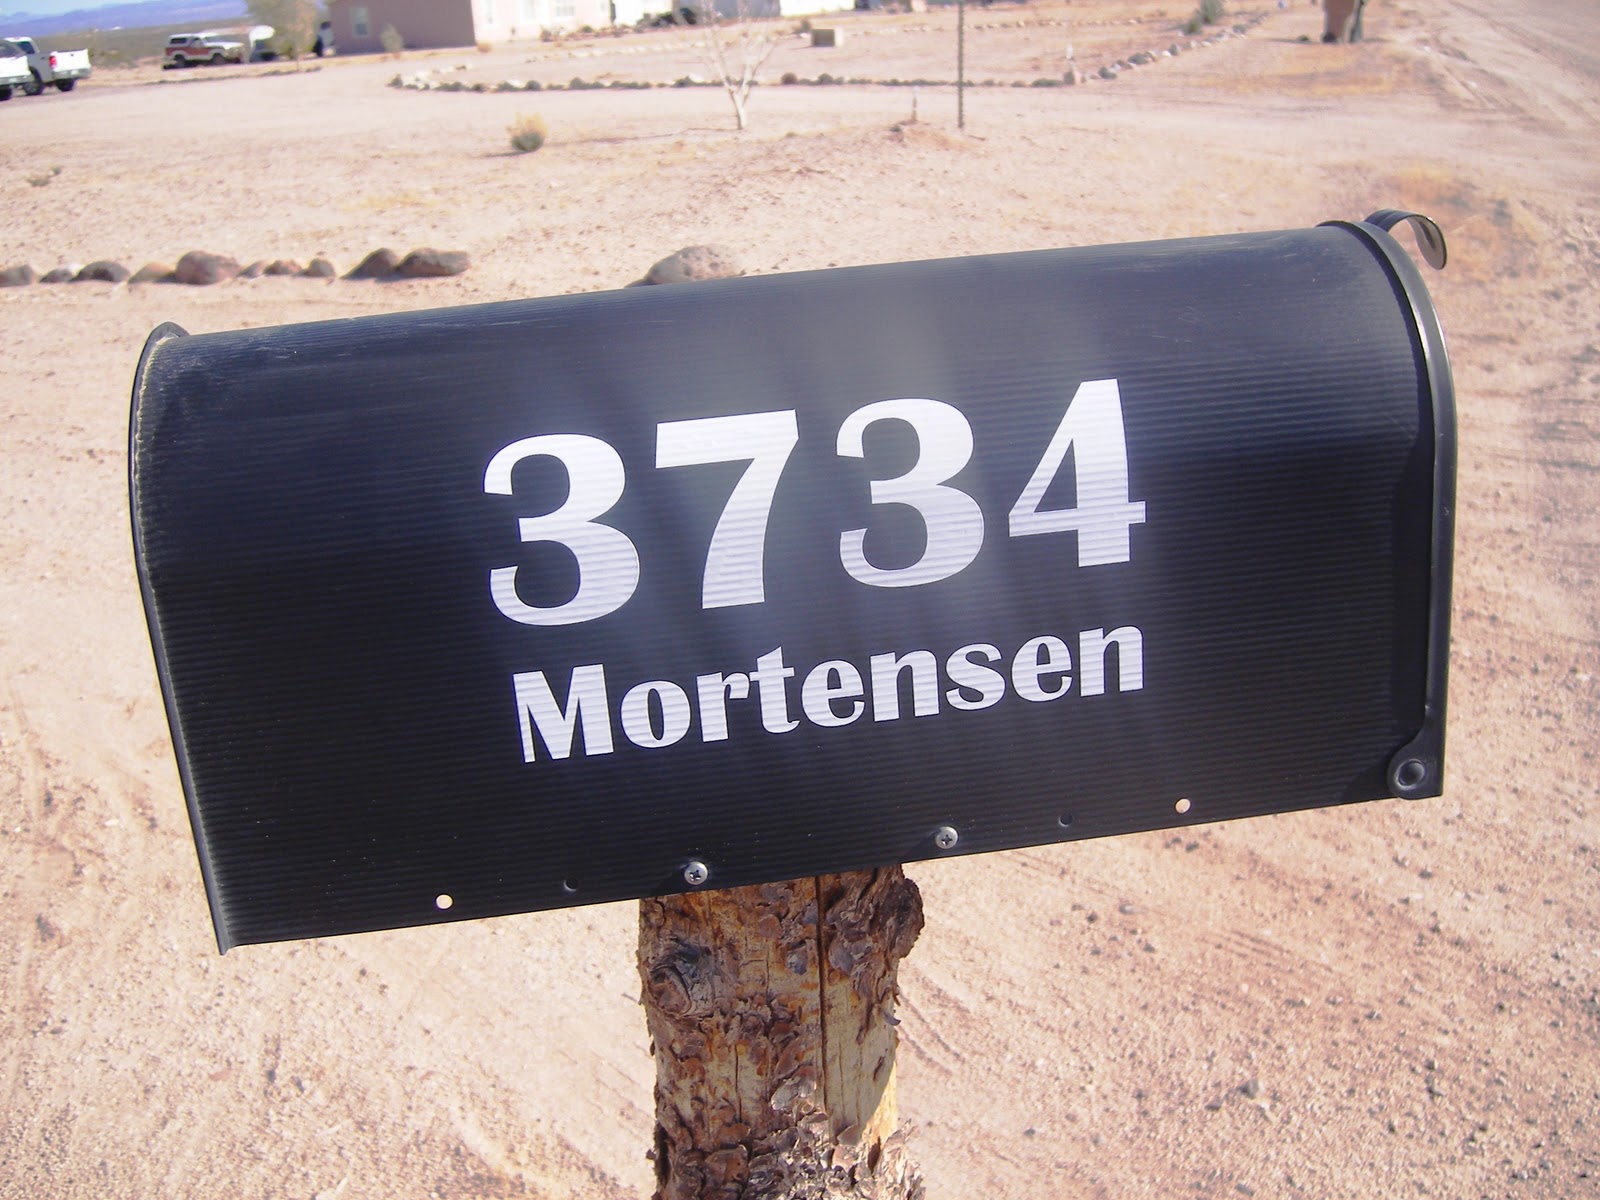
We moved! We live outside Queen Creek, AZ now… I’m not entirely sure how long we will be here, but it’s something new and exciting regardless. It took me awhile but I finally got what I think I’ll need unpacked in our rental home. It’s hard to know what you’ll need over a time period that you are unsure of… But I did get SO tired of digging through boxes to find a hair bow for Klara. Or a sweater for me… So I just unpacked most of it and called it good. If I need to repack it sometime in the near future I will. No biggie right?!

Klara has been a champ through this whole thing. We’ve had a couple of rough days and a meltdown here and there but overall she just plugs along, as long as she’s got her mommy in sight all is well. 😉 And she’s such a good little unpacking helper.

Messy Office

Our life in this new place has primarily consisted of the unpacking of our stuff and lots of horseback riding. We keep our horses at our aunt’s house nearby, so we’ve been going over almost every evening to ride and visit. It’s nice to have family living so close in this new place!

Riding horses

Klara is loving riding horses with her daddy or mommy and has even gotten where she’ll ride on her own if I walk beside her and hold her legs. FYI, she’s not old or big enough to be entirely on her own anytime soon!

She’s also had her very first play date with someone other than cousins! Such a big girl with her very own little friend, Rory!!! {Oh and it was AWESOME to finally meet my long time bloggie friend, Ali of Our Happily Ever After in person!}

Klara and Rory

So what about you friends? I haven’t been able to read a single blog post much less write one… Tell me one thing that’s been happening in your life that I need to catch up on!

Laundry Room Makeover and a Giveaway!

Hi there pretties!! 

I am so excited to share my laundry room makeover with you today!!
It got a brand new coat of paint (two colors) and a few new accessories!
Shout out and a BIG thank you to Kayli, Brianne (my SIL) and Tammy (MIL), for helping me!!! :)

Let’s dive right in shall we??

aqua laundry room

I realized after we had already cleared everything out and started taping, that I hadn’t taken any good before photos… The photo on the left above is from before we even moved in!

 So I quickly snapped a few for prosperity’s sake…. OK, and because I TRY to be a good DIY blogger… 😉

As you can see lots and lots of white/off-white going on in there. I do LOVE my cabinets. They’re the same in the kitchen and have this lovely rope detailing at the top… Can you say made for me and the hubs!?! :) So I decided to use the dark brown as an accent color for the accessories.

The paint colors I chose were Deepest Agua by Glidden and Elegant Lace by Glidden.

laundry room makeover

Gotta tell you when I showed Tammy the aqua color we were going to use she was sort of taken aback… “Blue?!” she said… But after… “This color looks so good!!!” Thank you Tammy! Thank you! 😉
I personally love how well the white and blue look together! Since the door, breaker box and trim are all white, the white ceiling really ties it all together! Not to mention my washer and dryer and the little deep freeze are white.

The two brown rugs in the above photo were purchased at Wal-Mart for about $18 (bigger rug) and $8 (lighter rug).

laundry room makeover

So, the color looked great… I love it!!! But it needed something more….

Enter… Quote the Walls!

Laundry Room Quote

I wanted to go with a western theme to fit the rest of the house and our style…
You guys, the ladies at Quote the Walls were so great to work with! I told Rebecca the quote I wanted, the color, even the font, and she sent me over a digital proof with the western decals added in for good measure!

 I chose the larger size option, 14″ x 53″, because I had that large wall to contend with. Because the vinyl was SO big, we were afraid we’d really have trouble getting it up…. but between Kayli and I we got it centered and on the wall in no time!

western laundry room vinyl

Isn’t it fun!?! I love how the brown looks against the aqua and the sort of western whimsy it adds to the space.

If you look to the left from the photo above…
You’ll see the horseshoe Scentsy Warmer that was in my craft room got a new, more fitting home and the aqua color looks nice against my counter top as well!

western laundry room idea

 So… what do you think of my new Western Laundry Room????
Without the Quote the Walls vinyl, it’s really just your run of the mill, newly painted laundry room. The vinyl gives it a more polished look and feel, don’t you think???

How would YOU like the chance to win a $25 gift card to Quote the Walls, so you can get your very own wall vinyl!!
You might choose one just like mine, now available on their site!! 😉

Perhaps you’d like one for your bathroom, bedroom, or little one’s room?!?
Your choice if you win!!!
Enter below using the Rafflecopter form and good luck!!!
Giveaway closes on Tuesday, August 7th.
Winner announced on Wednesday August 8th.

a Rafflecopter giveaway

Thanks to Quote the Walls for the AMAZING wall vinyl!! I received the wall vinyl in exchange for my review and hosting of the giveaway, however, as always all opinions are 100% my own!

Linking this here and here and .

P.S. Hope you enjoyed this post! If so, we’d love if !

Fancy This Fridays 76 – InstaFriday

Happy Friday lovelies!!!
Time for another edition of Fancy This Fridays and while we’re at it, another edition of Insta-Friday!

It’s been HOT here in Arizona this week. Phoenix has been over 100 degrees which means somewhere in the 90s for us all week long! Hubs and I debated and debated and finally decided to purchase an above ground pool!!!

It had to be done. It’s just too hot not to. At least that’s our reasoning. haha.
So, since it was Mother’s Day weekend and my mom was here visiting she, Kayli and I went over to Wal-Mart and made the big purchase!

#photoadaymay #mom

Can I just say if you’re going to my local Wal-Mart and need to buy something large… Take a team with you.
It was an act of congress to find someone to help us get that thing off the shelf and then into my Nitro!

setting up an above ground swimming pool

The next day the hubs had to work so Kayli and I set it up! We’re not ashamed of our awesome tarp holders… You know, a lawn chair, a broom, a dump truck. Hey, it worked!

We felt so hardcore getting it all set up by ourselves.

Then we just had to wait while it filled up!

So bummer alert… The NEXT day we discovered it had a leak. :( 
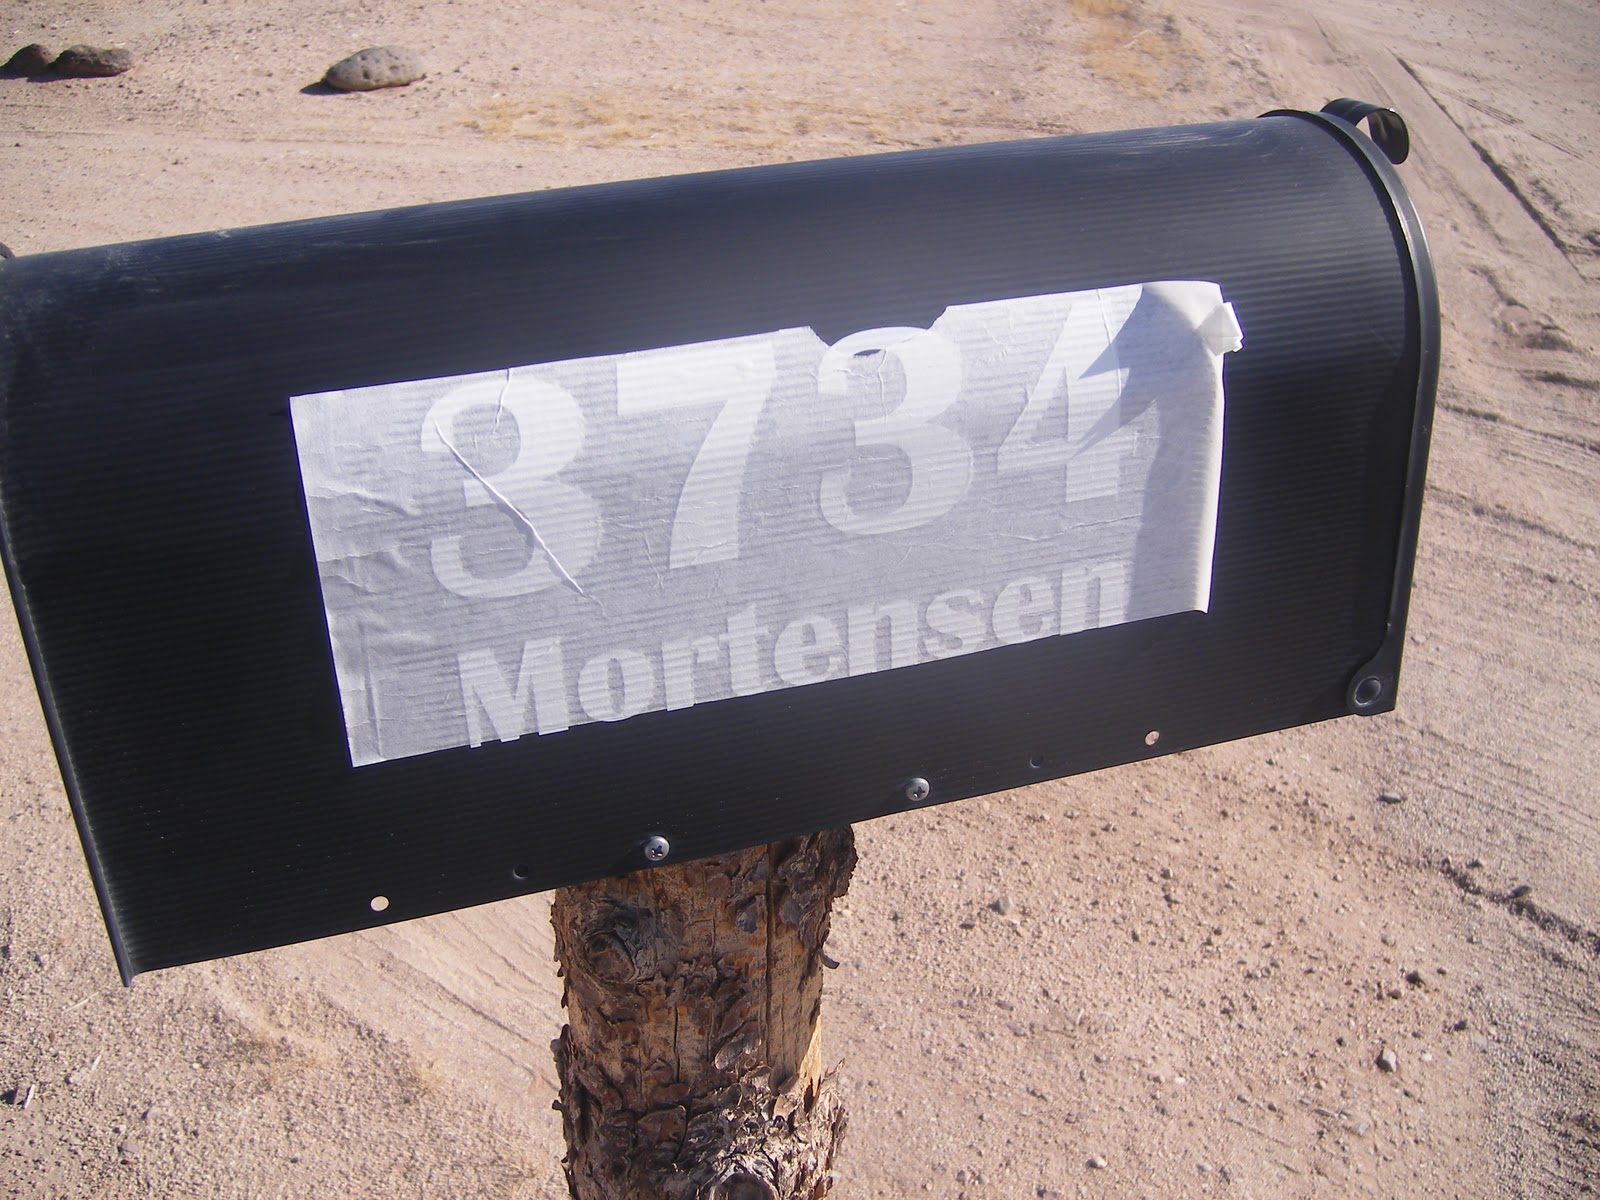
We (Kayli, I had to go to work) called customer service and we’ve got a new liner on its way! Stinks we have to wait for it, but that’s too much money to spend for it to be less than awesome!!

I was for real stressed out about it. SO much so Nate and Kayli thought I was being silly… But little things like that really get to me. Random Kassi fact of the day.

life rearranged

SO, what have you been up to this last week? We wanna see!

Fancy This Fridays Rules:

1. Please link directly to the project post on your blog.
Not the blog itself.
2. Please link only your OWN posts.
We prefer to see what YOU have been up to… not someone random.
3. Please grab a button and display it somewhere on your blog. On your sidebar, on your posts, on your linky party page. We aren’t picky!
4. We would LOVE if you would comment on at least one other link.
Just pop over and say “Hello, coming by from Truly Lovely”, or something more clever… You know. 😉

Thanks for linking lovelies! Have a great weekend!!!

By the way, our May Group Giveaway ends at midnight on Sunday! So get those entries in! :)


Living Room Wrap Up

Did you miss the first two posts on my living room makeover? Here I talked about the before and after and here I talked about those really long curtains! Today let’s talk about everything else I missed, huh… 😉

This room has been (and will probably continue to be) a LONG work in progress!
A few of the little things I’ve done over the last few months to update the space include…

I made that stenciled throw pillow you see there on the long couch. You can find the tutorial for making a stenciled pillow here.
I plan to make at least several more of those… 😉
Here’s the tutorial from when my dad helped me make Nate those on the wall that hold his buckles and keepsakes…
If you were to look where that brown arrow is pointing in the photo above you’d see this area…

The doors here lead to the guest bedroom, the office/craft room and the guest bathroom.  The latter two are upcoming rooms to be tackled. :)

The barnwood frame on the wall was a Christmas gift for Nate from his step-mom. Those are photos of his mom, my mother in law. I talked about her here. It was/is such a thoughtful, meaningful gift. I literally cried all afternoon after she showed it to me.

 On the left side of that top picture is this little nook. We received this fun Family Home Evening sign as a wedding gift from my Aunt. I think it’s so neat and wouldn’t be all that hard to replicate! Those are horseshoe nails to hold each name. I need to make little name tags to hang there!

You’ll remember the saddle rack shown below from this post. I took a really old, beat down saddle stand and fixed it up, then stained it. Really like how the dark stain makes the lighter saddle pop!

The drawing on that wall was a wedding gift from my SIL’s mother, Edna Harper. She is a VERY talented western artist. She makes the most beautiful western jewelry too!

That green wall you can see through the door on the left is in the kitchen. It was the bane of my existence, only second to the when we first moved into our house.  But now it’s sort of grown on me. My kitchen is apple themed and it just sort of fits… 😉

And finally our mantel! This is my rustic/western/love my hubs mantel. :)
The painting was a wedding gift from our dear friend, Suzi Ley. You can see more of her western/country/wildlife art at her website, Three Hearts Art.

The clock in the center is a western clock that Nate gave me for Christmas.
The cowboy and cowgirl to the left of the clock was our wedding cake topper.
I wrote about the canvas (one of our engagement pictures) here.

So that’s it our rustic/western/comfy living area! :)

Hope you enjoyed this three post series on my living room makeover!
If you have any questions on how I made anything you see here, or where something came from, I’d love to answer those for you!!! Also, if you have a favorite western/rustic/home decor site, I’d love the link!!!!

Please, if you like what you see, we would love for you to !
There’s lots more home decor posts for the future!

Linking this here and here and .

Living Room Before and After

Hello there friends! 
So remember how we had that discussion about not judging one another when it took the other a really long time to post a project that they’d mentioned um, a really long time ago…. No? Was that just me?

Oh, well… Moving on. Welcome to my newly made over living area!!!

Before the makeover this area looked like this!

(Obviously I took that picture around October sometime…) 😉

And NOW that area looks like this!

How about another before…..

And another after…

Really all it took was an entire weekend of Kayli and I painting and painting and painting and…. You get it.
For real though… If Kayli wouldn’t have sacrificed her whole weekend to help me paint this sucker, I’d probably still be there!! There is nothing more fun than painting with your sister though! We had a great time laughing and sending in progress photos on our . 😉

The paint color we ended up with was Whispering Wheat by Glidden.
(We cracked ourselves up calling it Whhhhispering Whhhheat all weekend…) If you can’t tell the difference in the before paint and after in the photos above, you can really see it here. It was one of those colors that once it dried just looked like it had belonged there all along. :)
The sort of creamy buttery color adds a warmth to the rooms that just wasn’t there before, and I love it!

After that all it took was some curtain hanging, changing up of wall hangings and moving a few little things around!

(View of the other side of the room.)

I’ll be back later with more on the curtains and the mantel. But so far, what do you think??
I wish the photos could portray how much more like a home it feels. Our home.

A fresh coat of paint really refreshes and brightens up a room. Also, I’m thinking it needs a few more pops of color. Maybe turquoise. What do you think?

Happy decorating lovelies!

 Linking this here and here and . AND to Thrifty Decor Chick’s Before & After Party!

Guest Bedroom Reveal

I’ll just go ahead and apologize for skipping around with my projects… 😉
Like Mandi says, don’t judge me! haha. Life gets busy and you move on from one thing to another and before you know it, you haven’t blogged about what you said um…. that you would blog about… Oops.

SO here it is…

The Guest Bedroom Reveal!!

Before (view from the door) and After!

I still feel like it’s a work in progress. Aren’t our homes just one big continual project anyway… :) You know, someday I’ll get a new bed frame, someday I’ll add a headboard… That kind of thing. But regardless, right now, as it is, I’m happy with it.

So… I would LOVE to know what you lovelies think???

You can see we got rid of that entertainment center and replaced it with a small dresser that belonged to my .
The first TV was a hand me down, so we just handed it down again and put the one that used to be in our bedroom in there.

Don’t mind those weird off color spots in the corner of the photo below… That was just my camera picking up the glare I guess…
The painting in this photo was in the hub’s childhood bedroom. It really plays up the gray color of the wall!  The two photos on the right are of my husband (as a kiddo) with his mom and grandpa and then of us with my Granny.
I spray painted the frames as decorations for our wedding, then they found a permanent home in here.
The Scentsy Plug-In is Santa Fe… It has a turquoise center which matches the bedding.

This was the first room I ever painted at all really. The first room I painted entirely by myself.
I talked more about . Sure, there were some painting newbie mistakes, like how the mirror in the corner leaves scratches in the paint…

Probably should’ve done another coat. Or used primer or something… But oh well. You live you learn, right!?! :)

 I talked about . The wall hanging in this photo was a Christmas gift from my friend Meghan.
It’s that Mother Teresa poem, ‘Do It Anyway’ with a photo of a daisy. It was the MOST thoughtful gift… The poem was a favorite of my Mother in Law, and I love gerbera daisies.

The tutorial for the . I bought the teal colored sheets on sale at Wal-Mart for $12! The white pillowcases came from there as well. The comforter was on sale + a wedding gift card from JCPenney netted me that white pretty for $17!!! Originally priced at $110!!!

I won the horse photo print in a blog giveaway from  and spray painted the frame an off white. The mirror in the corner also belonged to my mother in law (as well as the small dresser).

I’m not sure of the overall cost since I worked on this for short spurts at a time over several months. But it wasn’t much! We only bought paint, the curtains and the bedding! Everything else is hand me down, gifted or won! Now that’s MY kind of room makeover!!!
Thanks for checking out our guest bedroom! I would love to know your thoughts!

Linking this here and here and .
My entry into Strut Your Stuff sponsored by Appliances Online and the Bosch Washing Machines


Vinyl Mailbox Numbers

Seems like whenever a new year rolls around everyone jumps right into organizing, cleaning, resolutions, goals and the lot. Well… I’ve jumped on the bandwagon. 
I finally tackled one of those pesky little things that keeps getting moved down my to do list, you know the kind that they really ought to be done, but there’s always something else that needs done first… 

Adding numbers to our mailbox!

We’ve lived in our new home since May, but I barely got around to fixing up the mailbox in early December. 
Maybe it was the UPS man saying, “There’s no numbers on your mailbox, wasn’t sure where to go.” 
We can’t have THAT now can we!!! I don’t know about you guys, but hearing UPS pull into the drive ALWAYS makes me happy! 😉
It was the New Years push that did it too… 
Felt like I needed to mark something off that list BEFORE 2012. So I did! 


I purchased some of the Premium Outdoor Vinyl from Silhouette America over their Thanksgiving sale. Then cut our house number and last name into the vinyl and used transfer paper to get it cleanly onto the mailbox. 


Yeah… we live on a dirt road. Awesome, right?! Ugh… 
For the most part I don’t mind I guess, except EVERYTHING is ALWAYS dusty!!!


Both sides are the same. Nice bright white house numbers! 
It’s been over a month and seems to be holding up nicely.
And now the UPS man can easily find my home!!!
Whew… I was worried there for a minute. 😉


Linking this here and here and .
By the way… Did you know you can find Truly Lovely here… 
*  *  *  *

Oh… AND PS…

We’re participating in this fun time:

We’re giving away a LARGE ad space for February! There are TONS of awesome prizes…
Trust me… You’ll want to go enter!!! 😉

Christmas at Kassi’s

So I had mentioned awhile back that I had a post planned to show you the Christmas decor at my house… Let’s just say it’s been tough getting things I HAD to have done, done… much less take good pictures of the decor and what not… haha. It’s just that time of the year!! :)

But here’s a few pictures I did get before the craziness set in…

Our little Christmas tree.
It’s a pre-lit tree with colored lights. My parents got it for me several Christmases ago. 
I love it!
The star was also a gift from my mom. I got the gold tinsel string on sale a few post-Christmases ago for $0.50! 
Thought I needed some gold to match the star. 
The red tree skirt belonged to my mother-in-law. 
It was a perfect addition with its gold glitter!

The angel in the gold dress (on the right) has a twin that belongs to Kayli. :)

The top left ornament is for our first married Christmas (). 
The top right is two little stockings I made for our doggies a few years ago. Just wrote their names in puff paint. 
And the bottom pic is a hand beaded ornament from a sweet lady at work. She has given me one or two every year so far. 

Funny story…. Our four year old nephew found a Cars gift bag and filled it with odds and ends for his “girlfriend’s” Christmas present, then put it under the tree. 
It has a plant holder, some rolley wheels, a State Farm stuffed dog, some fake flowers and a plant food stake in it. 
Hubs said at least he did good with the stuffed dog and fake flowers. 😉

This little tree was my very first Christmas tree when I went off to college.
I had a teeny tiny apartment and it was all I could fit (and afford). I have a set of pink ornaments for it too, but sometimes I interchange the red and chile pepper ornaments (a gift from my Nana) for a different look.  
It even has it’s own string of clear lights. 

The snow globe came from ! :)

You saw the mantel in the post where I shared our , but here it is again. I fancied up those
The little wooden Santa is an advent that you slide the beads from one side to the other to countdown the days until Christmas. I’ve had that since I was a kiddo.
The nativity is a Precious Moments set that I’ve had since I was little as well. 
LOVE IT!!!
FYI – I collect Precious Moments pretties. 😉
The card display that is overflowing with cards! We’ve received several from friends over the last few weeks! I LOVE getting them in the mail and hanging them on our card holder. 

(Don’t mind the filled in nail holes… We have yet to paint in the living room….)
Kayli and our brother’s (Brent’s) girlfriend, Jessie helped me hang multi-colored icicle lights around the top edge of our house outside a few weekends ago. 
Luckily the people that had lived there before had hung lights at some point so there were already nails… We just had to climb the ladder and hang the lights. 😉
There you can also see the I made last year hanging for the first time on our very own front door! :)
Well, that’s pretty much it! 
Thanks for stopping by Kassi’s at Christmas! 😉
We wish you the most AMAZING of holiday seasons! 
And TODAY a Happy Hanukkah!!!

By the way, there won’t be a Fancy This Fridays link up this week, but be sure to come back  next week! 
We’re taking a little holiday vacation through Monday! 
We will be responding to emails and you might see an occasional Facebook/Twitter update… but other than that it’s FAMILY FOCUS time!

I will, however, be back tomorrow to show you our Christmas cards! :) 
Until then have a lovely day dolls!!!


A Lovely Gray Guest Room Part 2

If you missed part one of our Guest Room makeover . 
After painting the room a lovely shade of Wood Smoke gray, the next thing I wanted to add was a window treatment. See… Nothing but a white shade. 
The shade is in pretty good shape so other than cleaning it up, I left it as was. 
I thought about sewing my own sheer curtains, since the shade blocked most of the light into the room and provided enough privacy for our guests…  but lucked out in finding some white sheers with grommet tops, (like I had wanted anyway) at Wal-Mart for about $4 each. 
Sometimes store bought is just the better way to go. *Gasp*. haha

But, I was having trouble finding a curtain rod that I liked. I might have mentioned before that for shopping choices here we have Wal-Mart, Home Depot, and a few local owned stores. 

I finally found one at Wal-Mart that I liked the shape of, but not the color. 
(I have looked and looked to find you a link to the one I bought online… but just can’t find it… Sorry)
***

Enter Krylon white spray paint!

I just took all of the pieces of the curtain rod, laid them out outside on top of some foam I had and sprayed away. Let them dry, then turn them over and spray some more. 
Once they were fully covered and dried there were some runs in the paint. 
I’ll be honest. I should’ve done lighter and more coats, with more drying time in between.
I just get impatient. Mmkay. 
So I took a small sanding foam block and hand sanded down the drips and the edges to make everything look a little more worn and rustic. More my style anyway. 😉
Then… because the hubs wasn’t home, I took his drill and hung that sucker up! 
It took me FOREVER. Can we just say hubs is probably getting new drill bits for Christmas!!!
You’re jealous of my little pink tool set, aren’t you! 😉

Then I hung up my pretty white, store bought sheers…
And viola!! White window treatment against my lovely gray walls!
Besides needing ironed or something… I think they look nice! :) What do you think?

And since you can clearly see it in these pictures, check out the WHITE down alternative comforter I scored at JCPenney on SALE! Used another gift card from our wedding and only paid about $20 for that lovely!!!
Originally priced at a WHOLE lot more than twenty bucks!! :)

More on the guest bedroom to come including the entire reveal!!!


Linking this here and here and 
.
AND to The CSI Project window treatment challenge!
Visit thecsiproject.com

A Lovely Gray Guest Room Part 1

Since Thanksgiving is tomorrow, I thought it was a great time to start sharing something I am truly thankful for…
Our home.
We moved into our house in May. 
Since that time I’ve only gotten one room mostly the way I want it. By mostly I mean it’s still a work in progress, but at this point I’m pretty proud of how it’s turned out. 
Our Guest Bedroom. 

After we moved in. 
Pretty much just a yellow tinted jumble of piled up junk. 
Oh, and a bed, entertainment center thing and a tv. That’s it. 

First things first… 
Choosing a paint color to cover that um… yellow. 
We received a gift card to Home Depot for our wedding that I had been saving just for this occasion. 
Having heard that Glidden paints worked well I decided to go with that brand. 
Plus they have these fun little testers that you can purchase for a dollar and some change!! 
I narrowed it down to two colors. 
Either a tan-ish color that I can’t remember the name of now… Or a gray called Wood Smoke. 
I took my testers home, swiped some of each up on the wall and let it dry for a few hours to really get the full affect. 
You can see the random bedding and window treatment-less window in these shots. 

While it was drying I filled in all of the nail holes and such with some nail hole filler I also purchased from Home Depot.

Once the paint was dried the hubby gave final approval. Wood Smoke it was!
I loved the idea of having a gray room, but also liked the idea of trying it out first in our smallest room to see how well I actually liked it. Plus let’s be honest… 
Other than a few times helping someone else… 
I had NEVER painted a room before. Really. 

So it began! 
I taped off all the areas for fixtures, the doors, the window, everything that wasn’t to be painted our Wood Smoke shade of gray. 
Since we won’t be purchasing new flooring anytime soon, I also took care to cover the carpet with plastic. 

Initially I wasn’t going to paint the ceiling, it was kind of a cream color… But I thought better of it thankfully and decided to go gray on the ceiling and walls then white with pops of color for accessories. 
(My of inspiration.)

Remember that tester I bought? Those things come in SO handy for more than just choosing a paint color!!
After painting and letting everything dry, I found a few little spots that needed touching up. 
The tester was PERFECT for that!! You could use the little brush included for touch ups while saving time and effort on getting everything out again. 

Here’s a little sneak peak on how the gray turned out! 
Stay tuned for the actual reveal pictures and more projects leading up to the big reveal!
Linking this here and here and .