To start my DIY wedding recaps, I’d like to share the gifts I made for my bridesmaids and hostess first.
SO… For part one of my bridesmaid gifts…
I made tote bags for each of my six bridesmaids and my hostess.
Remember my ?
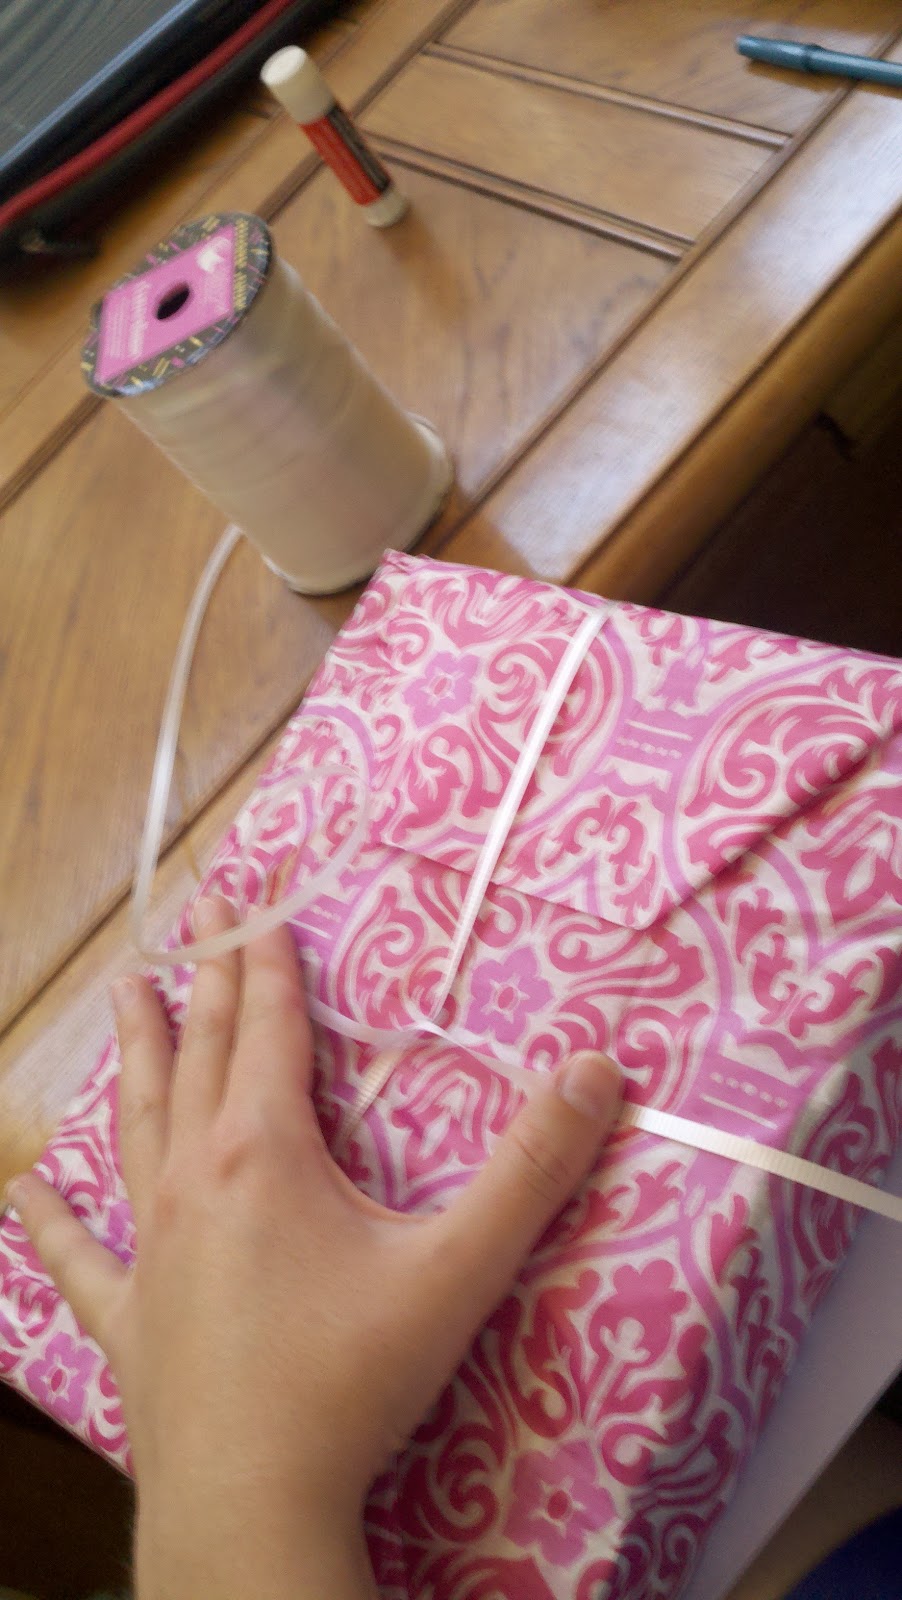
I used the same method pretty much, except I added ribbon and rolled fabric rosettes!
Remember this post of ?
Anyway…
I started with plain black tote bags
(I got mine in packages of three from Hobby Lobby).
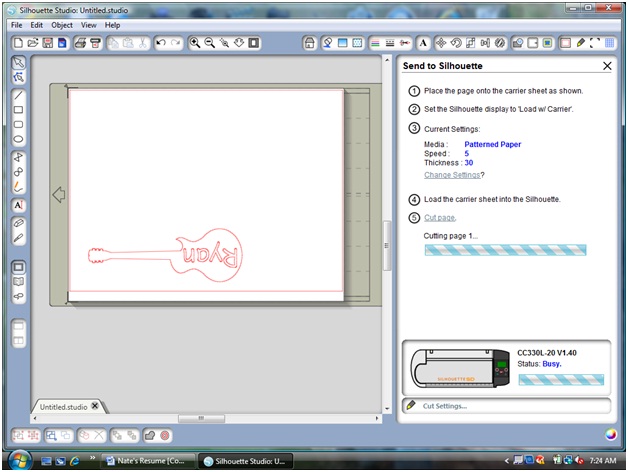
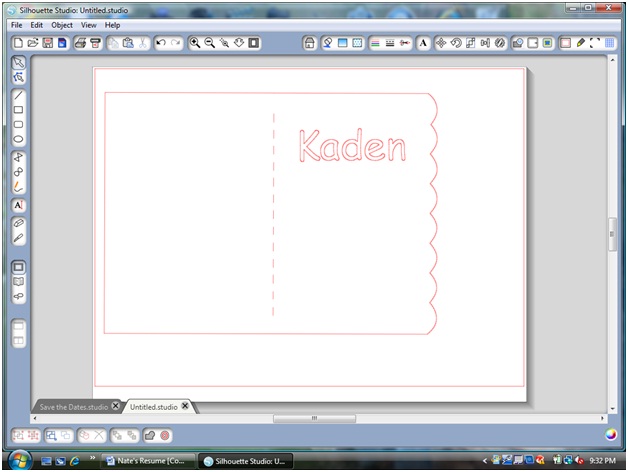
I used my Silhouette to cut each girls’ name out of vinyl to make a stencil.

I just cut around and then peeled the names off the vinyl sheet and stuck each one in the center of a tote.

Once they were stuck on well, I used a small paint brush to fill in the stencil with white paint.

I went with a black and white zebra theme with their bags.
I figured that might be something they’d be more likely to use over again than the wedding colors. That’s also the reason I didn’t add “Bridesmaid” or anything more specific than their name.
Once their names were dry (it took a few coats of the white paint to get it bright enough on the black totes), I hot glued a zebra ribbon around the top of each tote.
Each tote also got two fabric rosettes! Also hot glued.
To learn how I made those, .

Once the bags were all finished I stuff them with other goodies!!!
More to come on that soon! 

Well, what do you think?
I REALLY hope the girls liked them…. And that they can use them.
For something. 😉
Again, stay tuned for more posts about bridesmaid gifts and other recaps from our July 9th wedding!
P.S. Visit my wedding blog, My Road to Mrs to see what those CUTE little gift tags tied to each bag are all about!!!
A SPECIAL thanks to is in order!! 😉
A SPECIAL thanks to is in order!! 😉