Bloggie Bestie – Mandy of Sugar Bee Crafts

Hey there lovelies!!!
We’re excited to have a fabulous guest for this week’s Bloggie Bestie!!!
Meet….

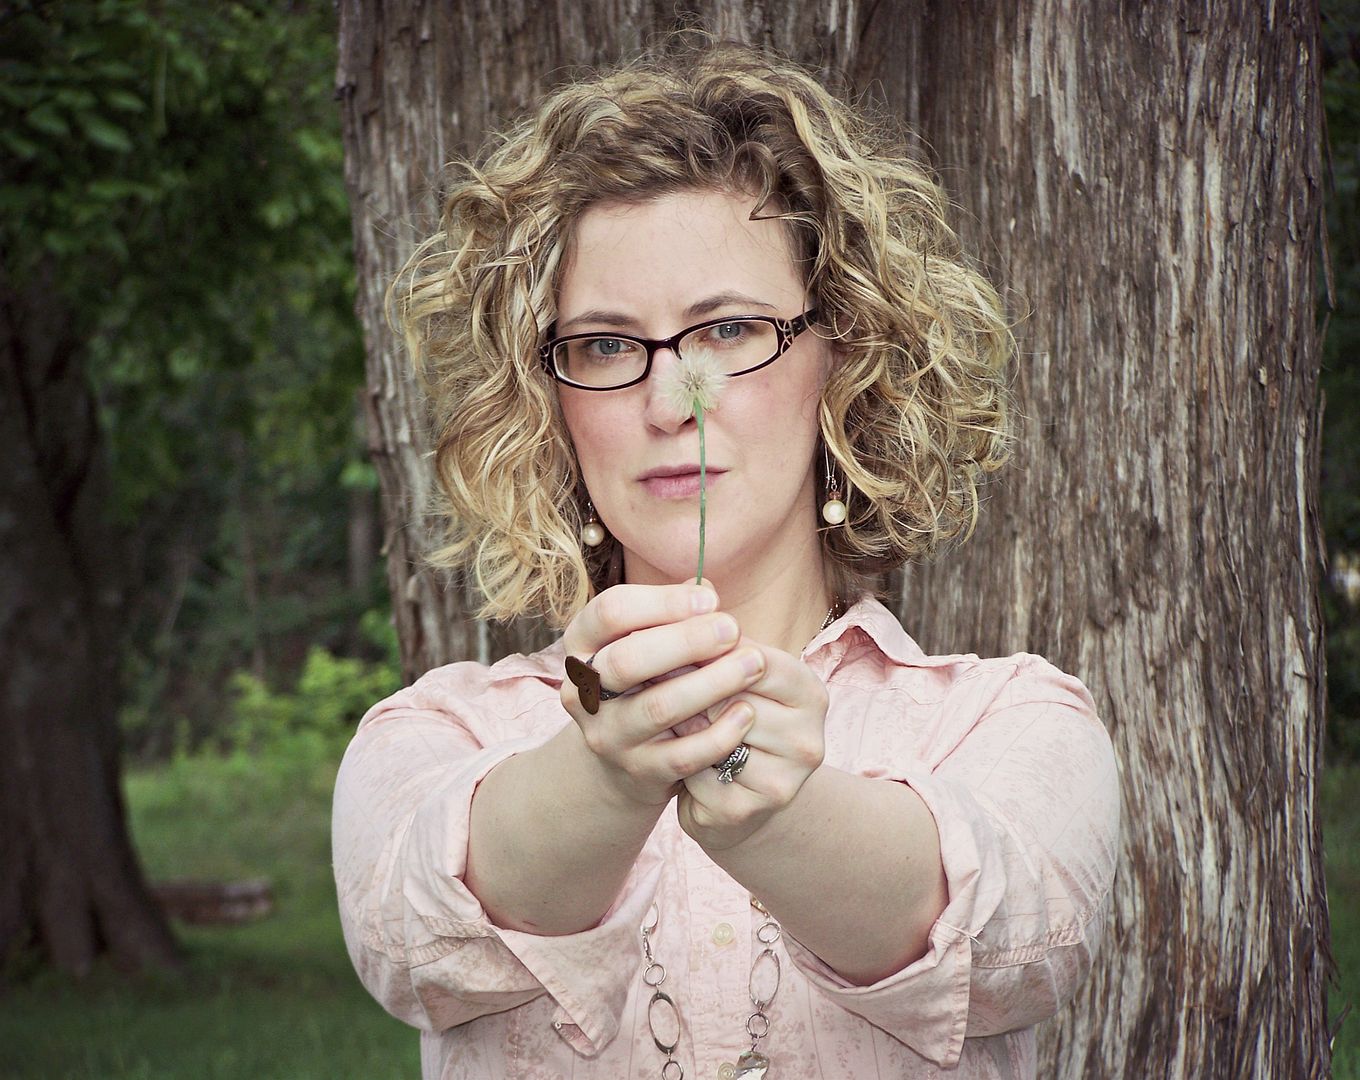
Mandy of Sugar Bee Crafts!!!

She’s here to share some of her most recent and most awesome projects! So be sure to leave a little love below and then pop over to check out her blog! :)
_________________________
Hi Everyone!!  I am so excited to be here on Truly Lovely – isn’t it the greatest?!?!  I am Mandy from Sugar Bee Crafts.

Sugar Bee Crafts: sewing, recipes, crafts, photo tips, and more!

I have 4 kiddos and love to craft and blog (obviously!) – – I feel like if I can do something, then you can too!!

Here’s some of my all-time most popular posts – I love them all for different reasons.  Just click on the title to take you to the tutorial – hope to see you over on my blog!!

#1 – Giant Picture for Cheap:


#2 – Knotted Headband with Tshirt Yarn:
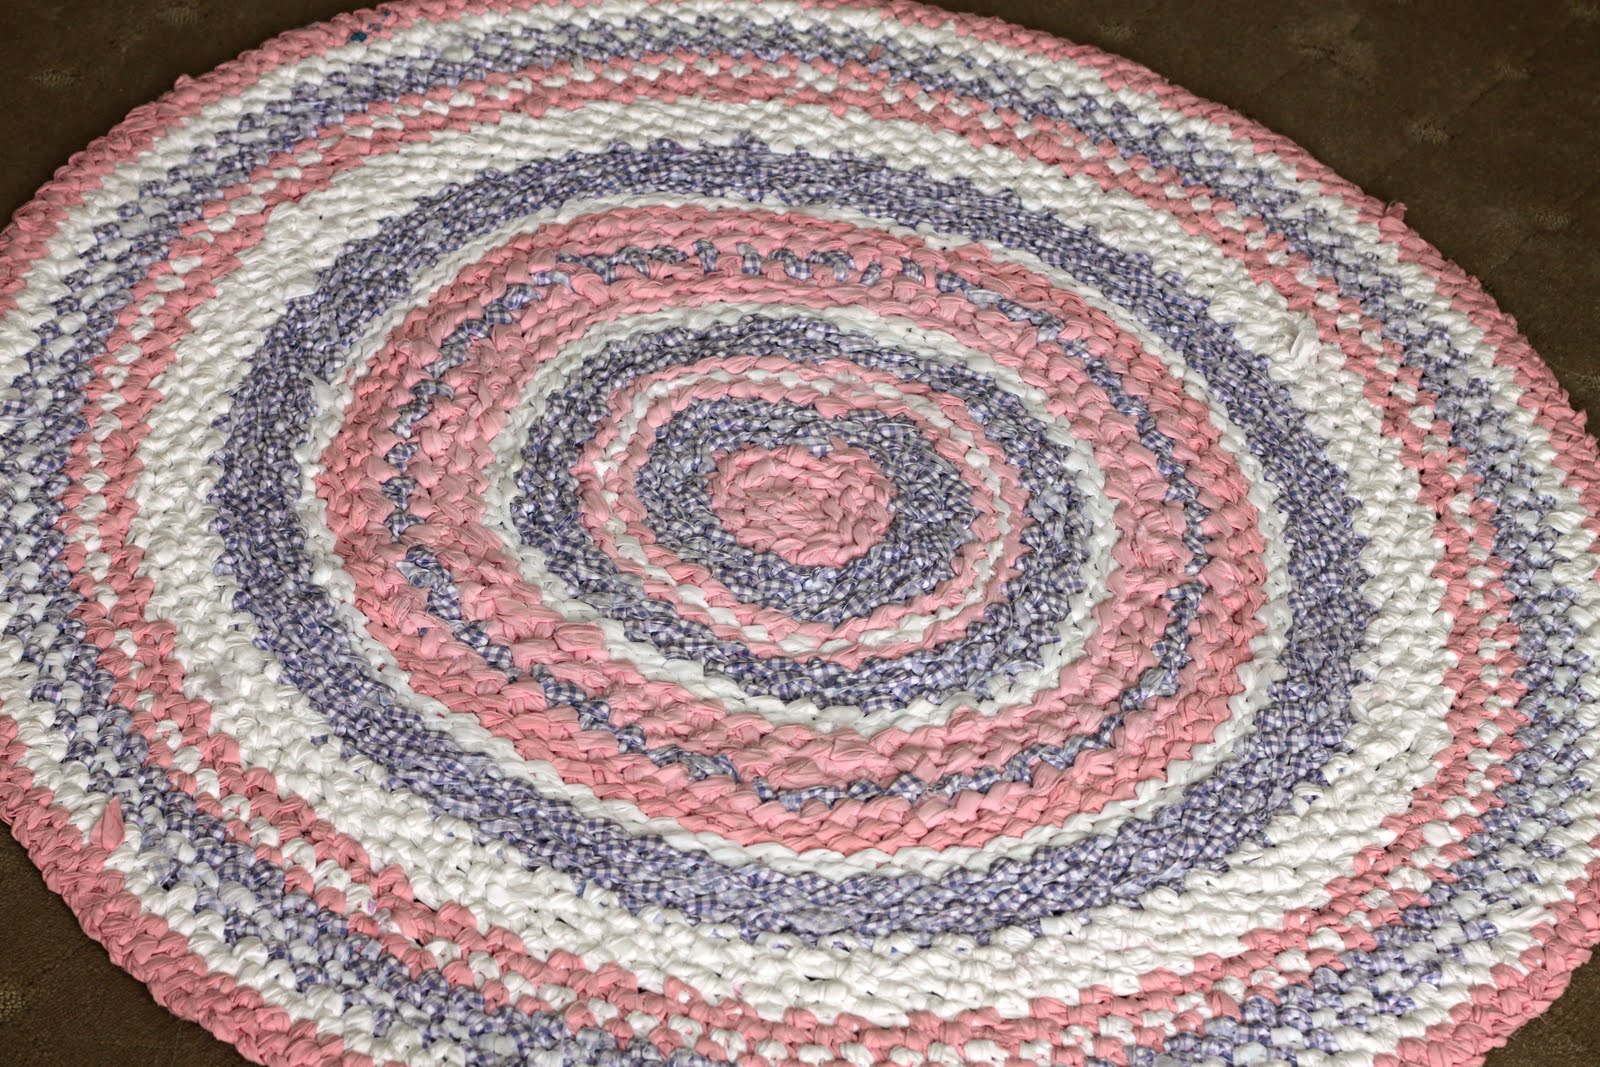
 

#3 – Rag Rug:


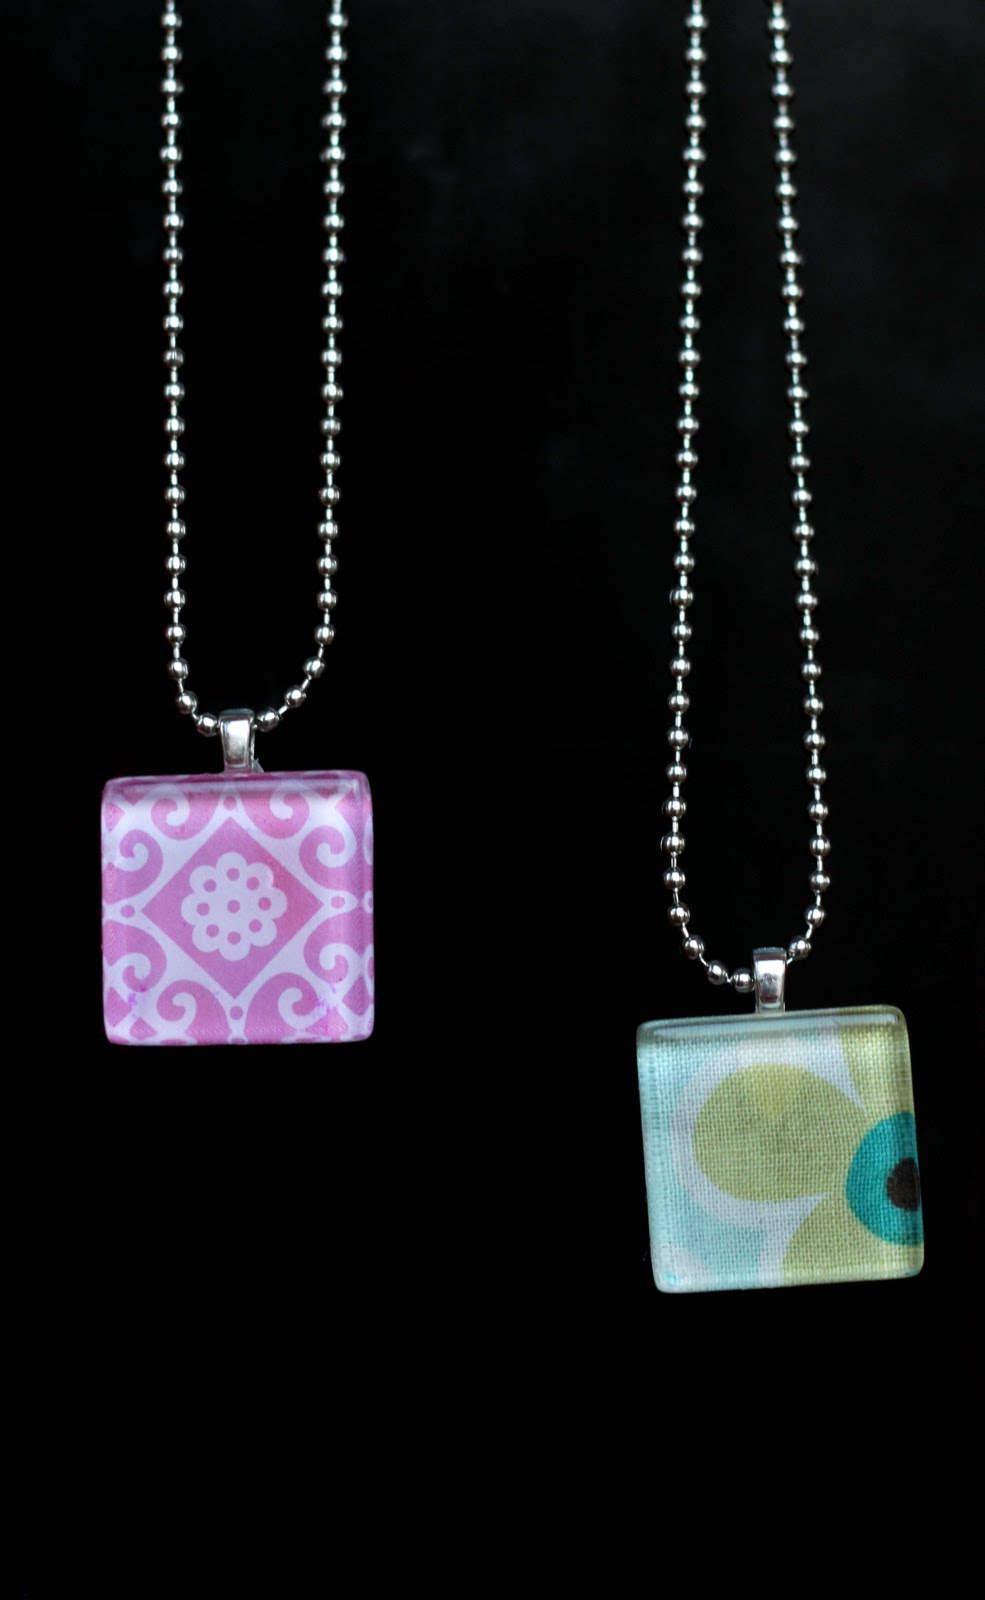
#4 – Glass Tile Pendants (photo ones HERE):


#5 – Birthday Board:


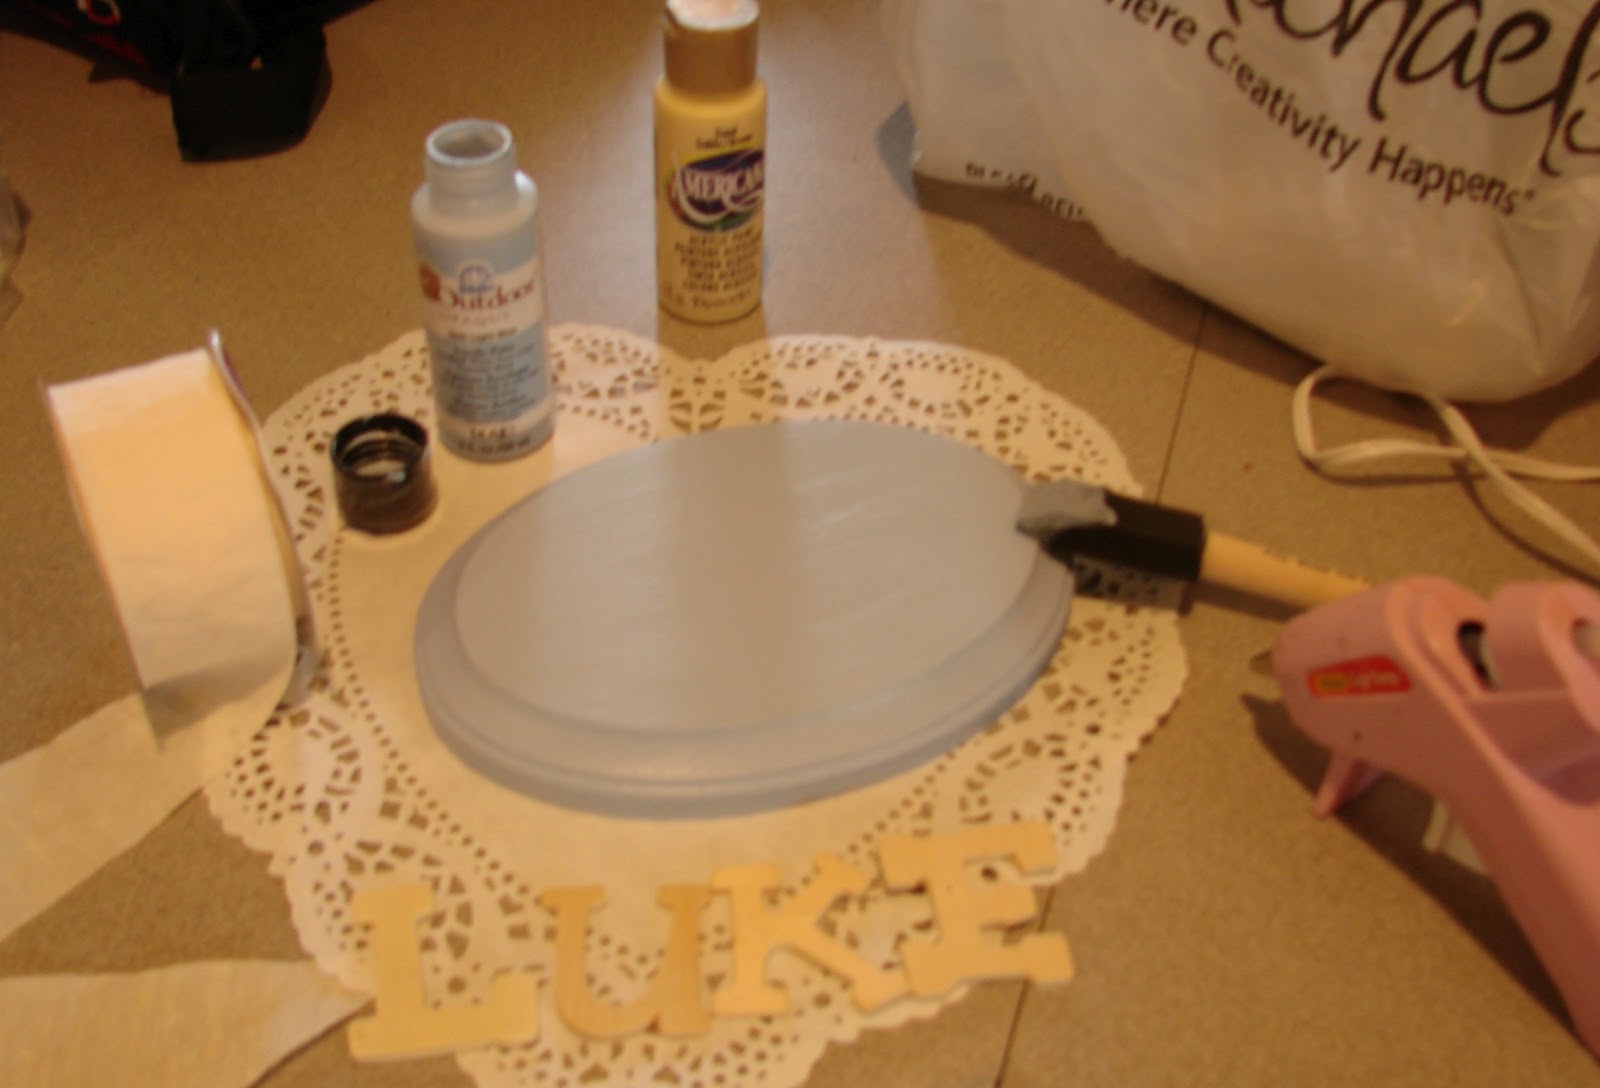
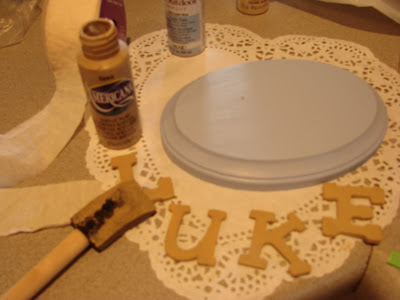
#6 – Monogram Mirror:


#7 – Side Gathered Shirt:


#8 – Nightstands from a Desk:


#9 – Plywood Rug:


#10 – Craft Room Chair:
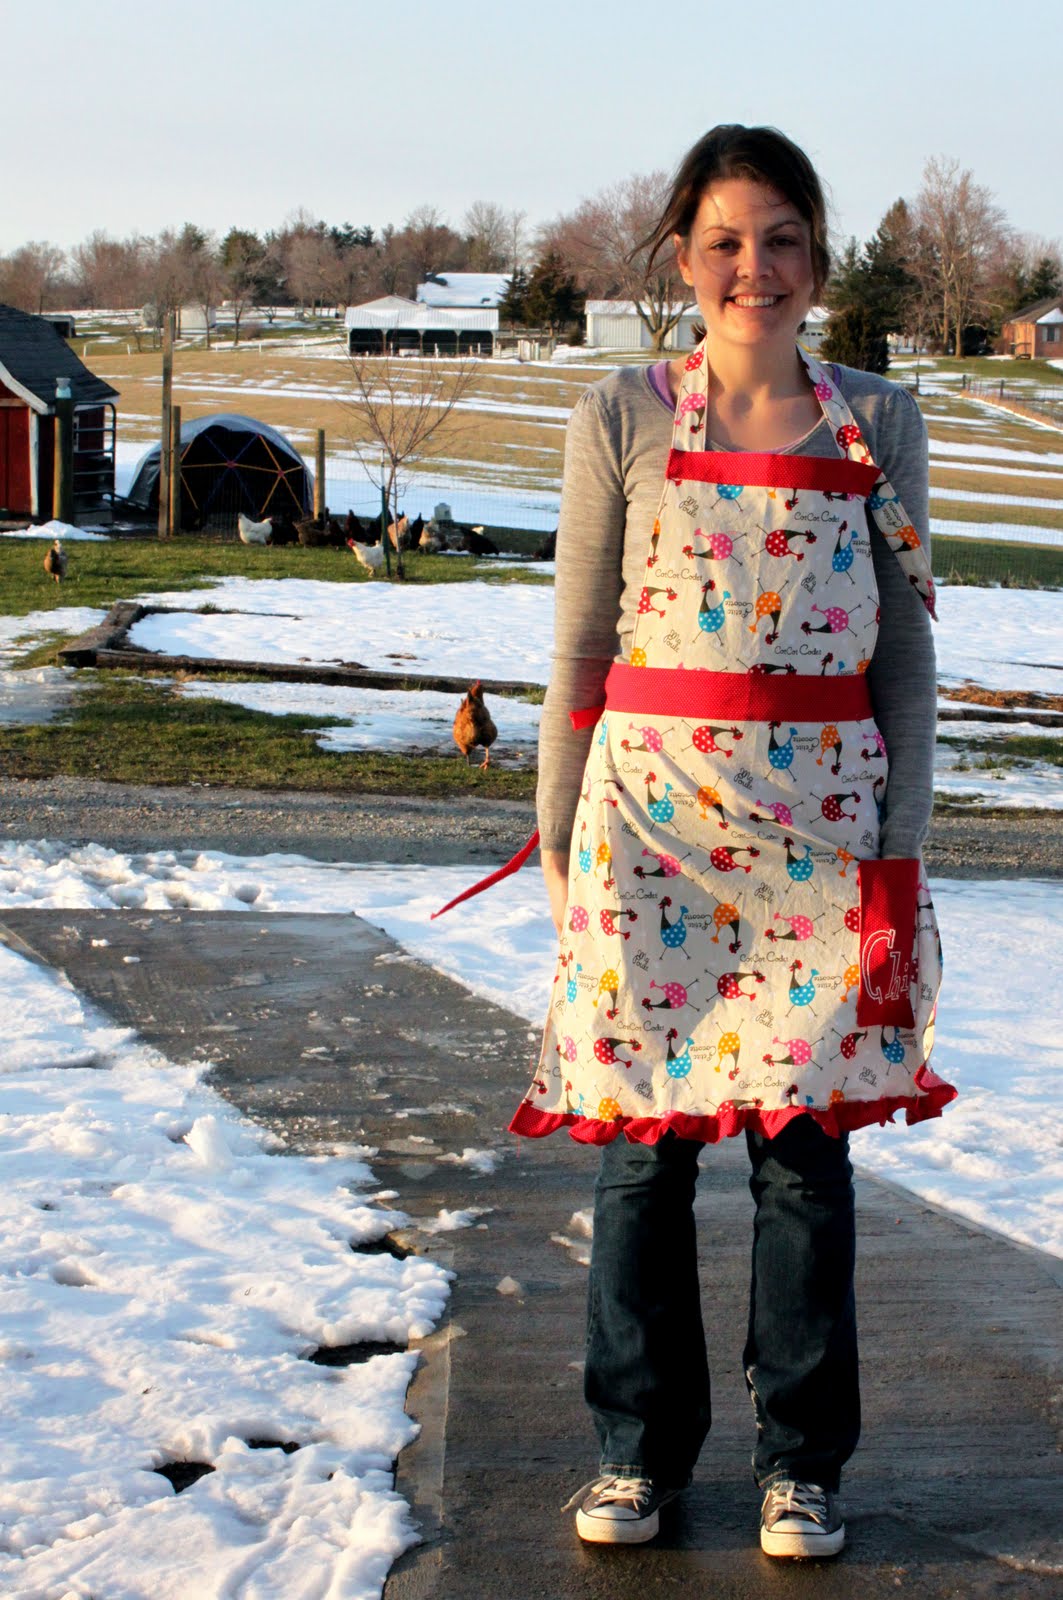
 

#11 – Full Apron:


#12 – Ghost Pillowcase Dress:


#13 – DIY Thread Rack:


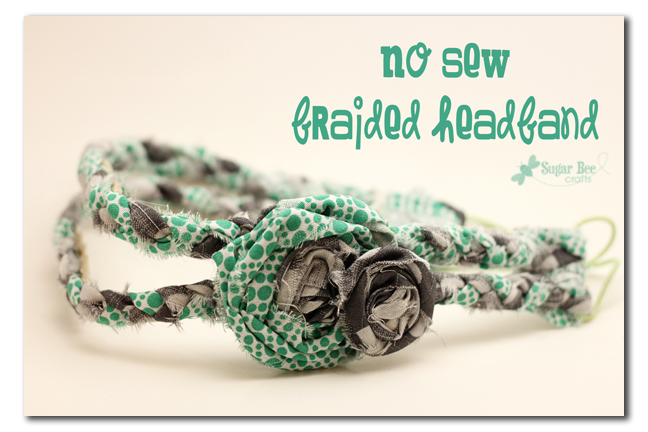
#14 – No Sew Braided Headband:


#15 – Rolled Fabric Flowers:

#16 – 5 Minute Skirt:


#17 – Minnie Mouse Outfit and Hairclip:
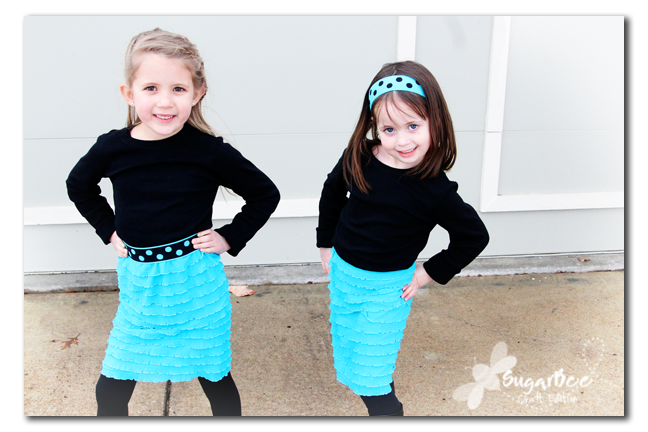
 

#18 – Ruffle Dress:


#19 – Photo Wall Art Board:


#20 – Painted Kitchen Cabinets:

Hope to see you over at www.SugarBeeCrafts.com – lots of fabulous things over there!

_________________________

Gotta say, these are some of my all time favorite projects ever! Love her desk turned nightstands! And I pinned that cute ghost pillowcase dress a long time ago… It’s gotten SO many repins! Too cute!

Thanks so much to Mandy for sharing with us today! Hope you loves will pop over and tell her thanks for visiting! 😉

Have a good day dolls!!!

Bloggie Bestie – Amanda of Royal Daughter Designs

Hey there dolls!
We’d like to introduce you to the lovely…

Amanda of Royal Daughter Designs!!!

I’m over at her place sharing a brand new recipe, so it would rock if you popped over to her place to say hi when you’ve finished sharing some love with her here! :)

Here’s Amanda…

______________________

Right now while you’re reading this post I am on a much needed bloggy vacation. That means, if you head over to my blog you won’t really get to know me, so that’s a bit of a bummer. But you’re in luck, because I have some fabulous guest bloggers that you can get to know (and the ever-so-lovely Kassi is guest posting today at Royal Daughter Designs!) and you can always get to know me by perusing RDD (specifically my hello page and this coffee date from a few weeks ago!)

Since I’m on a blog break right now, I wanted to take a minute to share with you the importance of rest.

We in the blogging world tend to use the term “in real life” to describe the part of lives that happens on the other side of our computer screens and keyboards. But as it turns out, blogging is our real lives. The networking, the connections, the pictures and stories – that’s all a part of our real lives.

But that’s it: a part.

Unfortunately for me, I tend to let blogging and designing take over my life. And so it is vitally important for me to periodically take a step back to refresh and refocus on the rest of my life…the part that does not include blogging.

For me, resting from blogging happens every few months in the form of a vacation, of sorts, from blogging and (most) social media. (It’s true: you will see me while I’m on my blog break – I stay in touch with friends via twitter. That’s justified, right?!)

But resting from blogging may look different for you. It may mean that you step away from your computer on the weekends so you can focus on being present with your kids. Or maybe you turn off all electronics at 10:00 p.m. so you can unwind and get to bed at a reasonable hour.

The point is, please don’t underestimate how important it is to take time to rest, to step back from blogging and be present in the life you’ve been given. We have this one life to live, let’s not get so wrapped up in blogging that we forget to live.

___
Amanda is a Christian Lifestyle blogger who specializes in blog beautification. She and her husband, Mr. E., a minister & seminary professor, are enjoying the country life on 8 acres in Texas. She is a self-proclaimed animal lover, laundry procrastinator, sweet tea junkie, and high-heel hater. She blogs and specializes in blog beautification at Royal Daughter Designs. You can connect with Amanda on , , and instagram.

 ______________________

Thanks so much to Amanda for sharing with us today and for being the Bloggie Bestie this week! Even while on vacation!
Again, please share some love below and then visit her place at Royal Daughter Designs!

Have a lovely day dolls!!!

Bloggie Bestie – Leslie of Leslie Marquez Designs

Hi there pretties!
Today we’d like to introduce you to Leslie of Leslie Marquez Designs!
She has a fun DIY, crafty project for you dolls today!
Leave her some bloggie love below, then we’d love a visit at her place where I’m sharing a post today! 😉

___________

Hello!!! To start, I want to thank Kassi and Kayli for giving me the chance to be a bloggie bestie (love the title, despite my spell checker going nuts.) I have followed this site for a good while and love reading it.  

My name is Leslie, owner of Leslie Marquez Designs. I am a Wife to my best friend, Mother to my 4 minions (ages 6,5,3, and almost 2), a crafter, jewelry designer, photography wannabe, legal secretary, and asylum warden. Just writing all that made me tired, I need more coffee! I blog about life with the minions, craft tutorials, and anything else I find on the web. 

I have a lot of wood. My co-worker is remodeling her house and always has an abundance of extra materials that she wants to get rid of. I thought, oooo, project!!! I have seen about doing image transfers on wood. So naturally, I wanted to try it. So, she brought me lots of wood, I got the materials, and got to work.

Materials
Wood
Plates
Pictures (Printed on regular paper using a laser jet printer, make sure you reverse the picture too)

Artist Gel Medium
Mod Podge

First, the wood I got is a bunch of 2×6’s. So they needed to be bolted together. So I asked the hubby. I have to refer to my husband all the time on matters of hardware. Thanks babe!! Anyway, I started out using plates to connect three together to make a flat surface. You can buy these anywhere and they are relatively cheap, a couple of bucks.

Once they are all bolted together. Flip it over, and get your Gel Medium. Paint a really good coat of the gel medium and place your laser jet printout face down on the gel medium.Smooth out the paper really well, you don’t want any bubbles or missing spots in the picture!!

Then, let it sit overnight!!

Once it has set up overnight, grab a towel, a bowl of water and get ready to get wet. Take the water and wet the paper, and I mean SOAK it…

Then, when its wet enought, the paper should start rubbing off. If it doesn’t rub off easily, then its not wet enough!

Elena loves the picture with the frog!

Once all the paper has been rubbed off, and you really want to make sure you get it all off or you will have white paper spots, paint a think coat of mod podge to seal it.  Let it dry and Voila, You have an awesome very large wood piece with pictures.


This is one of my favorite things in my living room!! Aren’t the minions cute!! I am in the process of making a bunch, my husband wants one for his office, but a smaller version, and of course, I am making one for my co-worker. I figure I owe her for all the wood.
Thanks again for allowing me to take over for a bit. I hope to do this again. I am learning everyday about the wonders of blogging. I think my husband might scream if he hears the words “I could totally blog about that” or “I should make that and turn it into a post.” again, but I am enjoying every minute of it. Later, Peeps!
___________
We’ve all been there girl! My hubs is so over me turning something simple into a step by step blog post. haha!
Thanks so much to sweet Leslie for sharing with us today and for being the Bloggie Bestie at Truly Lovely this week!
Interested in sharing with our readers? Learn more on becoming a Bloggie Bestie here!
Have a lovely rest of your day dolls!

Bloggie Bestie – Britney of Live Out Loud

Hey dolls! Let’s welcome a fun new Bloggie Bestie!
Britney has been our blog friend for a long time now… And she rocks! :)
By the way, I’m sharing over at her place, Live Out Loud today… hope you’ll stop by!
Take it away Britney!!!

____________

Well hello there followers of this cool blog, aka Truly Lovely.  I am so excited to be a bloggie bestie here, it has been a dream of mine for like ever!  Kassi and Kayli’s new tag line…..
Making bloggers dreams come true one post at a time!  {Kassi here, LOVE IT!! 😉} Thank you girls for having me here today.

My name is Britney, you can call me Brit, B, babe, hottie, hottie B, whateve I am easy.  You can find me here, blogging about stuff and life.  I know they, they as in the expert bloggers, say you should pick a theme and ride it out, but that doesn’t work for me or my blog, so you will find pretty much anything and everything that I find interesting on that day.  Like a buffet of blog posts, AYCE, of course.

My family and I recently moved to Singapore and I have been experimenting with new Asia like recipes, and I was so excited to share some thing new and fabulous with you on here today, but this got in the way.

That is my MIL, my little J, and me on an elephant in Thailand.  We just got back, and by just I mean 4 days ago.  My kids have eaten Mac-and-Cheese for dinner the last four nights.  Although I do make a mean Mac-and-Cheese, I doubt that you would appreciate a tutorial on it.  Instead how about I tell you about my addiction to dipping fruit in chocolate.  I will dip pretty much anything and everything, fruit related, in the dark sweet goodness.  Here is my latest creation.

Pear, pineapple, and banana, on a toothpick because I’m fancy like that.  I could break it down, but I won’t insult your intelligence.

Fruit.

Chocolate.


Dip.

Eat.

Easy as that.  Not quite an Asian master piece, if you want of of those, check this out, but it is what I can muster the energy to do,  and here is a confession, it wasn’t even originally my idea.  I saw it here first.  Of course, they used strawberries, I would love to use strawberries, but since all the strawberries here come from the USA, and that means they are super expensive.  Greedy Americans, keeping all the berries for themselves.  Since I slacked on this post, maybe my kids will have something other than noodles and powder cheese for dinner, maybe not though.

A huge thanks to Kayli and Kassi for letting me and my elephant invade their space!  I hope to see you all over here soon.  We can swap recipes and compare cleavage pictures.  What, you don’t do that.  Oh, just the recipes then that will be fun too.  Later gators!  XOXO

____________

Isn’t she awesome! :) She’s been sharing some really sweet posts about Singapore here lately… This one and this one are some of my favorites!

Hope you’ll check out Britney’s blog and let her know we sent you! :)

Bloggie Bestie: Lauren of Warm & Fuzzy

Hi there pretty friends! 
We have a brand new Bloggie Bestie to introduce you to today!!!
Lauren of Warm & Fuzzy
She’s here to share a fun DIY idea with us! :)
Take it away Lauren….
________________________


Hello chickies! I am so thrilled to be hanging out with all of you today!
Kassi was so sweet to invite me to be a “Bloggie Bestie” this week.
When she emailed me, I{ JUMPED} at the chance!
I had a lot of projects that I wanted to get done and since Kassi had invited me here this was the perfect opportunity to get a start on one of them.
I pinned a few projects and this one was really needed in my home.
So here today I am going to share my DIY Personalized Coasters & Cup Holder.
With a little help from my hubs {he used the power tools}
I was able to complete this project in two days, only because I had to let the paint dry over night.
First I gathered my supplies. My paint, I wanted that {Pottery Barn} look to the paint so I used “colonial red.” I purchased the handles, two of them, and the tiles, one packages, from home depot. The board my husband made for me. It was pre measured to fit the handles and the tiles we bought. He even put two little feet on the bottom to make it stand off the kitchen counter, these would prove problematic later.
I took the board outside. Shook up the paint can and went to work. Please excuse my painting skills.
 I have none. :) My hubs even made this makeshift hanging thingie so that I was able to get a full second coat on the board all at once. I let the piece dry overnight. See those little feet I spoke of earlier, we had to unscrew those so that we could add the handle, them screw them back on. No biggie- that’s because I wasn’t the one using the power tools 😉
Hubs made hole for the handle screws on each side with minimal help from me- I mean someone had to take pictures right? Then it was complete or so I thought. We thought it was to plain. So I decided to add some vinyl. Open upped my computer, picked a font I liked, and chose the letters for our first names: Daddy, Mommy, Eli, and Ben. Cut out my vinyl. Slapped it on. Rub it real good. Peel off nice and slow.
Ta Da! as my boys would say! We had a personalized cup holder with coasters! Its very simple to make if you have some extra wood lying around and someone handy with power tools as well.
Thanks to Kassi for letting me hang out here today. I hope to see many of your fabulous faces over at my space! Stop by and say hi!


Blog: Warm&Fuzzy
Twitter:
Facebook:
________________________


I’m over at Lauren’s place sharing a fun post too! Hope you’ll pop over and say hi, then take a gander around her blog! She’s has some fun posts you won’t want to miss! :)
Thanks so much to Lauren for swapping with me today!
Have a lovely Thursday dolls!!!

Bloggie Bestie – Ricki of Adventures with Rogue Baby

Hey there pretties!
Today we have the sweetest chick for you to hang with…

Ricki of Adventures with Rogue Baby


And she has a DELICIOUS recipe to share with you! Win-win! :)
Take it away Ricki!!!

_____________________

Hello Lovelies! I am so happy to be visiting today! Kassi was so sweet to invite me to be a “Bloggie Bestie” this week. You know what that means? Yup, she’s over on my blog, right now! Feel free to go say hi and check out her delish post HERE.

So I thoroughly stressed over this guest post. I over-think things. Guest posts terrify me. How can I possibly fill the shoes of an amazing blogger (such as Kassi) for a day? Will their readers like what I have to say and share?

So, I decided to share a recipe my readers loved!
Introducing… Bananas Gone Coconuts Muffins!

The idea for these yummy treats came about one Sunday afternoon. We are one of “those” families…. green banana eaters. Once they start to turn completely yellow, they are rarely eaten. If they start to get those little brown dots… forget it. They are destined for pancakes, bread, or smoothies. Bored of the same old thing, I decided to try something different.

These sweet babies are made from just about as “scratch” as you can get. And are pretty easy!

Here’s what you will need:

3 cups flour

3 ripe bananas

1 1/4 tsp. baking soda

1 1/2 sticks salted butter (melted or room temp)

1 cup brown sugar

2 eggs

1/2 cup sugar

2 tsp. vanilla extract

1/2 cup milk (evaporated or coconut milk would be a good substitute)

1 cup shredded coconut

Heat the oven to 350 degrees. In a mixing bowl, mash the bananas. beat in sugars, eggs, and butter. Then blend in flour, baking soda, vanilla extract, and milk. Lastly mix in the coconut.
Makes 24 standard cupcake size muffins. Boo Boo calls them cupcakes, and my hubby agrees, a good homemade cream cheese frosting would turn these quickly from “muffins” to cupcakes! I think next time, I’m going to add some fresh raspberries!

I would love to hear how yours turn out and any variations you make!

Thank you again, Kassi, for sharing your readers with me today!
I just hit 100 GFC followers yesterday and wanted to celebrate with a little swag for my readers! Feel free to stop by Rogue Baby and enter to win!

_____________________

Those sound so yummy!!! Thanks so much for sharing with us Ricki! :)
Be sure to stop by her place to see the fruit skewers I promised you yesterday!

Happy baking lovelies!

Bloggie Bestie – Tiffany of Life with the Little Man

Happy Thursday dolls!!!

Today we’d like to introduce you to….

Tiffanie of Life with the Little Man!

Gotta love a girl that’s organized!!! She’s sharing a FABULOUS organization tool with you dolls today! Enjoy!
And don’t forget to leave her some bloggie lovin’ below… AND some at her place where I’m sharing today! 😉

_____________

Hello! First I wanted to say THANK YOU to Kassi for asking me to be the Bloggie Bestie for the week!
I am sooooo excited to have the privilege to share my little blog with new people and I am excited to talk with you guys a little bit about my new bloggie love……… my Blog Binder….  sigh…….
I have a type A personality so it is important to me to keep my life in order. I thrive when someone asks me what I am doing on a date 2 months from now and I can pull out my life planner and be confident when I tell them that I am either free or available. With that being said, my life is CRAZY!!! I am always busy or feel like I always have something going on. I would go insane if I didn’t stay organized. My life planner is always jammed packed and there is barely room for extra things. (Here is a glimpse of my week last week…  It was actually a good week and I wasn’t that busy)

With that being said, I love my life planner but it seemed like there was no room to add my blog stuff and I desperately needed room to keep track of my blog. Introducing…..drum roll please…..

MY BLOG BINDER
Isn’t it pretty?! Are you in love?…. Okay Okay… I may be getting ahead of myself here… perhaps you would like to know whats inside….
I have five different sections in my binder that are separated by tabs.

My Calendar: This is where I keep track of things going on with my blog. I write down when I will post certain things, when giveaways are ending, link ups that I want to participate in, and anything else that I want to be sure to do.
My To Do: I keep anything that needs to be done for my blog here. If I need to contact a company about a review, or if I needed to be sure to take pictures of something I would write it down here. Here is a link to the document that I use for my list.
My Reviews/Giveaways: This is where I keep notes about an upcoming giveaway or review I am doing for my blog. I write down the times I contact them, any important dates, and any notes about the giveaway. I love having my binder handy because when I get a product to review, I can keep all of my notes in one place so that when I go to write my review its a breeze. Here is a link to the document that I use.
My Advertising:  Here I kept all of my advertising stuff. I kept track of what company had ads on my blog, the start and end times of their ads, and any other information that I needed to keep track of for my ads. Since making this binder I have recently feel in love with a site called Passionfruit and I no longer use this section. If you have never heard of them and you sell ad space on your blog…. you seriously need to check them out. Its a wonderful site that keeps track of everything for you. All you have to do it set up the ad sizes and info and paste the codes to your blog. They take care of the rest. I don’t have to worry about putting ads up on certain days or taking them down once they expire, Passionfruit takes care of it all for me! How can you argue with that? For anyone that wants to keep track of this through paper still or are just curious as to what I did, here is the link to the document that I used before switching.
My Ideas/Inspiration: Next to my calendar, this is my favorite section! I love coming here when an idea pops into my head that I don’t want to forget. I keep plain white computer paper in this section along with a clear sheet protector page. If a find a color swatch or anything that sparks my inspiration, I just stick it in the page protector so I have it whenever I want it!
I hope you have enjoyed my rambling on about my binder and I hope that this has inspired you all to create a blog binder of your own (Heck… you might already have one and are thinking that I am slow on the up take!) I would love to hear any suggestions that you have for keeping your blog stuff organized or if you are  using a blog binder, I would love to hear what you do.
Thanks again to the lovely ladies at Truely Lovely for having me over!
 I hope to hear from ya soon!
My Twitter:
My Facebook:
_____________
THANKS so much to Tiffanie for sharing her Blog Binder idea with us today!
I really need to work at getting all my blog info that organized!! :)
Have a lovely day dolls! Happy organizing!!!

Bloggie Bestie – Janine of 3 Wishes

Hello there lovelies! It’s time for another Bloggie Bestie Thursday!
Today Janine of 3 Wishes has a fun tutorial for you! You can see her first guest post on Truly Lovely here. We really enjoy this lovely lady and know you will too!
Take it away Janine!
_______________
Hello Truly Lovely readers!  I am so happy to be back as a Bestie today.  Please hop over to 3 Wishes and show some love to Kassi as she is talking about being thankful.  A topic near and dear to my heart!
I am thankful to Kassi and her sister Kayli for having me as their guest today!!Today I thought I would share a craft with you…I have two sweet friends having babies very soon, so I just finished up one of these precious name plaques and I will be creating the other one for you today.I have to admit, I am not the most crafty, but I sure love trying.  I love receiving handmade gifts so I try to give things that I can make myself that are thoughtful.My dear friend Lori is having a baby and this is for her little one.You can hang these on the wall or on the child’s door.  I have made quite a few of these as gifts.

Here are the supplies you will need.  I found everything at Michael’s craft store.

  • A plaque. Michael’s sells different shapes and sizes and they are reasonable
  • Wood letters for the child’s name
  • Paint…I am using a pale blue and beige,with pale beige for polka dots
  • A glue gun
  • Coordinating ribbon, this is what you will use to hang the plaque, you can even glue buttons, or  small toys on the plaque if you would like

First paint your plaque the color you would like.


Then paint your letters.

You will glue your letters on. I actually just use paint to glue them on.

I used a Q-tip to paint the polka dots.


Then you will hot glue the ribbon on the back, I found this sweet ribbon that says made with love.


As you can see it is not a difficult project, but it is adorable.  Here are some others I have created.


 For my one of my nephew’s, I found a toy skateboard and painted it, then glued it on.

Aren’t they adorbs. These would make great birthday gifts, shower gifts, even as a house warming gift for a child.
Thanks for reading along today. I hope you lovelies have a wonderful day.
Please remember to say hi to Kassi over at my place.

A big thank you to Kassi and Kayli for the hospitality. These girls are Truly Lovely!!!

________________

Kassi here… Now, how cute would that be for a baby shower gift!?! THANKS for the idea Janine! And thanks for swapping with me today! :)

Bloggie Bestie – Allice of Tutu Land

Hello pretty friends!
Today we are excited to introduce you to…


Allice of Tutu Land!!!


This is her VERY FIRST guest post EVER, so please share some bloggie love with her below (she has an awesome tutorial for you dolls). Then share some love over at her place where I’m guest posting today!
____________


Hi Kassi- Thank you for having me over at your Truly Lovely.  I’m so excited to share my craft room update and my teacup tutorial with your followers- Enjoy!I was browsing Pinterest for some craft room ideas and found a wood teacup shelf that would be perfect in my craft room.  I happened to have one that was handed down to me from my mother and ended up in the garage last year with no plans of ever entering the house again.   I’m so excited that I found a way to give it new life and save a piece of my families treasures.

Heres what you need:
Sanding paper
Spray Paint Primer
Spray Paint in your favorite color (I used Matte)
Spray Paint Laquer
My original teacup shelf
Lay your project down on a sheet and sand
{don’t skip this part- trust me, the paint WILL bubble}
After Sanding, you will spray Primer and let it dry
{I chose quick dry Primer because I’m impatient}


Pretty Paint Time
{Make sure to get all the crevices and underneath the shelf since you will be looking up at it when you hang it}


Time to hang
{Notice all the “Stuff” on my table}


Now I’m all organized
{I put the ribbon on the shelf that I am currently using for orders and projects so it’s close by}


I now have more working room for my projects
{and I love the color- it makes me happy to work in this space}


Did you notice there was no sewing machine in the above picture?
This is why?
Ashley was feeling a little unorganized so she made herself a bed organizer to hold her Ipad, remote control and other secret items
{It’s fun that we can share our craft love}


So I know you think I look sooooo organized, right?
NOT!
Everything is somewhat organized and labeled in the cabinet but needs more help
It’s my next project


So, look around and see what you can find to save, refresh and make new again~


Thanks again for having me over Kassi and I can’t wait to visit again!
Connect with Allice:
My website:  
My Blog:    www.tutulands.blogspot.com
Tweet me:     
My Facebook:
_________
Thanks so much to Allice for sharing her fun shelf with us today! I for real need one of these!
And thanks for being the Bloggie Bestie at Truly Lovely Allice!!!
Happy painting lovelies!!!

Bloggie Bestie – Jessica of Morrison Lane

Hello pretty friends!
Or handsome as the case may be… But I’m almost postive the pretty weighs out. 😉
We are super excited to introduce you to the lovely…

Jessica of Morrison Lane!!!

I came across her blog several months ago and just ADORE the fun posts she shares about Lil Bit and her brothers (Jessica is their nanny!), trips with her hubs, Brad, and the most beautiful photographs of everyday life!

She’s sharing a yummy icing recipe with us today!
Take it away Jessica!!!

hey there, truly lovely fans! i’m jessica and i blog over at morrison lane. i was also raised on morrison lane, hence the name of the blog. yeah, i’m creative like that. also my last name was morrison until last year when i got married. confused yet? me too!


i am truly (lovely and)<—i’m cracking myself up! thrilled to be writing here today and getting to meet some new friends.  you know what they say, any friend of truly lovely is a friend of morrison lane…they say that, right? (Kassi here: If they don’t they TOTALLY should) 😉

after STRUGGLING to come up with something great and impressive to share with you all, the best thing i could come up with was something i just discovered monday! a sugar free and delicious recipe for icing! oh yeah! so that way when you decide to leave just a little icing left in the bowl for, perhaps, a few spoonfuls or ten, you are still all healthy and sugar free. and who doesn’t love that?


monday was my mom’s birthday and birthdays require a homemade cake in my book, so i had to put my chef hat on and get to work. after making a strawberry cake with the help of lil bit (p.s. i’m a full time nanny for a profession and i often have lil bit in tow, she has twin brothers but they are way to busy with kindergarten to hang out with the likes of me) and managing not to drop anything extra in the cake like egg shells or measuring spoons…two year old help, not so helpful…


that’s my cute husband and lil bit.

twas time for the icing. here’s what i did.
whipped icing recipe:
1 tub of cool whip
1 block of cream cheese (i said sugar free, not fat free)
2 tsp truvia

mix together until smooth
refrigerate for about ten minutes to cool the icing and let it set
ice your cake
eat

my mom does minnie pearl impersonations, so i thought we would get all crazy and try to put a minnie pearl hat on the cake. i figured if it turned out terrible, i could blame it on the two year old! i liked it, so i took full credit.


try the icing, especially if you like icing that’s not so sweet and more of a whipped icing than a sugar icing.
it was delicious and perfect topping for the strawberry cake, i thought.


thanks again truly lovely ladies for being my bff today, i am truly truly honored.
and let me know if you try the icing friends…it yuuuummmm-o!

Sounds yummy, right?!? Our thanks to Jessica for blog swapping with me today!
(I’m over at her place RIGHT now! Come visit, yes!?!)
Isn’t Lil Bit just the cutest!
Enjoy you’re sweet treats today peeps!