Scribble Shop Challenge – A Princess Doll Bed

Hello there lovelies! First… HAPPY FIRST DAY OF SPRING!
I’m excited to share my Scribble Shop Challenge project with you all today!
Remember about the challenge and the supplies I received?

Here’s a refresher in case you missed it…
I was sent a box of crafting supplies from the online craft store. The challenge was to make something using as many of the supplies as possible. Winner of the challenge gets a prize! :)

The supplies I received included:


And of course, some yummy chocolates! :) I also made good use of the cardboard box the supplies came in AND the packing peanuts that were inside the box!

After weeks of debating the best project to try I decided on a doll bed. I’m an auntie with no kiddos of my own yet and a limited toy selection at my house… So when the nieces and nephews come to visit I need more kid friendly entertainment!

To get started I cut the flaps off the cardboard box and made a doll headboard pattern on one flap piece by penciling on the design I wanted, then cutting it out with scissors. I traced the pattern onto one end of the box as the headboard, then on the other end (a little lower) for the foot board and carefully cut them out with an .

The freshly cut out box then received a coat of the chalkboard paint.

While my box was drying I sewed together the square pieces of fabric into a small baby bed blanket and ‘mattress’ cover. Because every princess needs a feather pillow, I stuffed two of the squares with feathers, then sewed them together as well.

A plastic bag stuffed with the packing peanuts, then tied closed makes a ‘mattress’ fit for a princess.

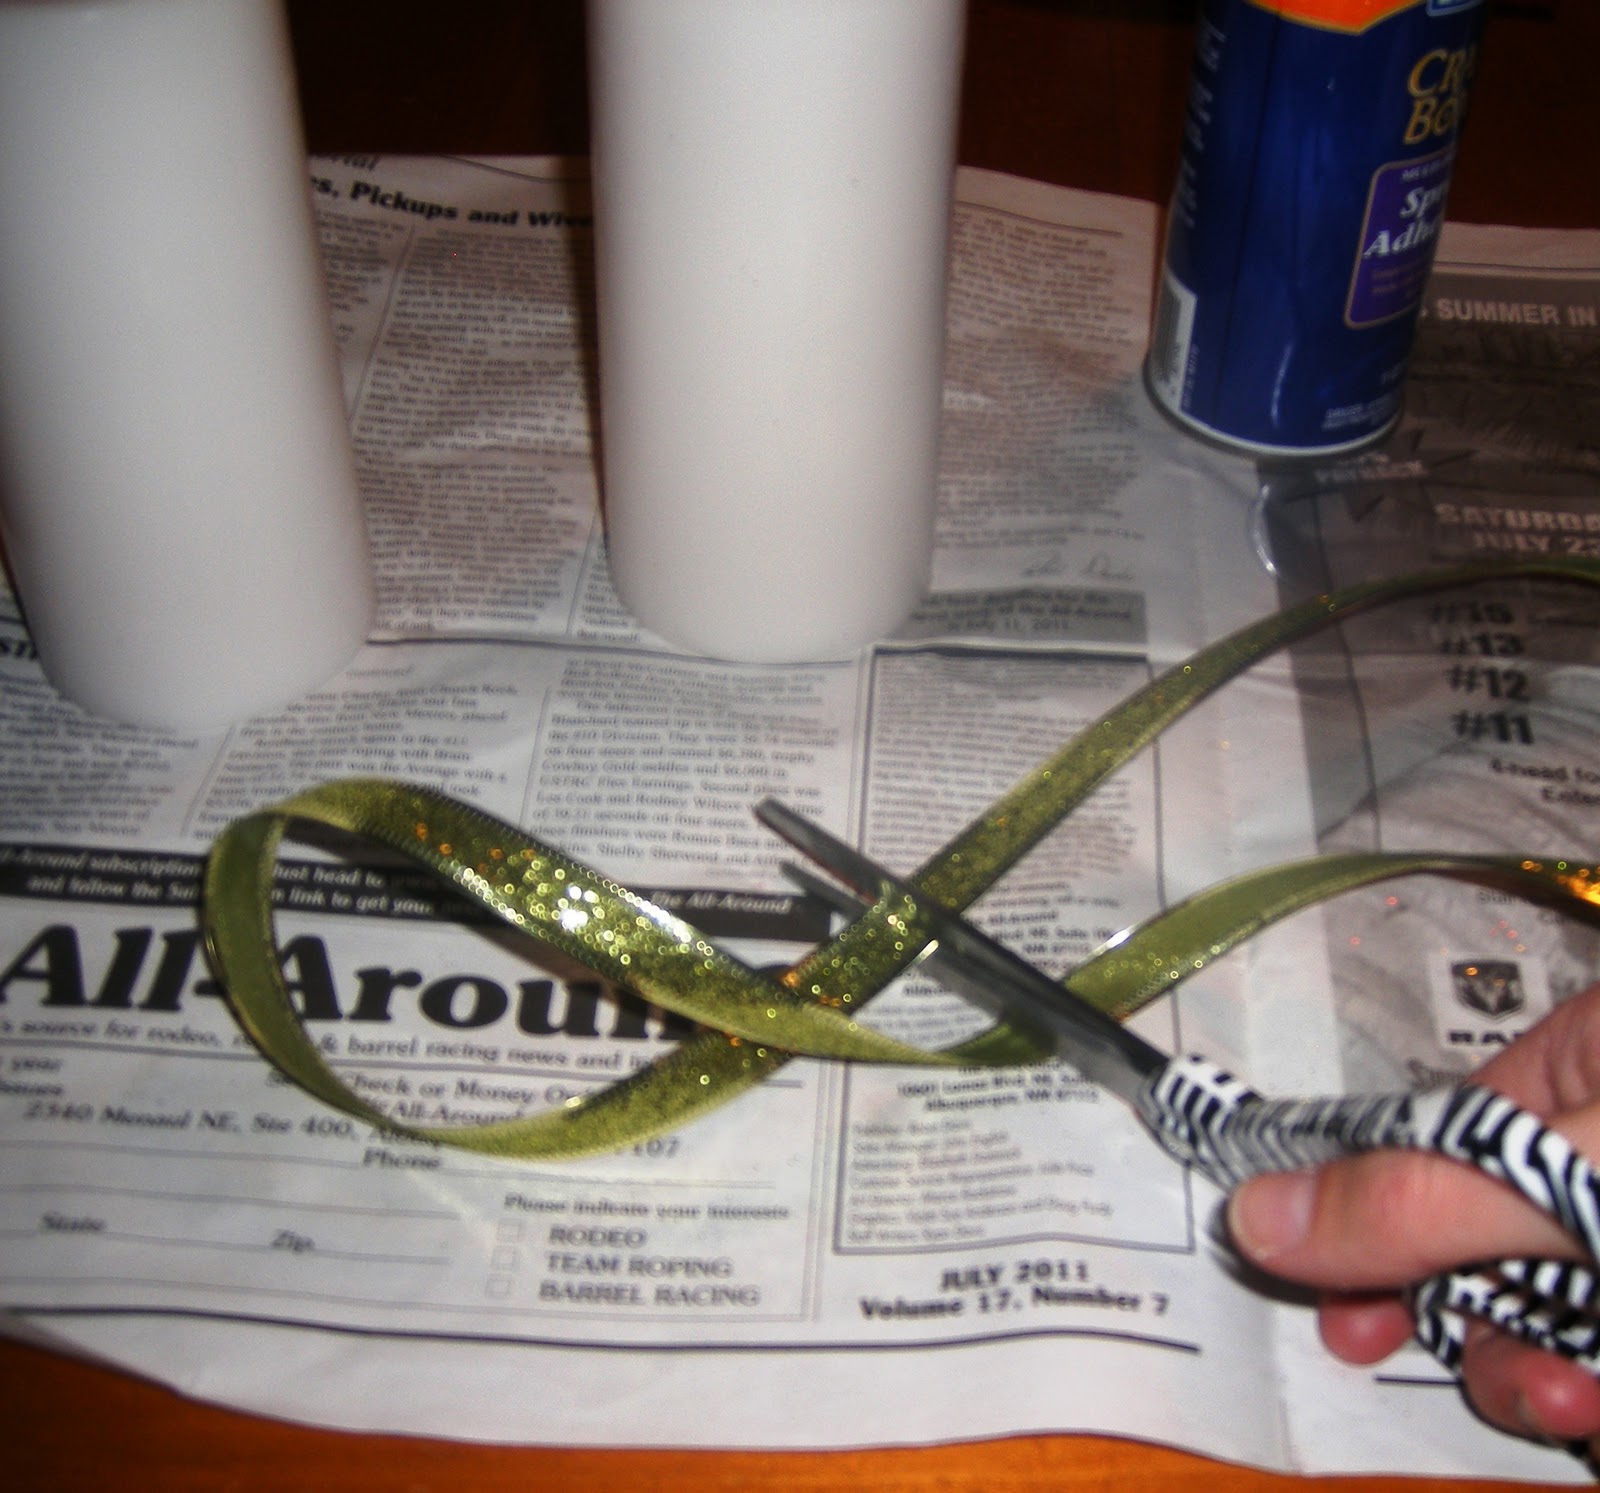
The princess bed received some pretty embellishments in the form of the Martha Stewart Glitter, the glitter brads, and some carefully placed feathers in blue and yellow (to match the bedding of course). Finished, all our princess bed needed was a princess girl and her princess dolly to test it out!

So, there you go! My Scribble Challenge Princess Bed! The only thing I didn’t use was the wool roving… SO my question to you is, HOW would you incorporate that into this project??
I did use the packaging though… So that should count for something… hahaha!

Oh, and of course, once our princess tried out the princess doll bed, we all shared the yummy chocolates!

Don’t forget Truly Lovely readers get 15% off your ENTIRE order at  through April 3oth using code TRLYLVLY. You can follow Scribble Shop on ,  and  as well!

Happy crafting lovelies!!!

Linking this crafty project to here and here and .
I wrote this post as part of a paid campaign with ScribbleShop.com and Blueprint Social.
The opinions in this post are my own.

Etched Glass Drink Set

Remember the I made?? Well I got a little braver and went a little bigger with this one and made an Etched Glass Drink Set for my friend!
*As first seen on The Simple Things. Thanks for letting me share, Angela!

etching glass
Etching glass REALLY isn’t that hard! It just takes a little bit of time and patience…
As well as the RIGHT etching cream!
First off, you’ll need the glass you plan to etch…
For this gift I chose a glass wine pitcher and four glasses. You can etch just about any type of glass though… For example you can to see those candle holders I etched awhile back…
You’ll also need etching cream. I have tried a few different kinds, but the EtchAll etching cream has worked the best for me so far.
Please keep your hands safe by wearing protective gloves and keep your table top safe by laying down at least a layer of newspaper.

You’ll also need the shape or words you plan to etch on the glass. I use sticky backed vinyl cut with my Silhouette SD for my stencils. This time around I cut out my gift receiver’s name for the pitcher, and ‘her’ glass, and some pretty swirly shapes that were included with my Silhouette software.

Glass etching is really as easy as sticking the stencils to the glass, smoothing it down… Then (while wearing gloves) use a small sponge (I used a makeup sponge) to apply* the etching creme inside the area you’d like to be etched… And wait.
*The key is by apply I mean really glob that stuff on there!
(The etching cream does come with directions for how long to wait, etc.)
Finally, you’ll peal the stencil off, rinse in cold water, and viola!
You have pretty, personalized, etched glass.

Just so you know… Sort of a disclaimer…
Etched glass is CRAZY hard to photograph! haha.
You can click the picture to enlarge it and really get a good look if you’d like. :)
Happy etching lovelies!! 

Painted Gift Tins

Today I’m going to share a fun gift ‘wrap’ idea with you!!!

Painted Gift Tins!

My mom received a huge stash of those Christmas cookie, treat tins from a friend awhile back… It was actually her idea to paint the tins and add some vinyl cut outs to fancy them up! (Obviously where we get a lot of our craftiness from, thanks Mom!!!)
We laid them all out on some newspaper outside and spray painted each tin with a couple of coats of paint.
We used a few different colors and let them dry really well…


Once the tins are painted and dry, it’s time to embellish.
I made this small light pink tin into a birthday gift ‘wrap’ for my niece.

I used white vinyl cut out in her name and some flowers plus little acrylic diamonds to pretty it up.
If you use the sticky back vinyl you can stick the cutouts on just like stickers.
The little jewels were attached with hot glue.

If you don’t have sticky backed vinyl, you can just use regular stickers too! 😉
I filled the tin with several little treats tied it with a ribbon and gave it to our niece for her birthday.
She loved having her own little tin she could fill with her treasures!

We have since made several of these for different gifts… You can use any shape or size of tin and decorate with paint, vinyl, stickers, anything you have on hand to fancy it up!

Happy Crafting!!!
Linking this hereherehere and .

Etched Glass Candle Holders

Winter seems to be in full swing!
 Well… as much as it gets to be winter in Arizona… 
Don’t be jealous… haha. 😉

When thinking about decorating for winter… 
You know that time between Christmas and Valentine’s Day? 😉
I realized I don’t really have anything to decorate with that isn’t holiday specific. 
When I think of just winter I think of cold, snow, frost, ice
Etched glass has always looked liked frost/ice to me, so to bring a touch of that into my decor, I made some etched glass candle holders

I used three small glass bulb shaped vases (under $1 apiece at Wal-Mart). 
A sheet of vinyl for my stencil. 
My trusty Silhouette SD
(You could cut out stencils with scissors or an Exacto knife if you don’t have a cutting machine)
A small bottle of EtchAll etching cream 
Gloves and a make up sponge applicator
Because of the ingredients in the EtchAll, make sure you wear some kind of gloves to protect your hands. Also, carefully follow the instructions on the packaging!!!
Rinse in cold water after allowing the cream to work for at least 15 minutes. 
I left mine for a good half hour just to be sure. 
This was my first time etching glass… so of course, I learned a few lessons I’d like to share. 😉
Glass Etching Lessons Learned:
  • The etching cream really needs to be layered on there to make sure it etches the entire surface inside your stencil. 
  • Your stencil needs to be smoothed down completely. Otherwise the cream will leak under it and you’ll get weird etched shapes…
  • Taking photos of etched glass is hard!!! If anyone has any tips, I’d love to hear!


I had to include a picture of them all lit up… 
Even though it didn’t come out very well…

And yes, that was my Christmas tree in the reflection of the TV… 
We really drag out the celebrating around here! *wink wink*
Not really… I took that picture weeks ago. 😉


Linking this here and here and .
By the way… Did you know you can find Truly Lovely here… 
* * * *

You can find me….

Here today….


I’m sharing a brand new tutorial on how I turned handkerchiefs from my wedding centerpieces into pretty pillow covers!
Hope you’ll take a minute to pop over and say hello!

Christmas Ribbon Candles

Hello lovelies!!!
I am really enjoying fancying up these pillar candles for my two candles stands!!!
It’s fun to take something you use year round and adjust it for each holiday/season, don’t you think?!?


You can see my here and my Thanksgiving Candles here. 


For Christmas here’s another (EASY and CHEAP) candle decorating idea!!!
First seen on An Irish Italian Blessing! Thanks Katherine!!!

Christmas Ribbon Candles

Materials needed:

1-2 (or more) pillar candles
Ribbon of your choice 
(You could make these for anytime of year depending on the candles and ribbon you choose, by the way!)
Scissors
Spray Adhesive
Glue gun

Eyeball Carefully measure around your candles, then cut your lengths of ribbon. 
I cut three ribbons for each candle for a total of six ribbons, alternating the colors. 

Spray the adhesive around the inside of the ribbon then attach to your candle, pressing down so it adheres. 

Then to make sure it stays put… 
I just dabbed a little hot glue on the outside end of the ribbon. 

Match your ribbons on both candles if you want a cohesive look. 
If not, you can alternate ribbon placement.
And viola! 😉 
Really, this whole tutorial is a glorified set of instructions for glueing ribbon onto some pillar candles to spice them up! Easy peasy, right?!? Haha. 
We like easy and inexpensive projects here in case you haven’t noticed… 😉

What easy Christmas decorations are you/have you been working on?
Or not so easy… We’d love to hear about those too!
Linking this here and here and .

Painted Pyrex

Hello friends!! 
A couple weeks ago my sweet friend, the new Mrs. Knight, got married. 
The same sweet friend who did MY hair at my wedding!
So I wanted to make her something special for a bridal shower gift. 


She had a set of Pyrex bake ware on her registry… 
But naturally, they needed a little Truly Lovely spiffying up. 😉


This was a project that plagued me for weeks.
I had two FAILED attempts before I found something that worked, and turned out the way I wanted.


First… Don’t buy this stuff. It doesn’t look like glass etching at all.
More like gunk just globbed on there. Unless that’s the look you’re going for of course…
And it my case it wasn’t… So off it came!

Second… If you’re going to paint glass… You have to be very careful and very patient.
Otherwise it leaks and streaks and just looks yucky.
Those pictures up there really don’t even do justice to the craft fail that they actually were… haha.


Mrs. Knight’s kitchen and home in general has a western/country look and feel to it.
Her kitchen is red and brown.

So, in the method that worked out the way I wanted, I used brown glass paint and Silhouette cut vinyl stencils to add her new last name to a set of Pyrex dishes. 

What saved me SO much time and trouble was using a foam sponge (makeup dept.) to dab the paint onto the glass dishes instead of using a paint brush. 

Foam sponge and after math of my other attempts… :)


I also used the stencils as the INSIDE of the letters so that it didn’t have to look so precise. This is one of those projects where exact perfection isn’t going to happen… BUT that was perfect in this case leaning toward my rustic-y theme.

Following the directions on the paint I used, I let the painted dishes dry for several hours, then cured them in the oven. 


In the end… I really like them! 
I think they have a rustic-western-y quality to them. 
Plus, they’re different, and personalized. Can’t go wrong with that! 


All wrapped up and ready to be boxed and sent to the bridal shower! 
Mrs. Knight says she likes them too! 
Guess all that crafty trial and error was worth it!
P.S. I’m sharing a quick and EASY Halloween craft over here today! 😉
P.P.S. Linking this here and here and .
P.P.P.S… I am sharing my picks from the Take a Look Tuesday party at Sugar Bee Crafts over here today too! :) Check out Mandy’s blog by the way… I LOVE it! :)

Monogram Fall Rope Wreath

I have a little Fall craft to share with you dolls today! 
But first… Have you entered my BIRTHDAY GIVEAWAY yet?? 
If not, you’re going to wanna check out ! :)

Monogram Fall Wreath


So I started with my wreath form, a retired rope from my team roping hubby. 
You can read more about other ways  if you’d like. 


If you don’t just happen to have a team rope laying around the house… Cause let’s face it… 
There are a few people out there who don’t… heehee. 
You can use a vine wreath form, or wire, etc… 


I used clear fishing line to tie the rope together to form a circle. 
Again, same concept with twigs, or vines, or wire or whatever route you choose for your form. 


Then I made my monogram. 
Just a simple wooden M purchased from the craft section of Wally World.
Two coats of brown paint. A little ruffing up with some sand paper… 


And viola! I really like to ruff up the edges to give it some dimension… 
Plus is goes with the rustic feel of the wreath as a whole!


Then I attached the M to my rope form with some brown ribbon and hot glue. 
If you are going to be hanging your wreath outside where it’s windy… 
REALLY glue that sucker on there! 


Now… Time to pretty it up. 
I bought a couple bunches of fall colored flowers and leaves, again, from Wally World. 
Then used a combination of hot glue and the fishing line to attach them to the top of my wreath. 


A little ribbon for the “hanger”…  The windier it is outside… MORE hot glue!!!
On a side note… I might have come home from work the day after hanging this and found it lying on the ground… Which might have called for some hot glue and ribbon and fishing line reinforcement… 
Just sayin’… GLUE it on ya’ll. :)


And there you have it!!!


A Monogram Fall Wreath to hang on your door! 
Or your wall… Or your car… Or… Well you get the idea… 😉

Happy crafting lovelies!! And Happy Fall!


Linking this here and here and . OH! And here
And, of course… here:

Visit thecsiproject.com

Vinyl + Tile = Booth Sign

Remember in having a Scentsy Booth at the County Fair?
Well, here’s a quick little lovely I crafted up to display at my booth. 


Materials needed:
A tile from my local Home Depot (they cost less than $1)
Purple Krylon spray paint
White vinyl 
(Did you know the vinyl you can purchase at Wal-Mart for the Cricket machine works just lovely in the Silhouette SD? You just gotta trim it down to size.)
And a small tabletop easel

I spray painted the white tile with a couple of coats of the purple paint. 
(Purple for Scentsy of course)
Cut out the wording in the white vinyl using my Silhouette SD.


Then using transfer paper applied the lettering to the tile. 


By the way, if you’re interested in hosting a Scenty Catalog/Online party to earn FREE Scentsy products, let me know! We can ship all over the U.S. and Canada, so you can host a party anywhere!

See the sign? There toward the left corner of the picture.
And speaking of the County Fair… 
How cute is my niece, Taylor, showing her VERY first lamb! 
She won THIRD place in the fair and was able to sell her lamb at the auction. 
We were all VERY proud of her! 


Well done Miss TayTay!!! 

Have a lovely day friends!!!

Pretty Picture Frames

In continuing my efforts to pretty up my office space, I decided a few framed photos were in order. 
Not just any old frames would do though… So I whipped up a few pretty picture frames! :)


I purchased two smaller frames and one large 8 X 10 frame from Wal-Mart. Just the cheap $3 ones you see on a rack in the middle of the aisle. 
I also bought some Krylon spray paint in Ballet Slipper and Blue Ocean Breeze. 


I removed the glass from the two smaller frames and sprayed them with the blue paint. First spraying the back and letting it dry overnight, then the fronts. I sprayed the larger frame with the pink color. 

Once the frames were completely dry… Meaning I was actually patient for once and let them completely dry for 24 hours…. I ruffed up the edges with a piece of fine grained sandpaper for a distressed look. 


Because the frames were a dark brown to begin with, it showed through after the sanding and ended up looking really neat! 

Each frame then got either one or two hot glued on. I used the same fabric I used for the rosette on my chalkboard flower pot, trying to maintain a little cohesiveness. 

Here are the two small blue frames finished and displayed on my office desk!!


Really that poor picture does not do them justice! Let’s try this one… 


Well, you get the idea… 😉 AND that’s my Sweetheart Scentsy warmer! 
Did you know in addition to my day job and blogging I also sell Scentsy?!?

The frames are a welcome pop of color in my dull little office cubicle for sure!!!

Check back on Tuesday to see what I did with the larger pink frame!! :)